
 If you like this blog, please support it by shopping on Amazon through this link
Updated Feb 11, 2017
It was difficult to narrow it down to the best photo locations in New Zealand with so many epic spots, so I picked my personal favorites. I recently spent 2.5 months in New Zealand shooting landscapes on the North and South Islands. During that time I lived out of a campervan, the best way to see New Zealand, and also spent a fair amount of time in back country huts, and staying with Kiwis.
Wanaka
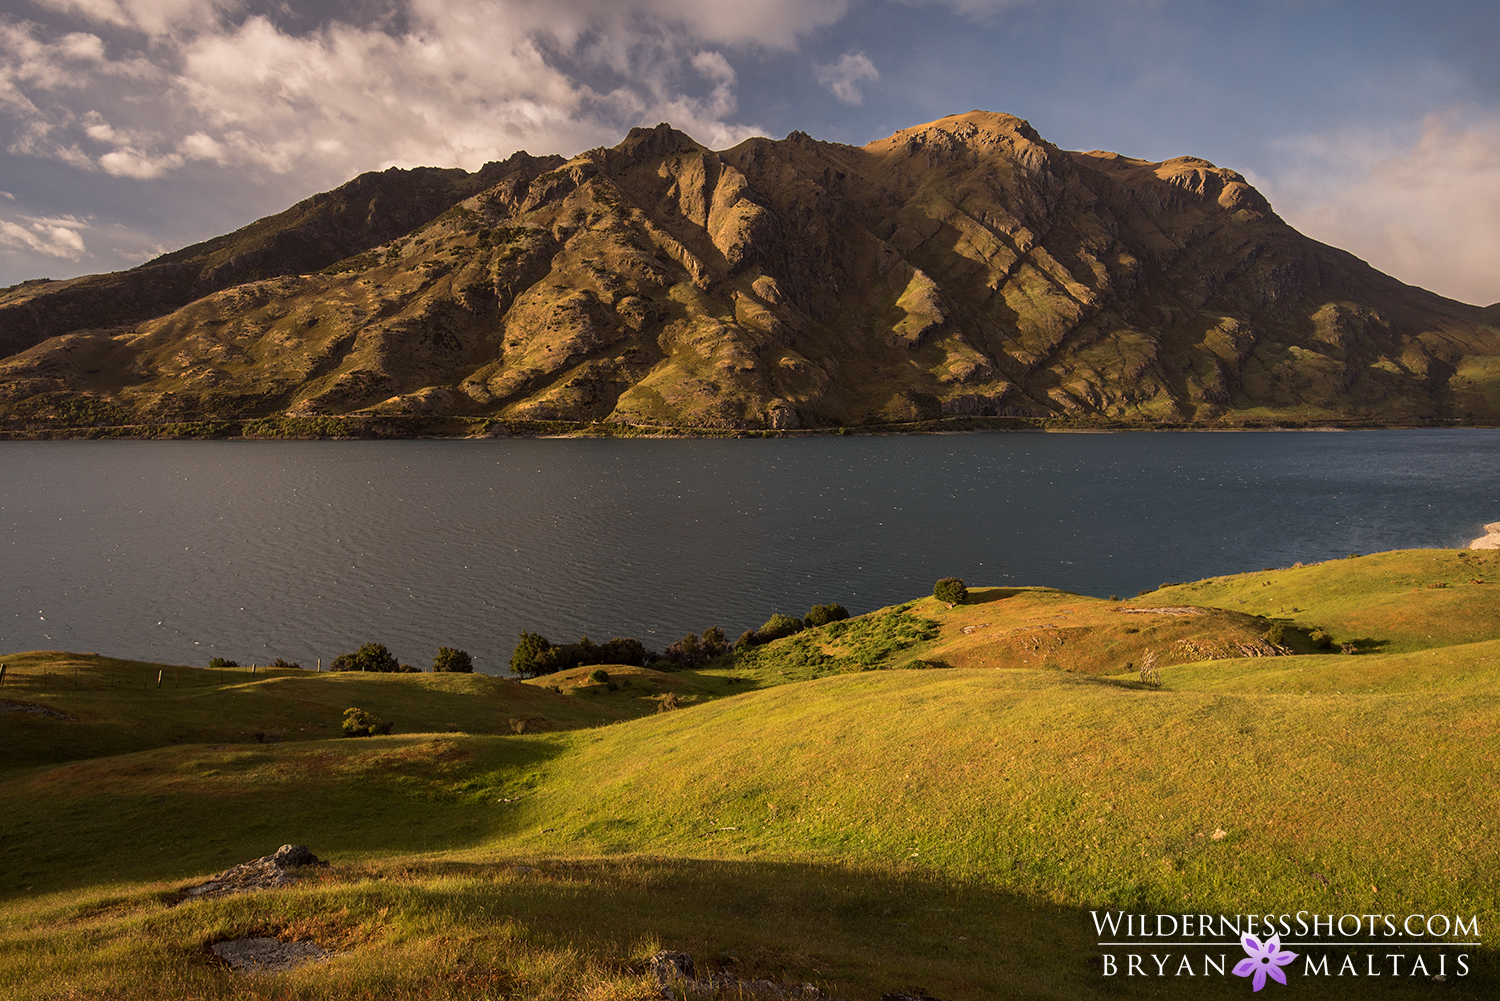
The town of Wanaka is a great photography base because it’s on the edge of Mount Aspriring National Park, and nestled between Lake Wanaka and Lake Hawea. There are many peaks to summit nearby, awesome day hikes, and hut to hut backcountry hikes. It’s also centrally located on the South Island relatively close to Mt. Cook, Queenstown and the vinyard/orchard region of Cromwell.
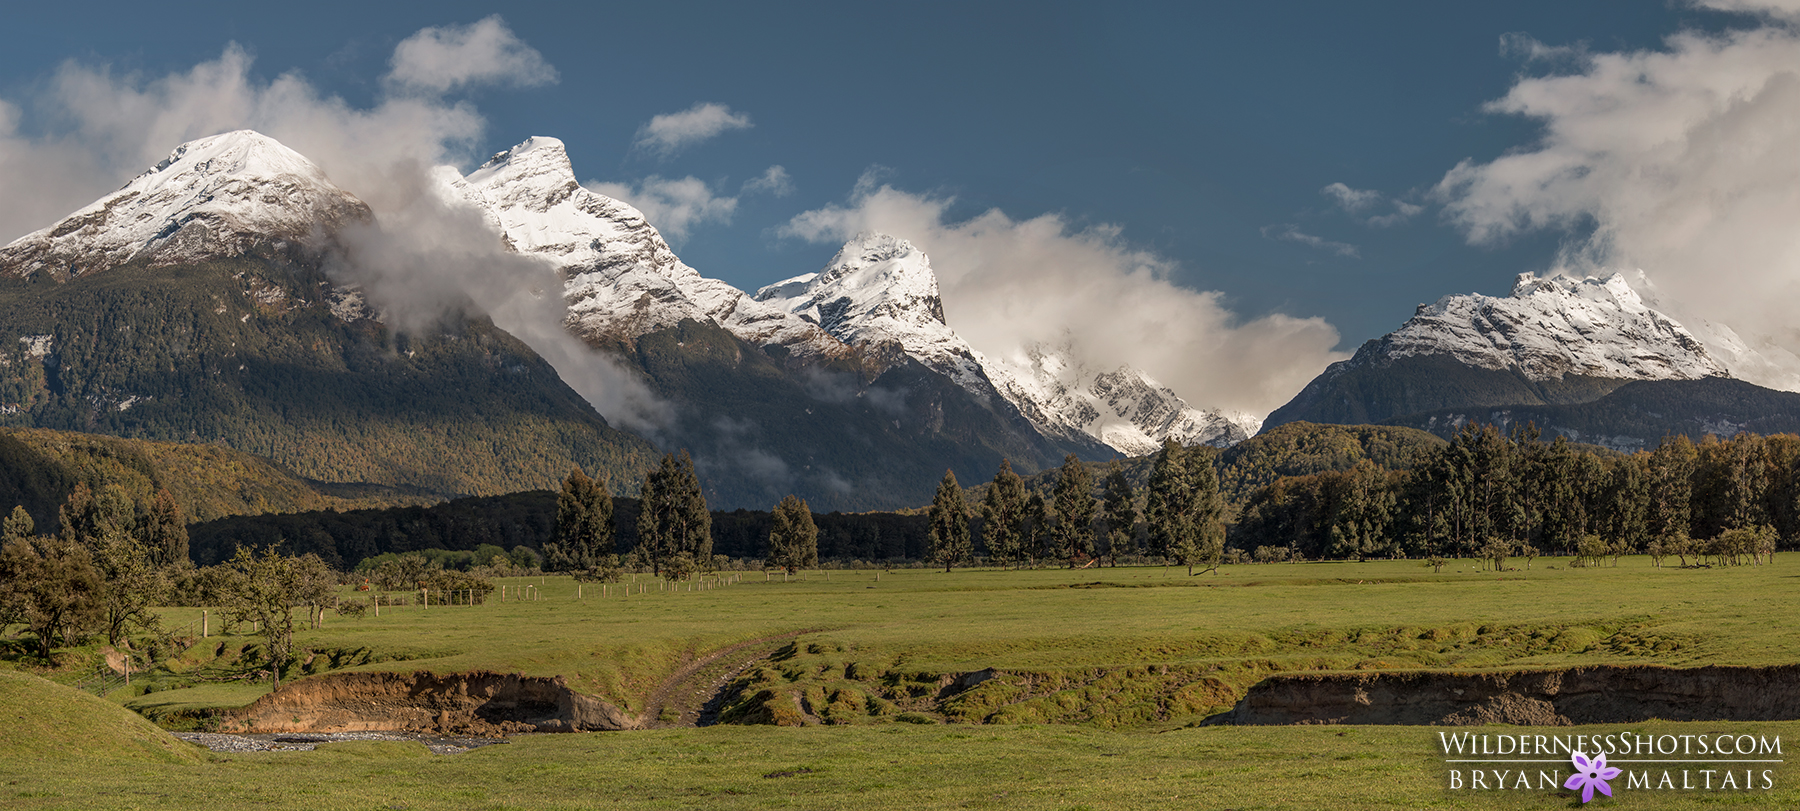
Rob Roy Glacier Track
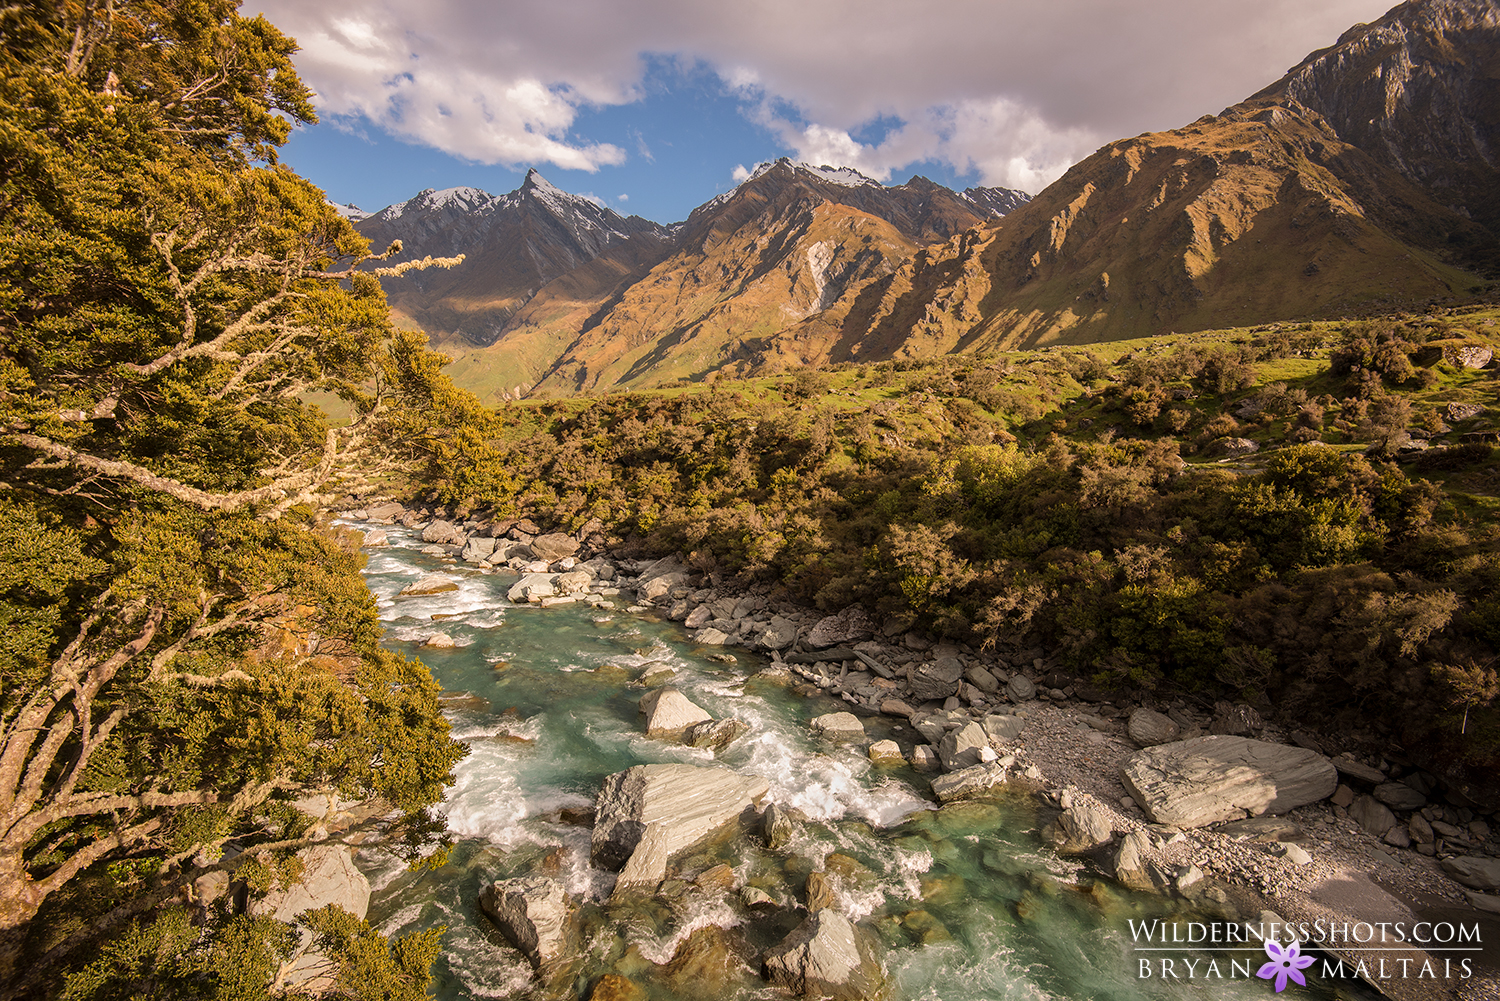
The Rob Roy Glacier Track was my first big experience in New Zealand. THIS was the New Zealand that I read about and anticipated. The Rob Roy Glacier Track is a 10 km return hike within Mt. Aspiring National Park. To get there, you drive on a long gravel road with frequent fords near the end. They’re easy to cross during good weather, but become impassable torrents after heavy rain. Driving this far back takes you off the beaten path. The hike begins in a green valley of pastures, surrounded by sharp peaks shaped like a wizard’s hat. Spindly newborn lambs run about in spring. You cross over the patina-blue Matukituki River over a classic New Zealand swing bridge as it roars through the valley. From here it’s a gradual uphill hike through beach forest where enchanted trees were twisted and draped with moss. When the trail exits the forest you get a jaw-dropping view of the giant Rob Roy Glacier massif. It’s a gargantuous wall of sheer rock, ice, and countless waterfalls that disappear because they plummet so far. Keep your eyes and ears peeled for avalanches on the distant mountain face, which sound like thunder.
Roy’s Peak
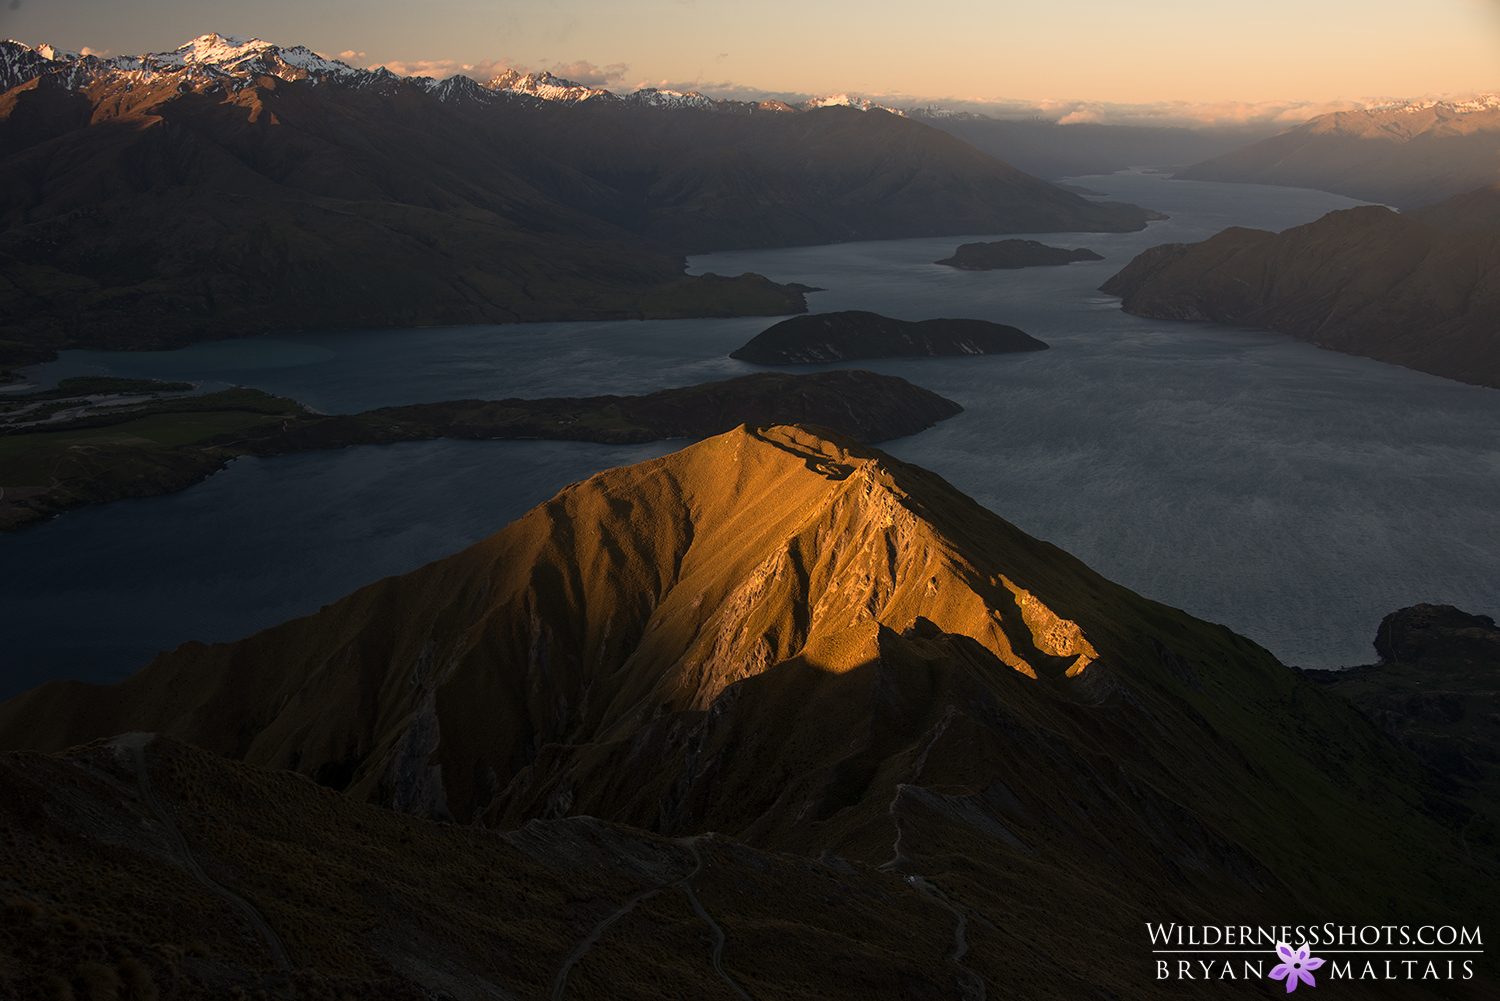
Mt. Roy is the classic Wanaka photo hike, but notably so because there are a lot of views to photograph along the way. I recommend hiking beyond the lookout point where some people turn around, and up to the very top where the radio towers are. This affords views into Mount Aspiring National Park, to the east into the Southern Alps, and of Lake Wanaka. Dress for high wind and cold temps at the top. Also make sure to bring a headlamp if you shoot sunset and hike out by dark. The hike is 5 miles each way. It’s a very strenuous 4,000 ft climb that’s all uphill, but the trail itself is nice and wide.
The Routeburn Track
My priority in New Zealand was to be in the back country. Of NZ’s 9 back country Great Walks, the Routeburn Track offers some of the best variety and alpine views IMO. I’ve walked it twice because I like it so much. The great walks are well-kept trails that are regulated by the Department of Conservation (DOC). There’s a fee to walk them, and you should make reservations for this popular track months in advance. If you don’t, you’ll likely get booked out and have to show up the day of your hike and hope for last minute cancellations. The Routeburn Track serves up world-class photo opportunities its entire way. Many people walk the Routeburn from East to West (Glenorchy to the Divide Shelter). However, I find that walking it in reverse faces you into better views. Since the Routeburn is a one-way hike, you’ll need to hire one of the transport services to shuttle your vehicle to meet you on the other side. You can also take a bus, but the ride is four and a half hours and not especially cheap. For that matter you can also take a helicopter.
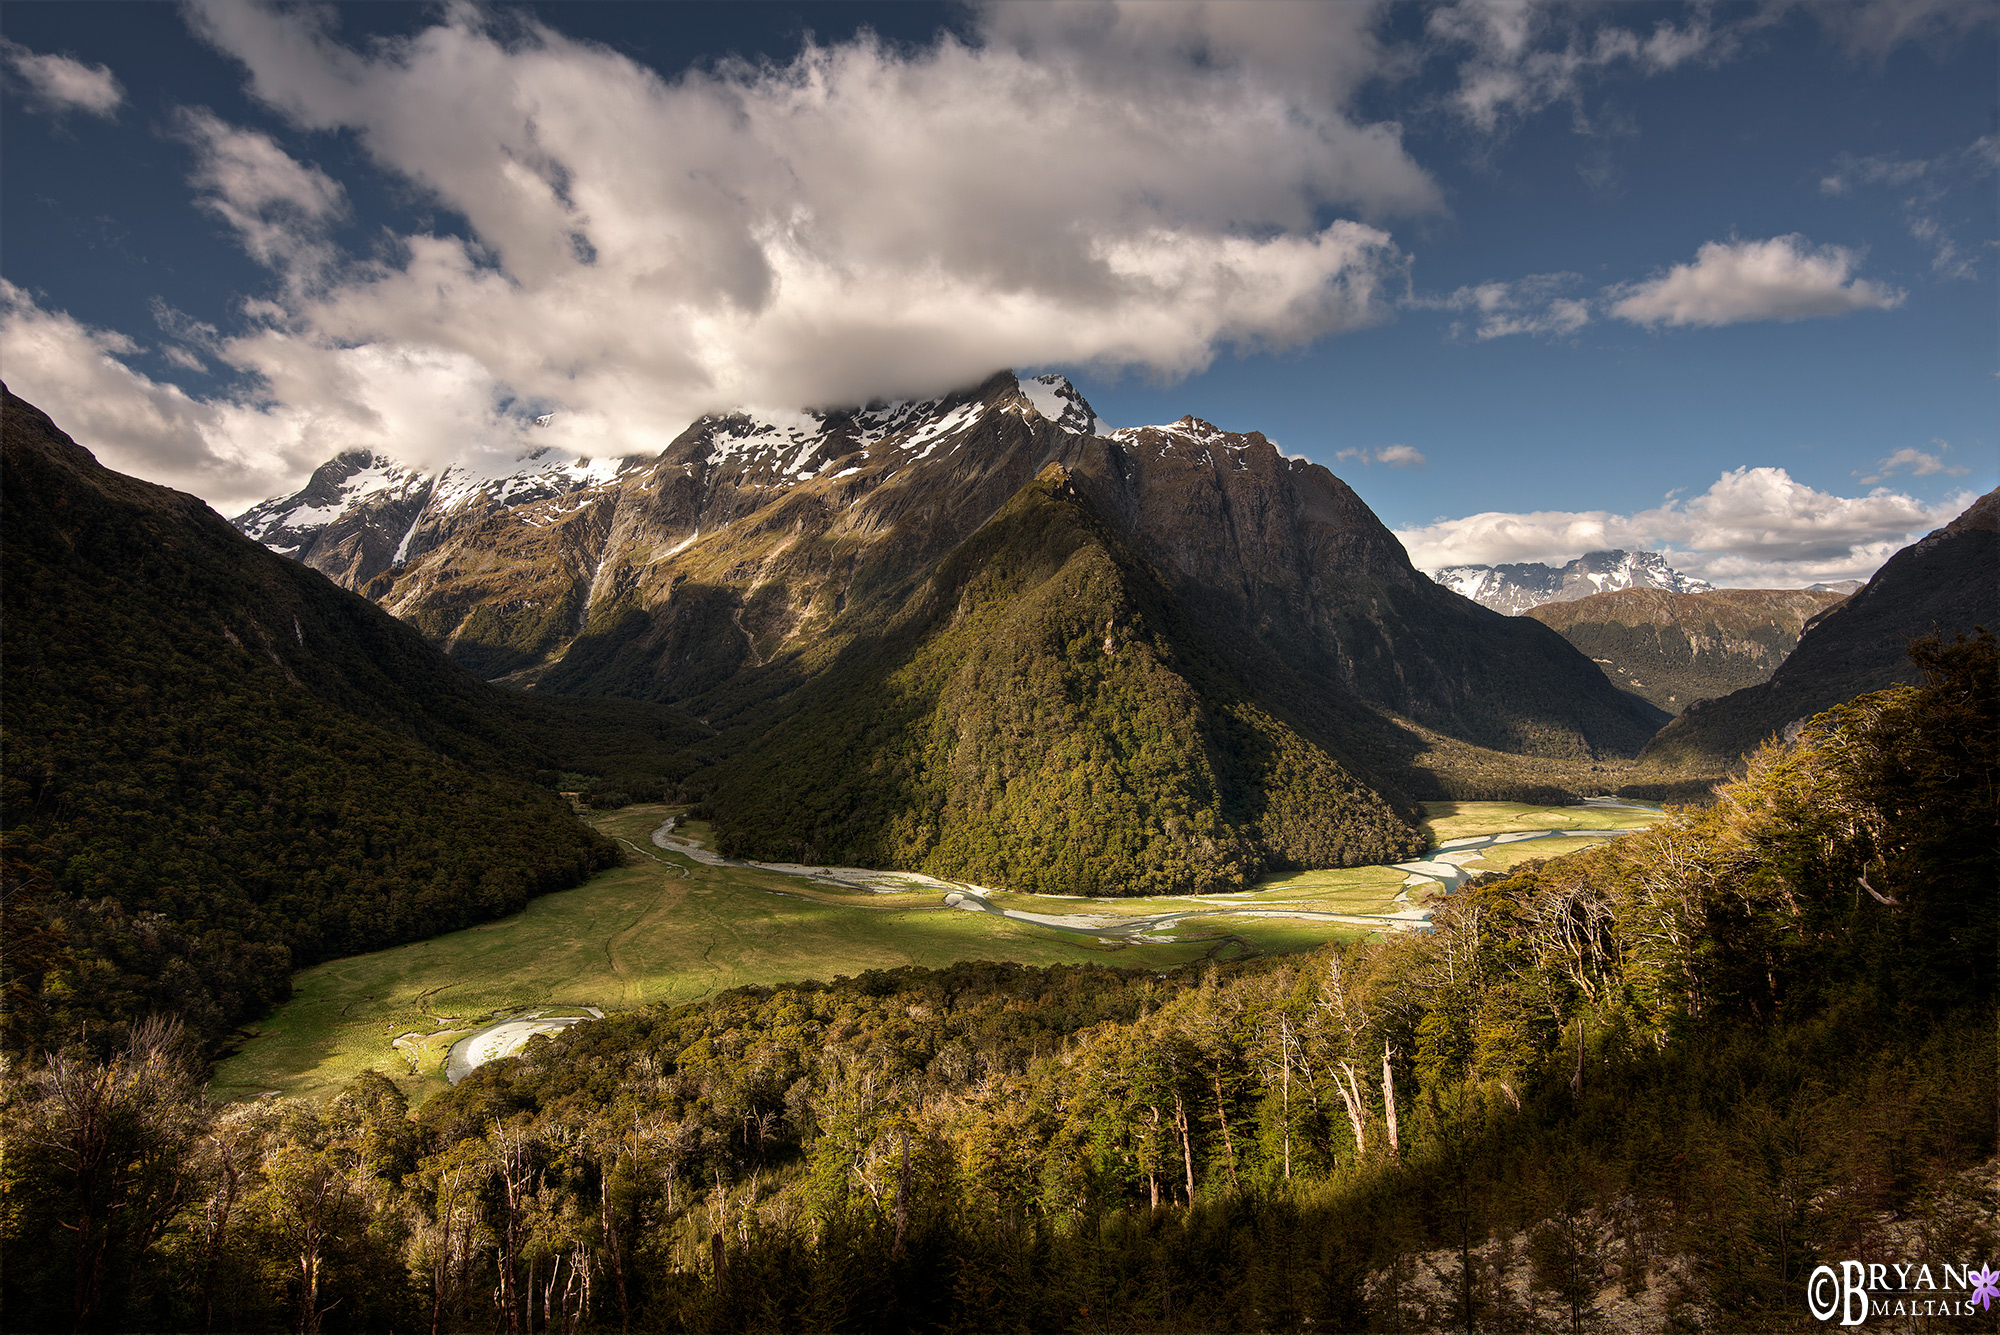
There are several notable photos along the Routeburn Track to capture. On day one you should make the easy side trip up to the incredible Key Summit. This trail goes above the forest to a panoramic view of massive mountains, valleys and big lakes. It’s classic New Zealand BIG! To get the most out of the Key Summit you should continue walking beyond the top lookout up on the spine of the mountain.
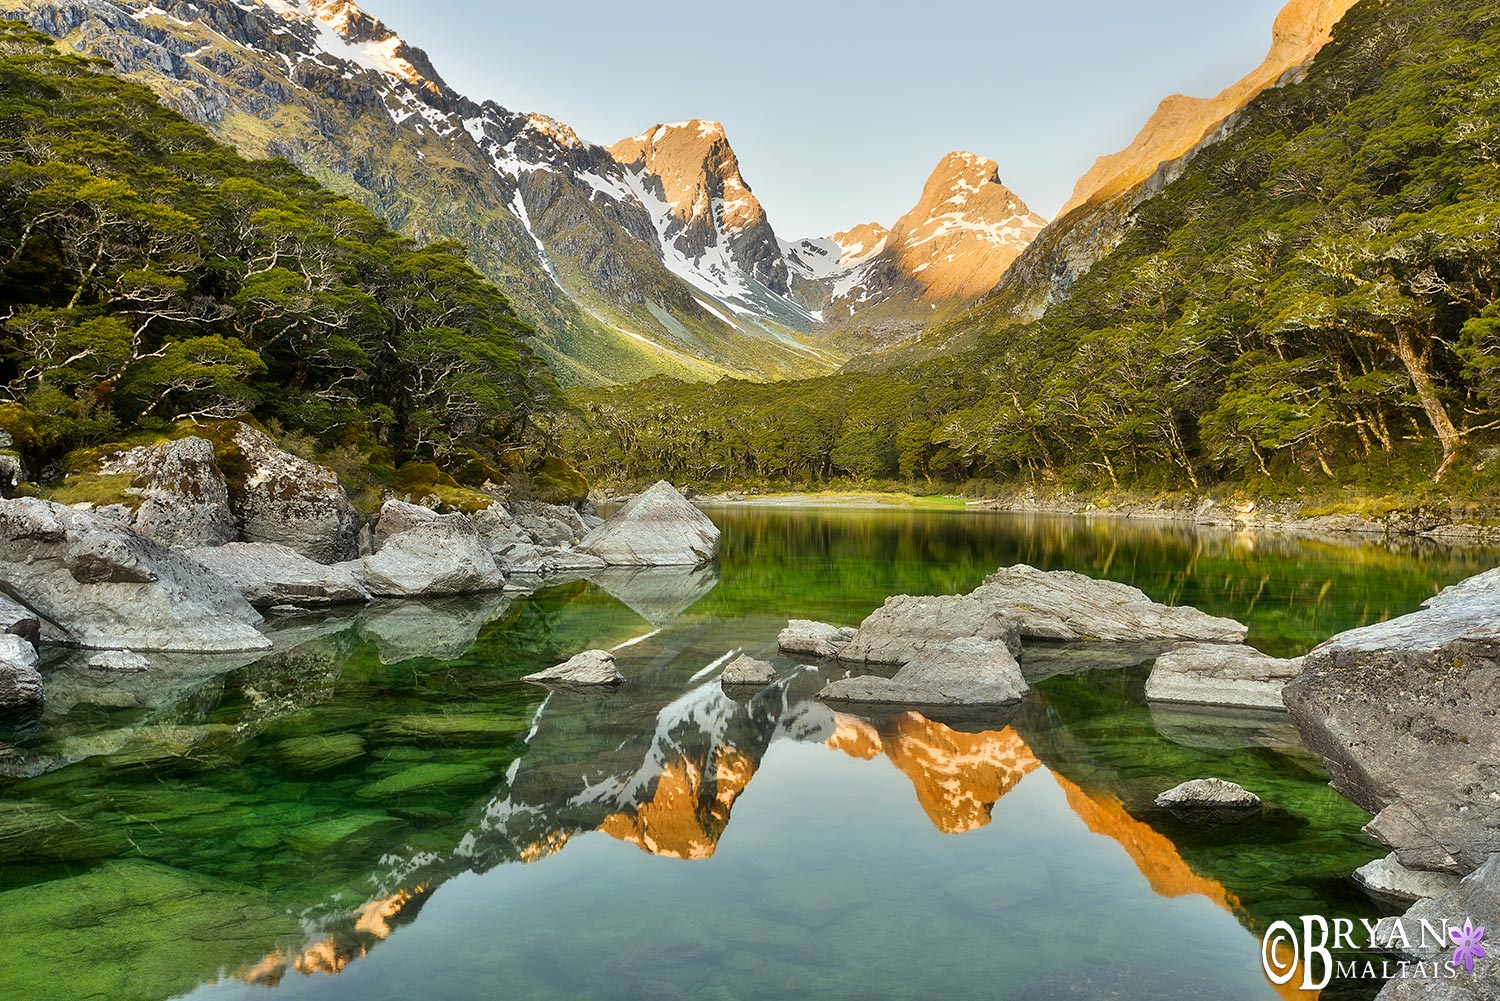
Along the main route on day 2 you pass 570 ft Earland Falls. Then you end day 2 at spectacular Lake MacKenzie, which I think is the main photo incentive for doing the Routeburn. It has crystal clear, green-tinted water with huge submerged boulders that shimmer like emeralds in the sun. Lake Mackenzie is framed by Beech forest and massive snow-capped peaks.
Day 3 is the longest and most challenging hike, but keep your tripod ready because there’s something to shoot around every bend. In order of appearance the main shots are: looking down on Lake MacKenzie from the big ascent, the Harris Saddle, Routeburn Falls, and the Humboldt Mountains. I recommend pushing all the way to Routeburn Flats on day 3 so that you can shoot the Humboldts at sunset. Day 4 is a low intensity stroll with photo ops along the brilliant blue Routeburn River.
Mt. Cook Photography
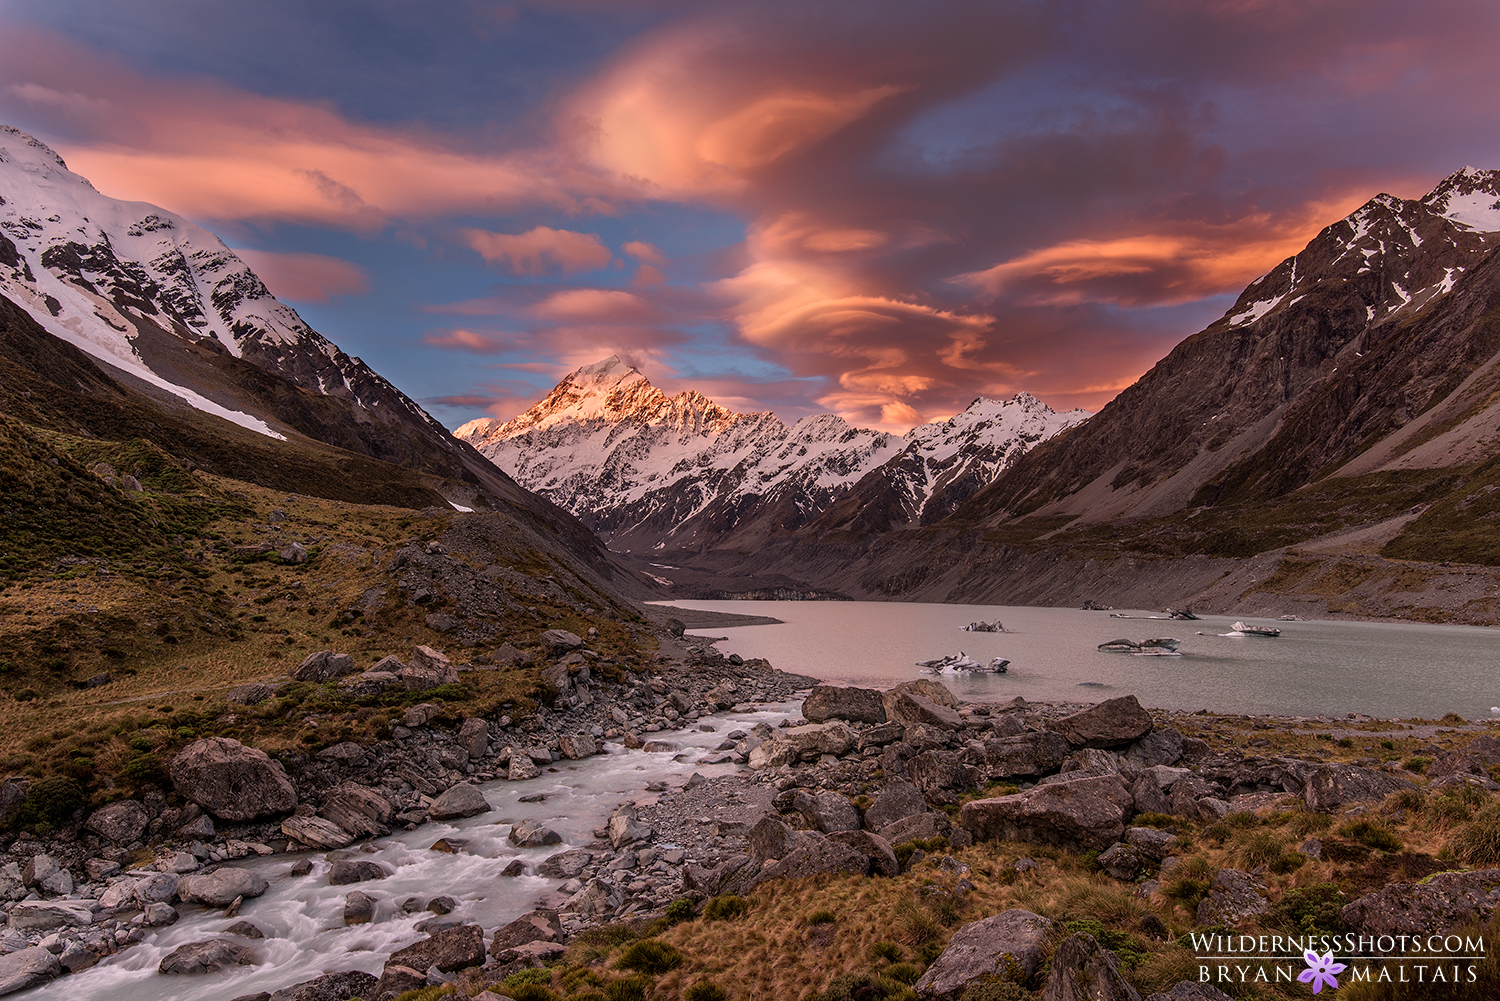
Mt. Cook is my favorite photo spot in New Zealand because it’s NZ’s largest mountain, and also an area dense with other photo opportunities. En route to Mt. Cook you drive along giant Lake Pukaki with its cerulean blue water that looks like it’s been dyed with Kool-aid. The first great view of Mt. Cook along lake Pukaki is from Peter’s Lookout. Once you reach the trailheads at the White Horse Hill campground, an easy 3 mile stroll up Hooker Valley takes you to the classic shot of Mt. Cook from Hooker Lake. Hooker Lake only began to form in the 1970’s as Hooker Glacier receded up the valley. Today it’s alive with floating icebergs that regularly calve off the glacier.

While at Mt. Cook there are many other photo hikes. An easy one is to Tasman Lake where there are yet again icebergs to fill the foreground of your frame. If you’re up for a challenging high altitude hike, the tramp up to Mueller Hut is jaw droppingly beautiful. It’s only about 3 miles as the crow flies, but the incline is grueling. First you ascend the stairway to heaven, several thousand steps that DOC was kind enough to construct because the incline was too steep to build a trail. The second half is then a difficult scramble up through boulders, and then a flat stroll across a snow field to Mueller Hut.
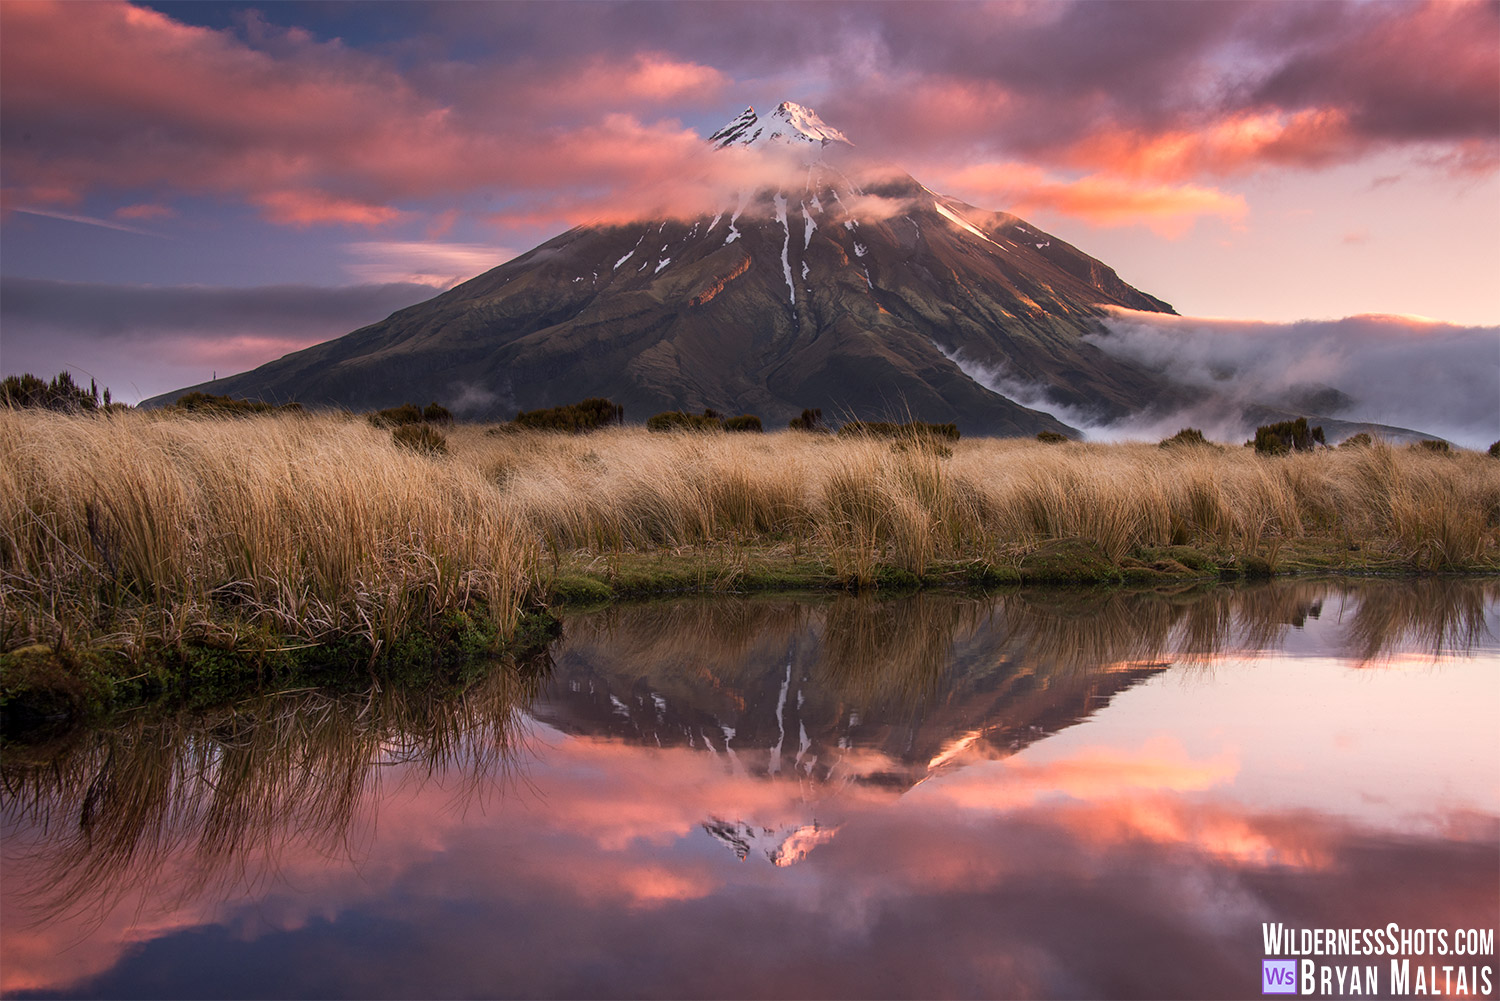
Mt. Egmont/Taranaki
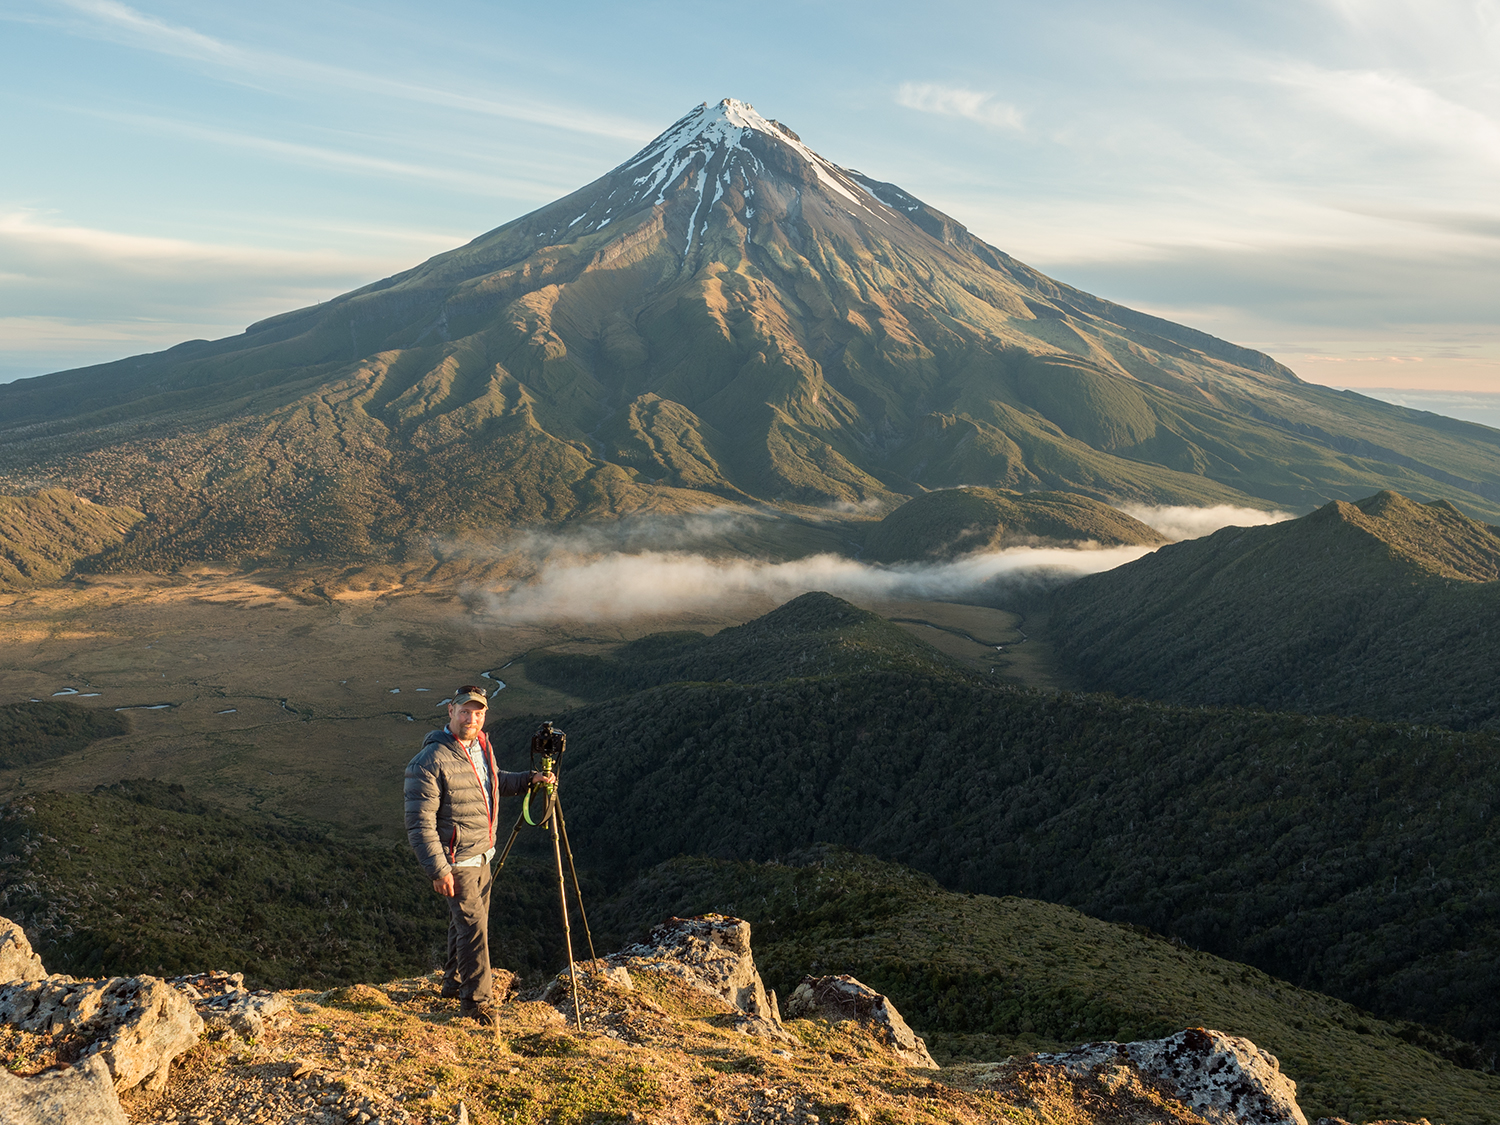
Mt. Egmont is arguably as exciting to photograph as Mt. Cook, and without a doubt my favorite photo location on the North Island. It’s a singular volcanic cone that protrudes from the east coast of the North Island. You can drive around the entire mountain to pick a view, and there are some particularly great shots around the town of New Plymouth. You can also hike a multi-day circuit around Mt. Egmont, or do a day hike up to the Pouakai Tarns for an amazing reflection shot.
Traveling in New Zealand
Before traveling to New Zealand I romanticized it as a rugged frontier lost in Oceania, sparsely populated by hearty mountain folk who live in dusty villages. The reality is that you’ll have to slash through New Zealand’s tamer side before the real adventure begins. New Zealand is a well-manicured “European” country with a modern infrastructure that revolves around tourism. Not quite as Indian Jones as I pictured. As such, New Zealand is very touristy on its facade, and choked with coach buses full of people with no intention of meeting dirt. In towns (especially Queenstown) you’ll be overwhelmed by corny themed activities and guided tours.
Want to leave it all behind? Simply hike more than 1 mile.
Travel in New Zealand is as easy as it gets. Despite the rugged landscape, supermarkets are frequent when it’s time to resupply. After spending a few days in the bush or on road you can stop at a holiday park to recharge. Holiday parks are campgrounds with hot showers, laundry, trash dump, wi-fi and communal kitchens. They’re frequent throughout the country and cost between $15-25 NZD per person.
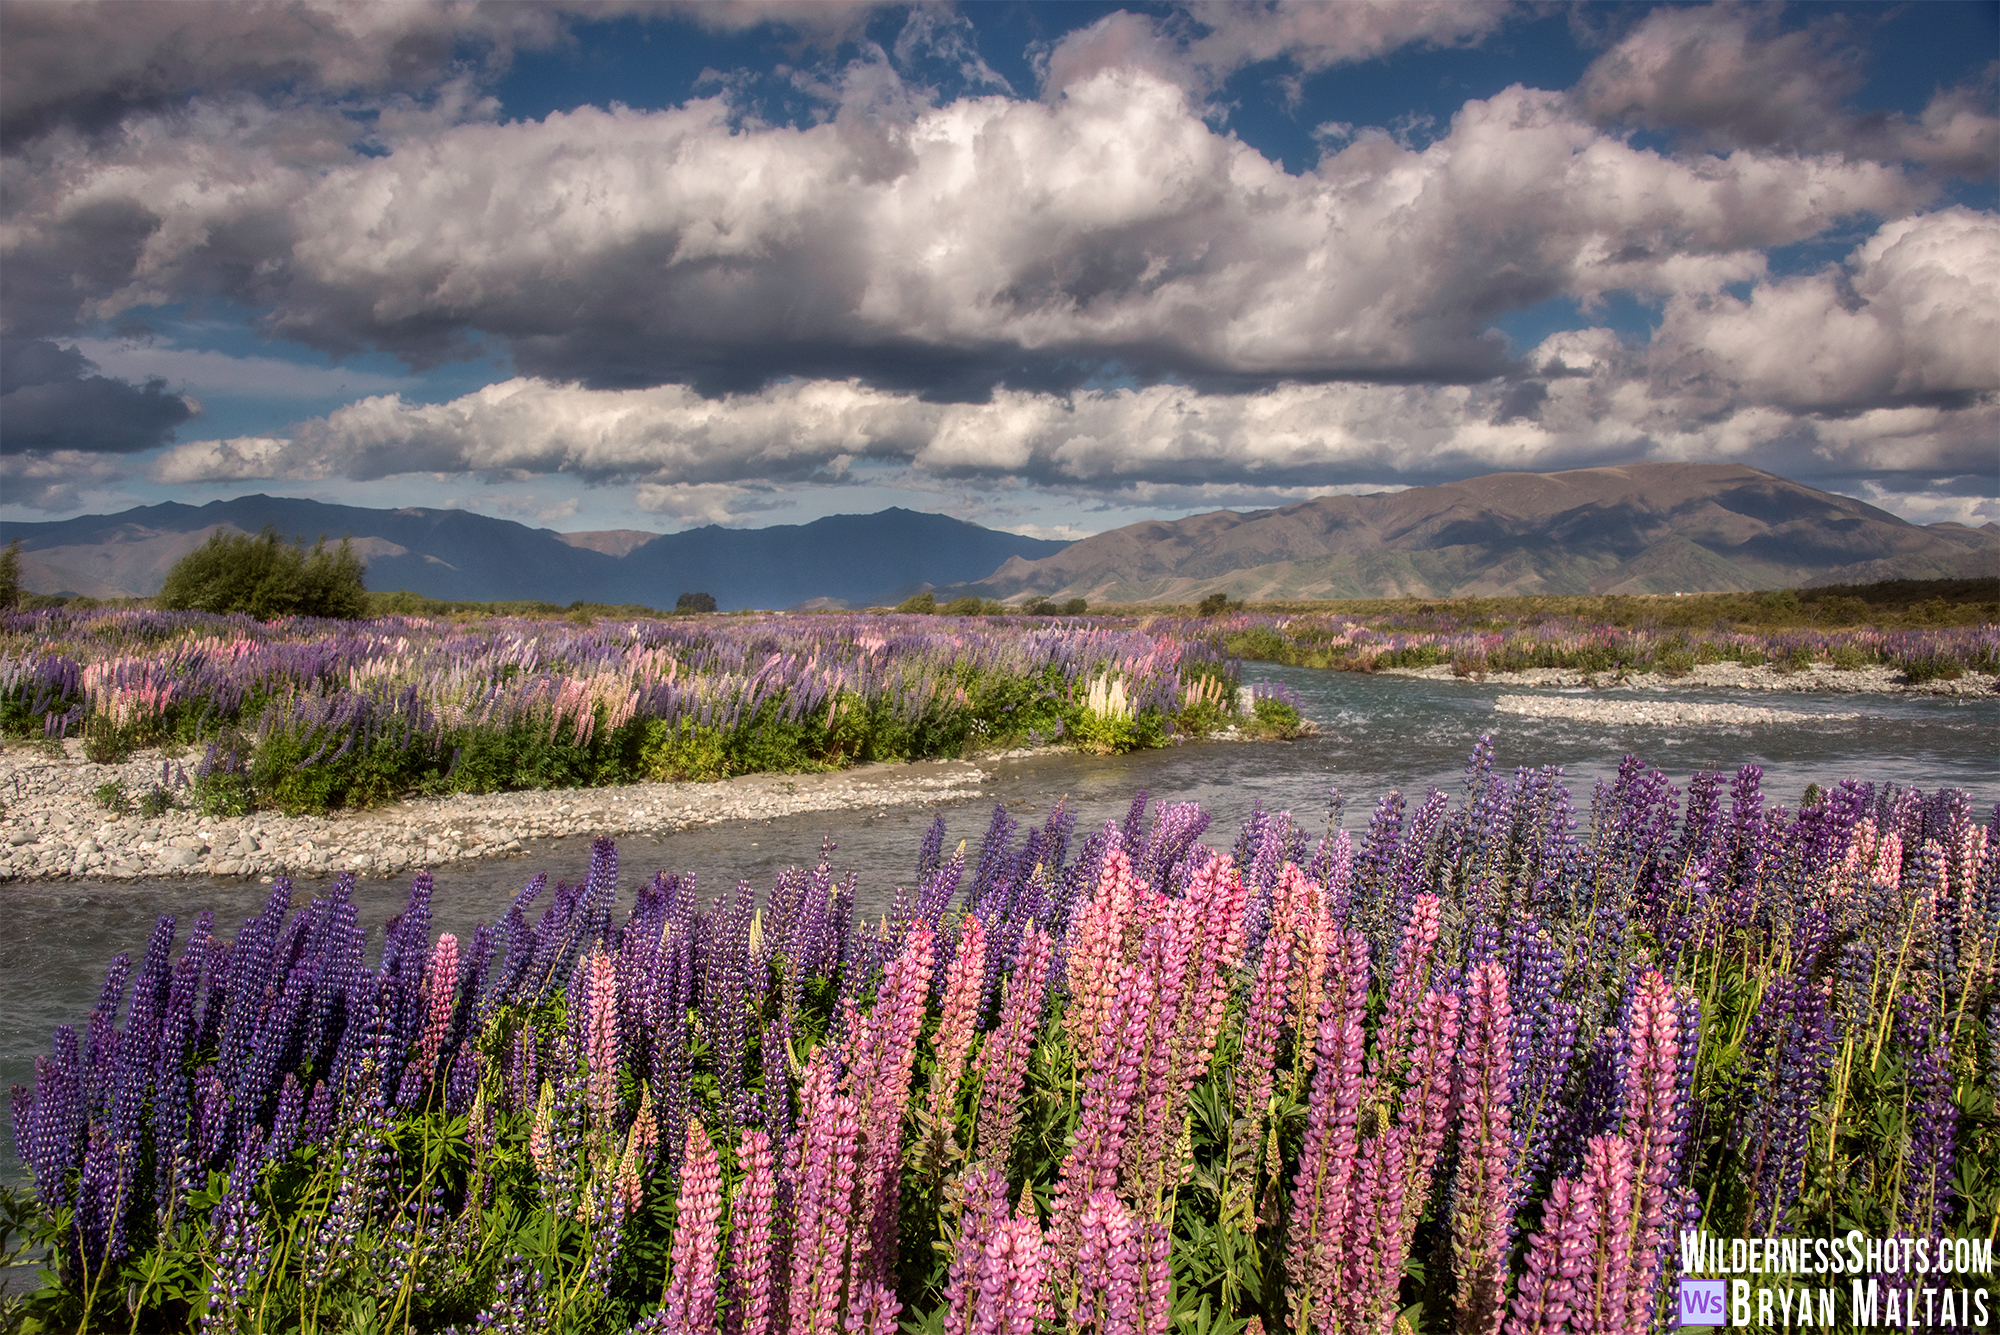
An introduced invasive weed, Lupines grow in many places on the South Island
Renting a Campervan in New Zealand
You have a few choices of transport in New Zealand. You can rent a campervan, or rent a car and use a tent instead to save money. You can also rent a vehicle and sleep in hostels/motels. You can also realistically hitchhike around with your gear and take buses. However, assuming that you’re a photographer, and have a budget to work with, a campervan is the only way to travel to provide maximum adventure in a limited time. It’s also a huge money saver because you won’t have to pay for lodging. As for where to park overnight, there are several options. There’s usually a Department of Conservation campground near most destinations that you’d want to photograph. Another good option are Holiday parks, which I mentioned above. Where legal, you can also freedom camp, which is simply pulling off the road in more remote areas into a vacant spot. This is only permissible, however, if you leave no trace and no rubbish. The biggest advantage to traveling by campervan is the flexibility to arrive right at your destination, any time of day. Hostels and motels can’t give you that leeway, and are usually overpriced in NZ.
The campervan experience can vary widely between companies. On my first visit to NZ I tried to keep it low budget, and what I got was a company that embellished their vans’ amenities, had scammy insurance different from what was advertised online, and a gaudy paint job that was supposed to be “charming”, but was really just a marketing gimmick and identified me as a tourist. Hind site, right? Luckily I also had a great experience that was the opposite of that.
Driving in NZ is an adventure! Most obviously, they drive on the left, and you WILL drive on the wrong side of the road at least once before you get the hang of it. Well, I did anyway…more than once actually. They don’t have major interstates like we’re used to, and even the main highways are mostly narrow 2-lane roads with no shoulder. The frequent bridges are mostly one-lane where you must yield to oncoming traffic. Being that much of New Zealand is comprised of steep, densely packed mountains, the roads are tightly coiled with winding switchbacks. They’re slow-going, and you should budget a few extra hours of driving time on longer trips from what your GPS reckons.
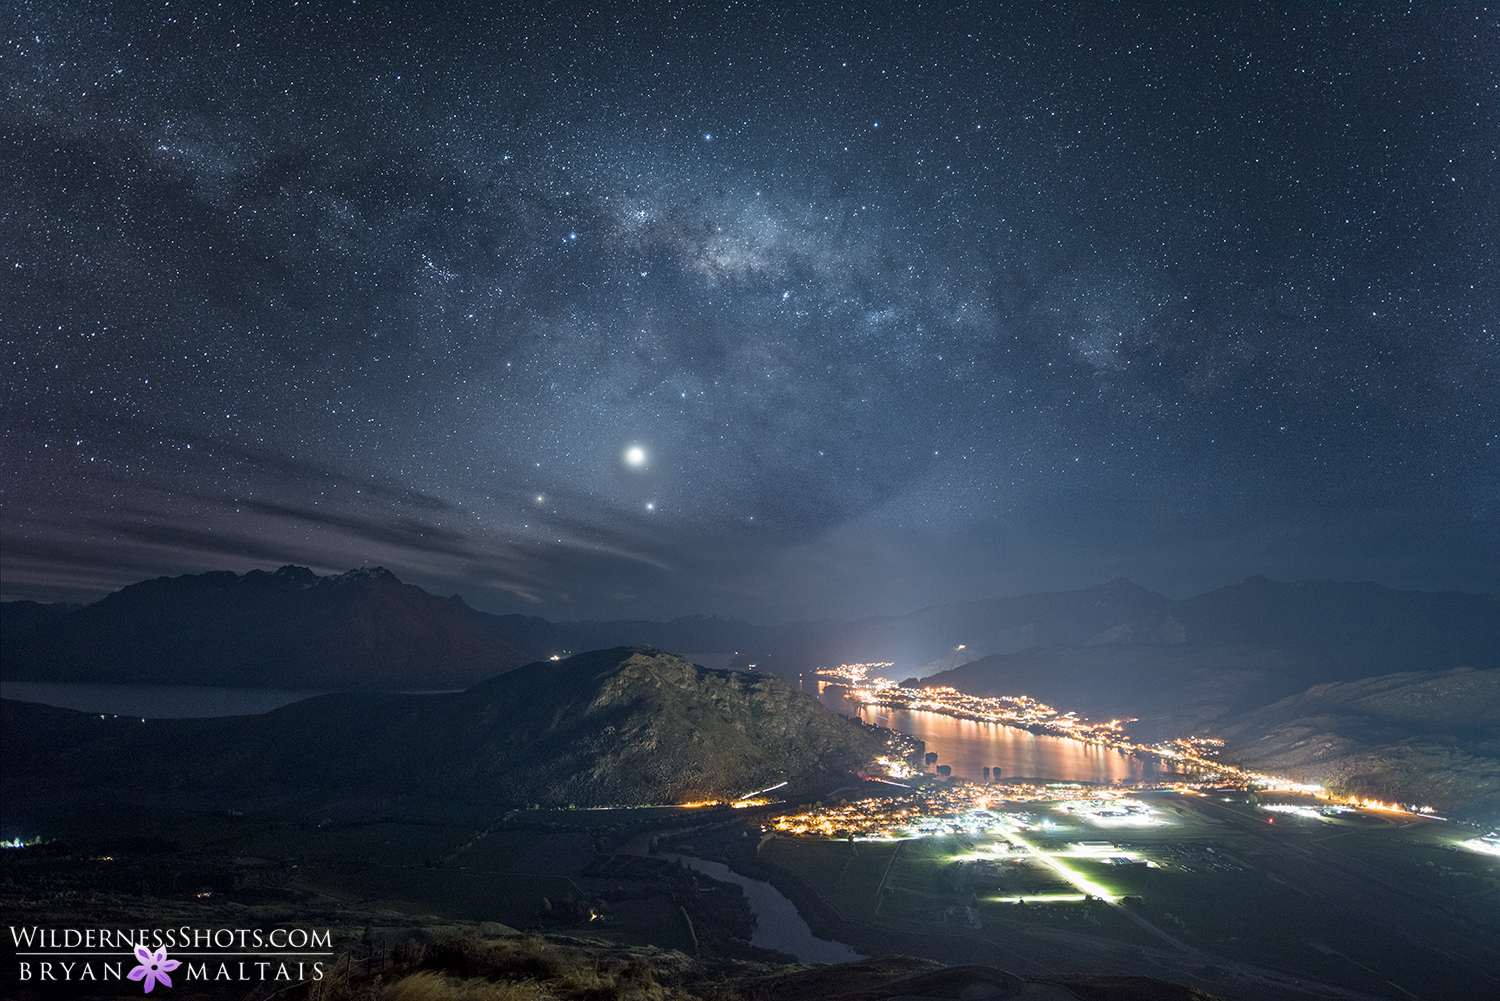
Queesntown with the Milky Way above it
Photographing in New Zealand
It’s not as if shooting landscape photography in New Zealand is much different than anywhere else, but there are a few nuances that might change your strategy slightly. First, since water is EVERYWHERE, bring a neutral density filter. It’s personal preference whether a 6, 8 or 10 stop ND filter is best. A 10 stop is best for when you need a 30 second to several minute exposure, like for blurring clouds. A 6 stop ND filter is best when you don’t need such super long exposures, like when blurring running water with a 4 second exposure. If you don’t want to carry around a set of ND filters, just get a 10 stop because it can do everything- you’ll just be using higher ISO’s at shorter shutter speeds.
Because of all that ubiquitous flowing water you should never leave your tripod behind. Not that most landscape photographers would, but in New Zealand you can’t get away with handheld shots as often. There are also many opportunities to shoot panoramas in New Zealand, another argument for the tripod, and a panoramic leveler head for that matter.
As for lenses, a standard landscape load-out of a 16-35mm and a medium zoom are what you’ll need (or equivalent primes). In reviewing all of my photos from New Zealand, I ended up most frequently shooting at 24mm. I also shot a lot at 16mm and 35mm, and then 50 and 100mm for panorama composites. In comparison, at home in the Rockies I mostly shoot around 16mm where I’m often standing at the base of very steep mountains. These are full-frame measurements so make sure to multiply by your camera’s crop factor. I also brought along my 14-24mm f/2.8 lens for astrophotography of New Zealand’s night sky, which is more dramatic than in the northern hemisphere.
As for the golden hours, during 3 months of cumulative shooting there were only a handful of sunrises. It was usually gray and cloudy at sunrise. Sunsets were far more frequent, but even then the weather was often very tumultuous and I had to be in place for my shot and hope for the best. Most of New Zealand is a temperate rain forest after all, so this is par for the course.
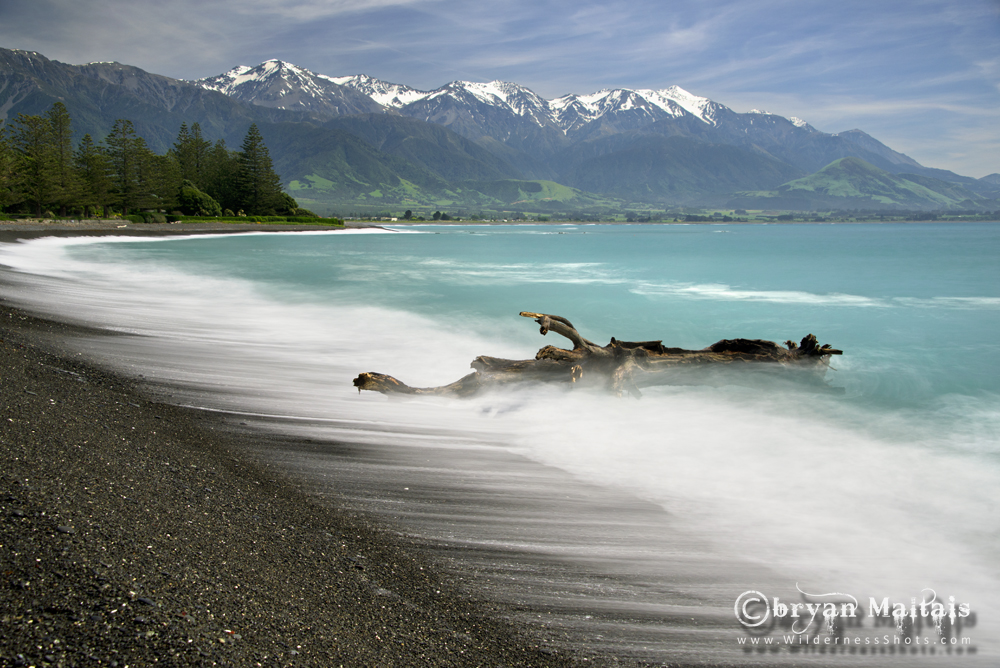
Kaikoura shore using a neutral density filter
Thank you Bryan for sharing your experience in New Zealand, it is so helpful for us who plan to visit that island soon.
Hi Bryan,
as a New Zealander (kiwi) and photographer (landscapes) it was great to read and see your photos.
Its a pity you did not have longer as central otago and haast, fiordland region has amazing scenary and the glaciers on the west coast…..alsos queenstown while very commercial (exspensive even for us kiwis) has a lot of landscape photographers who could have also pointed you in the right place….
The entire south island is full of amazing landscape areas and it does take time to do i properly….I live there and know where to go and think I would struggle to get to the best south island places in a 2 week trip and most of the places would not require a tramp like you did.
I hope you plan to come back and spend some more time here…make some kiwi friends and you will quickly learn we are open and friendly and can use our homes as your base..8-).
Hi Steve,
I was able to make it to and photograph the places you mentioned (NZ gallery), but kept this post to my absolute favorite places that I shot while there. You’re right, to miss those places would be a pity, and I intend to be back in NZ very soon. If you visit NZ once, you’ll probably think about it the rest of your life.
Thanks! I’m trying to plan a 3-4 week trip for mid-April, early-May. It’s their fall color time and you can potentially get some snow the peaks too. This was very helpful 🙂
I’d love to go back down at that time too, have a great trip Steve!
Brilliant info here. I’m heading to New Zealand in April and will be touring the South Island for 2 months in a van. I’ve made a note of all the places you went to. Aaaah, so much to see! Thanks for the article, it’s been a big help.
Thank you Nick! 2 months, I’m jealous 🙂
Stumbled upon your blog while researching about a possible NZ visit. Very good tips and photos!
Mark
Thank you Mark, glad you found it useful!
Great reading! Sounds like an awesome trip. Not a photographer but love the hiking and gorgeous scenery. Love the avalanche photo, Mt Cook, the ‘misty’ beach and, of course, Tom lives the kea, and the ferns. Thanks for sharing. K & T x
Thanks you guys, got to do some herping in NZ too…more to come.