How to use ISO in Photography
It will help you understand how to use ISO if you first understand how to use Shutter Speed here.
Along with shutter speed and aperture, ISO is the third setting that controls exposure. When you increase ISO, it adds brightness to the image. Increasing ISO has the same effect on image brightness as opening the aperture or increasing shutter speed. However, unlike the other two, it doesn’t add or subtract any real light. ISO is nothing more than digital gain that artificially brightens the image. It amplifies the actual light signal received by the sensor. As you increase ISO, so does noise in the image.
ISO range of typical cameras:
- 100
- 200
- 400
- 800
- 1600
- 3200
- 6400
- 12800
- 25600
- 32000
The unit of brightness added or reduced when you change from one ISO to the next is called an exposure value or EV (also called a stop). This doubles or halves the brightness of the photo. Increasing ISO from 200 to 400 increases brightness by 1 stop; exactly like doubling the shutter speed or opening the f/stop.
When do you increase ISO?
You increase ISO when there’s not enough ambient light to use the shutter speed and aperture that you want. Increasing ISO has the same effect as adding ambient light. Though you can also add exposure by changing the shutter speed or aperture, you often want to keep them exactly where they’re set to produce a specific look or effect in the photo, so you increase ISO instead. Here are some examples:
Say you’re using a high shutter speed like 1/3500 sec to freeze birds in flight, and the maximum f/stop to gather the most light. Late in the day when it gets darker you need to add exposure. However, you can’t do so by lengthening shutter speed because this will cause blurry birds. You also can’t add more light through the aperture because it’s already maxed out. In this case you need to increase ISO. This is why high ISO is often used in sports, wildlife and action photography.
Similarly, say you’re shooting macro photography on an overcast day. You’re using a small aperture, f/16, for maximum depth of field. You’re using a minimum shutter speed of 1/250 sec to prevent blur from hand-holding the camera. However, at base ISO, these settings produce an underexposed image. Since you need to keep shutter speed and aperture where they are to make the picture look sharp, you would increase ISO for proper exposure.
When there’s no movement to freeze, like when shooting a still scene on a tripod, you can set the base ISO and leave it there. For instance, in landscape photography, where neither the camera nor the subjects are moving. You can use a long shutter speed to gather all the necessary light for a well-exposed shot while keeping the aperture and ISO settings constant.
How do you determine which ISO to use?
To determine how much to increase ISO, you have to understand minimum shutter speed. This is the slowest possible shutter speed while still freezing motion in the photo (or allowing the desired amount of motion if you’re trying to capture blur). You increase ISO until the minimum shutter speed needed for your shot is reached.
For example, when photographing a stationary subject handheld, you need to use a shutter speed equal to or greater than the lens focal length (known as the reciprocal rule). For instance, when using a 50mm lens without a tripod, use at least 1/50th sec to prevent blur. To capture a walking animal sharply, you might need 1/1000 sec, and for fast-moving subjects like a hummingbird, you may need 1/4000 sec. Conversely, to capture motion blur, like when turning rushing water into silk, use a low or base ISO.
While some guides give oversimplified rules like “ISO 100 in bright light” or “ISO 800 in dim light,” these are inaccurate and lead to poor technique. Instead, the best practice is to adjust ISO until you achieve the minimum shutter speed needed for your shot.
What is Base ISO?
To use the full ISO range effectively, it’s crucial to understand the base ISO. Typically, most cameras have a base ISO of 100. This is the lowest ISO setting where the camera doesn’t add gain to boost brightness. Regardless of the ISO you select, all images are initially captured at this base ISO. Gain is added whenever a higher ISO is set.
High ISO causes reduced Image Quality
You should always shoot at the lowest ISO possible for optimal image quality. Think of increasing ISO to add brightness like turning up the volume on a speaker. The song gets louder, but so does distortion. Increasing ISO adds image noise, which looks like grain. It’s minimal at low ISO, but images taken at high ISO can appear to be made of sand. Noise also worsens in dark photos taken under limited light. Additionally, increasing ISO reduces dynamic range, limiting detail recovery in highlights and shadows during post-processing.
Don’t be afraid to use high ISO when necessary to reach the minimum shutter speed. A grainy image is better than a blurred image!
AI noise reduction has come a long way at convincingly reducing severe noise while retaining image detail. Still, you shouldn’t use this as an excuse to use high ISO when unnecessary. You can still discern a noisy image that has been smoothed out by software. Good in, good out.
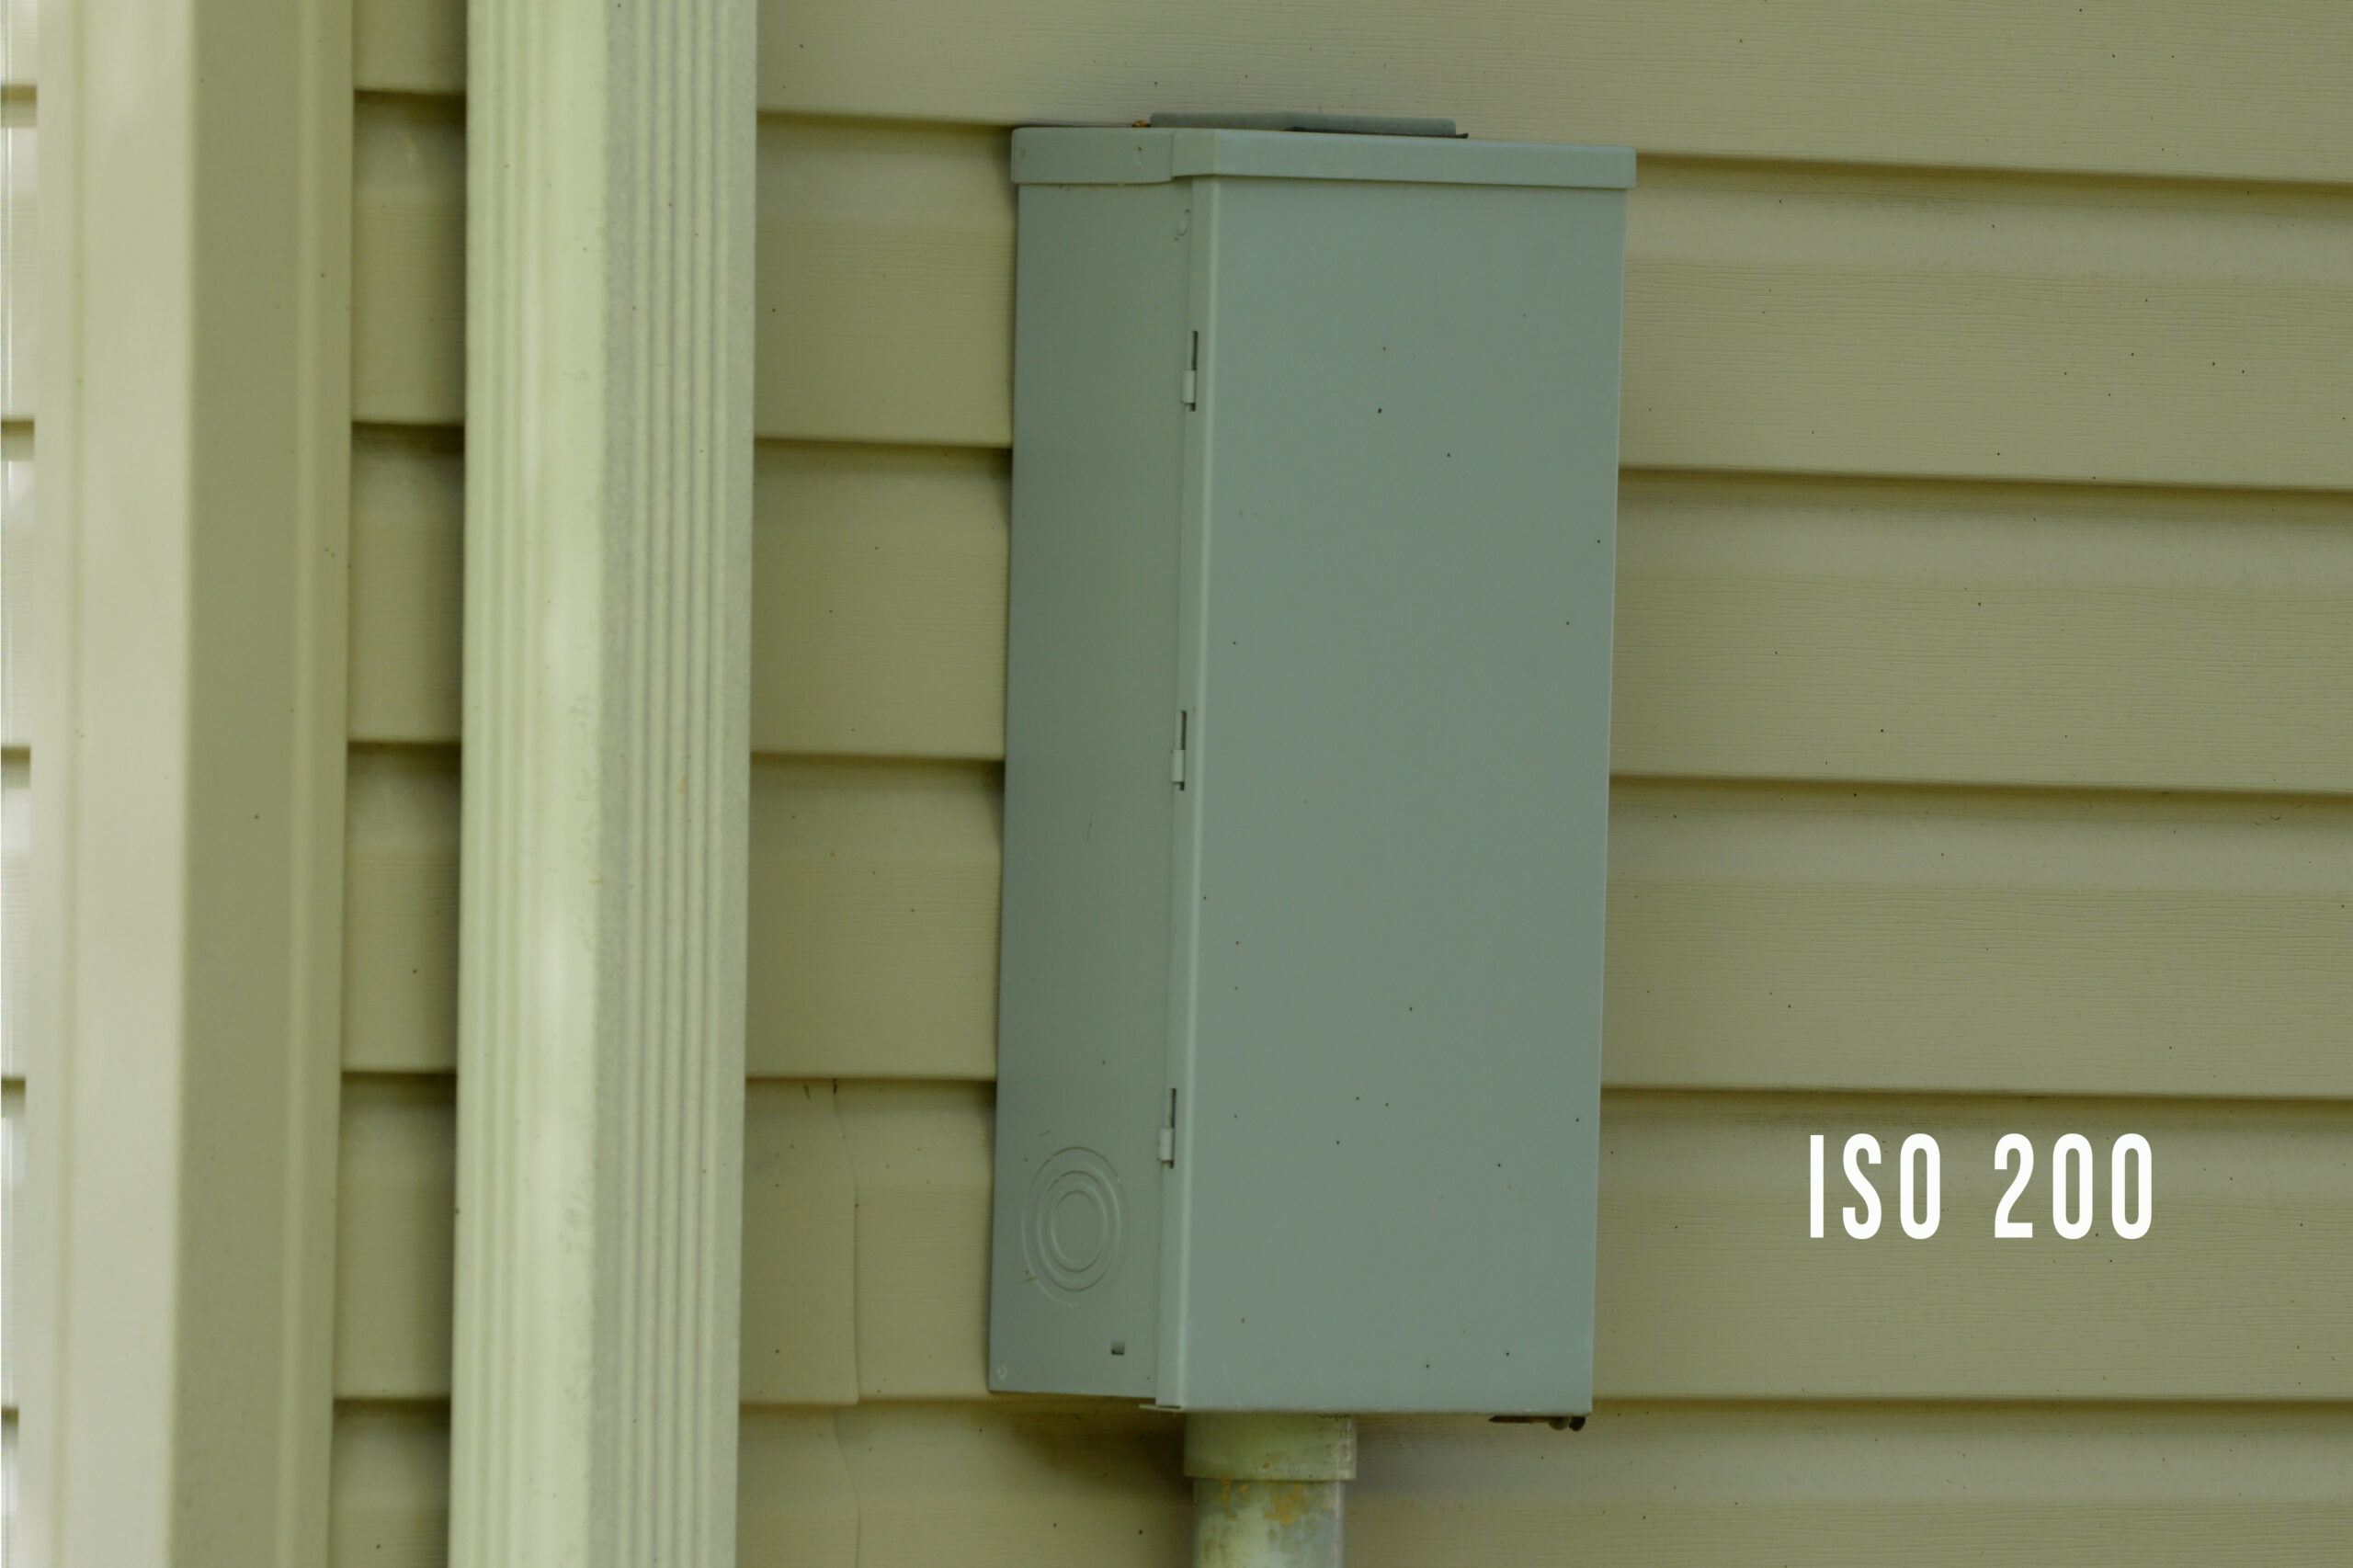
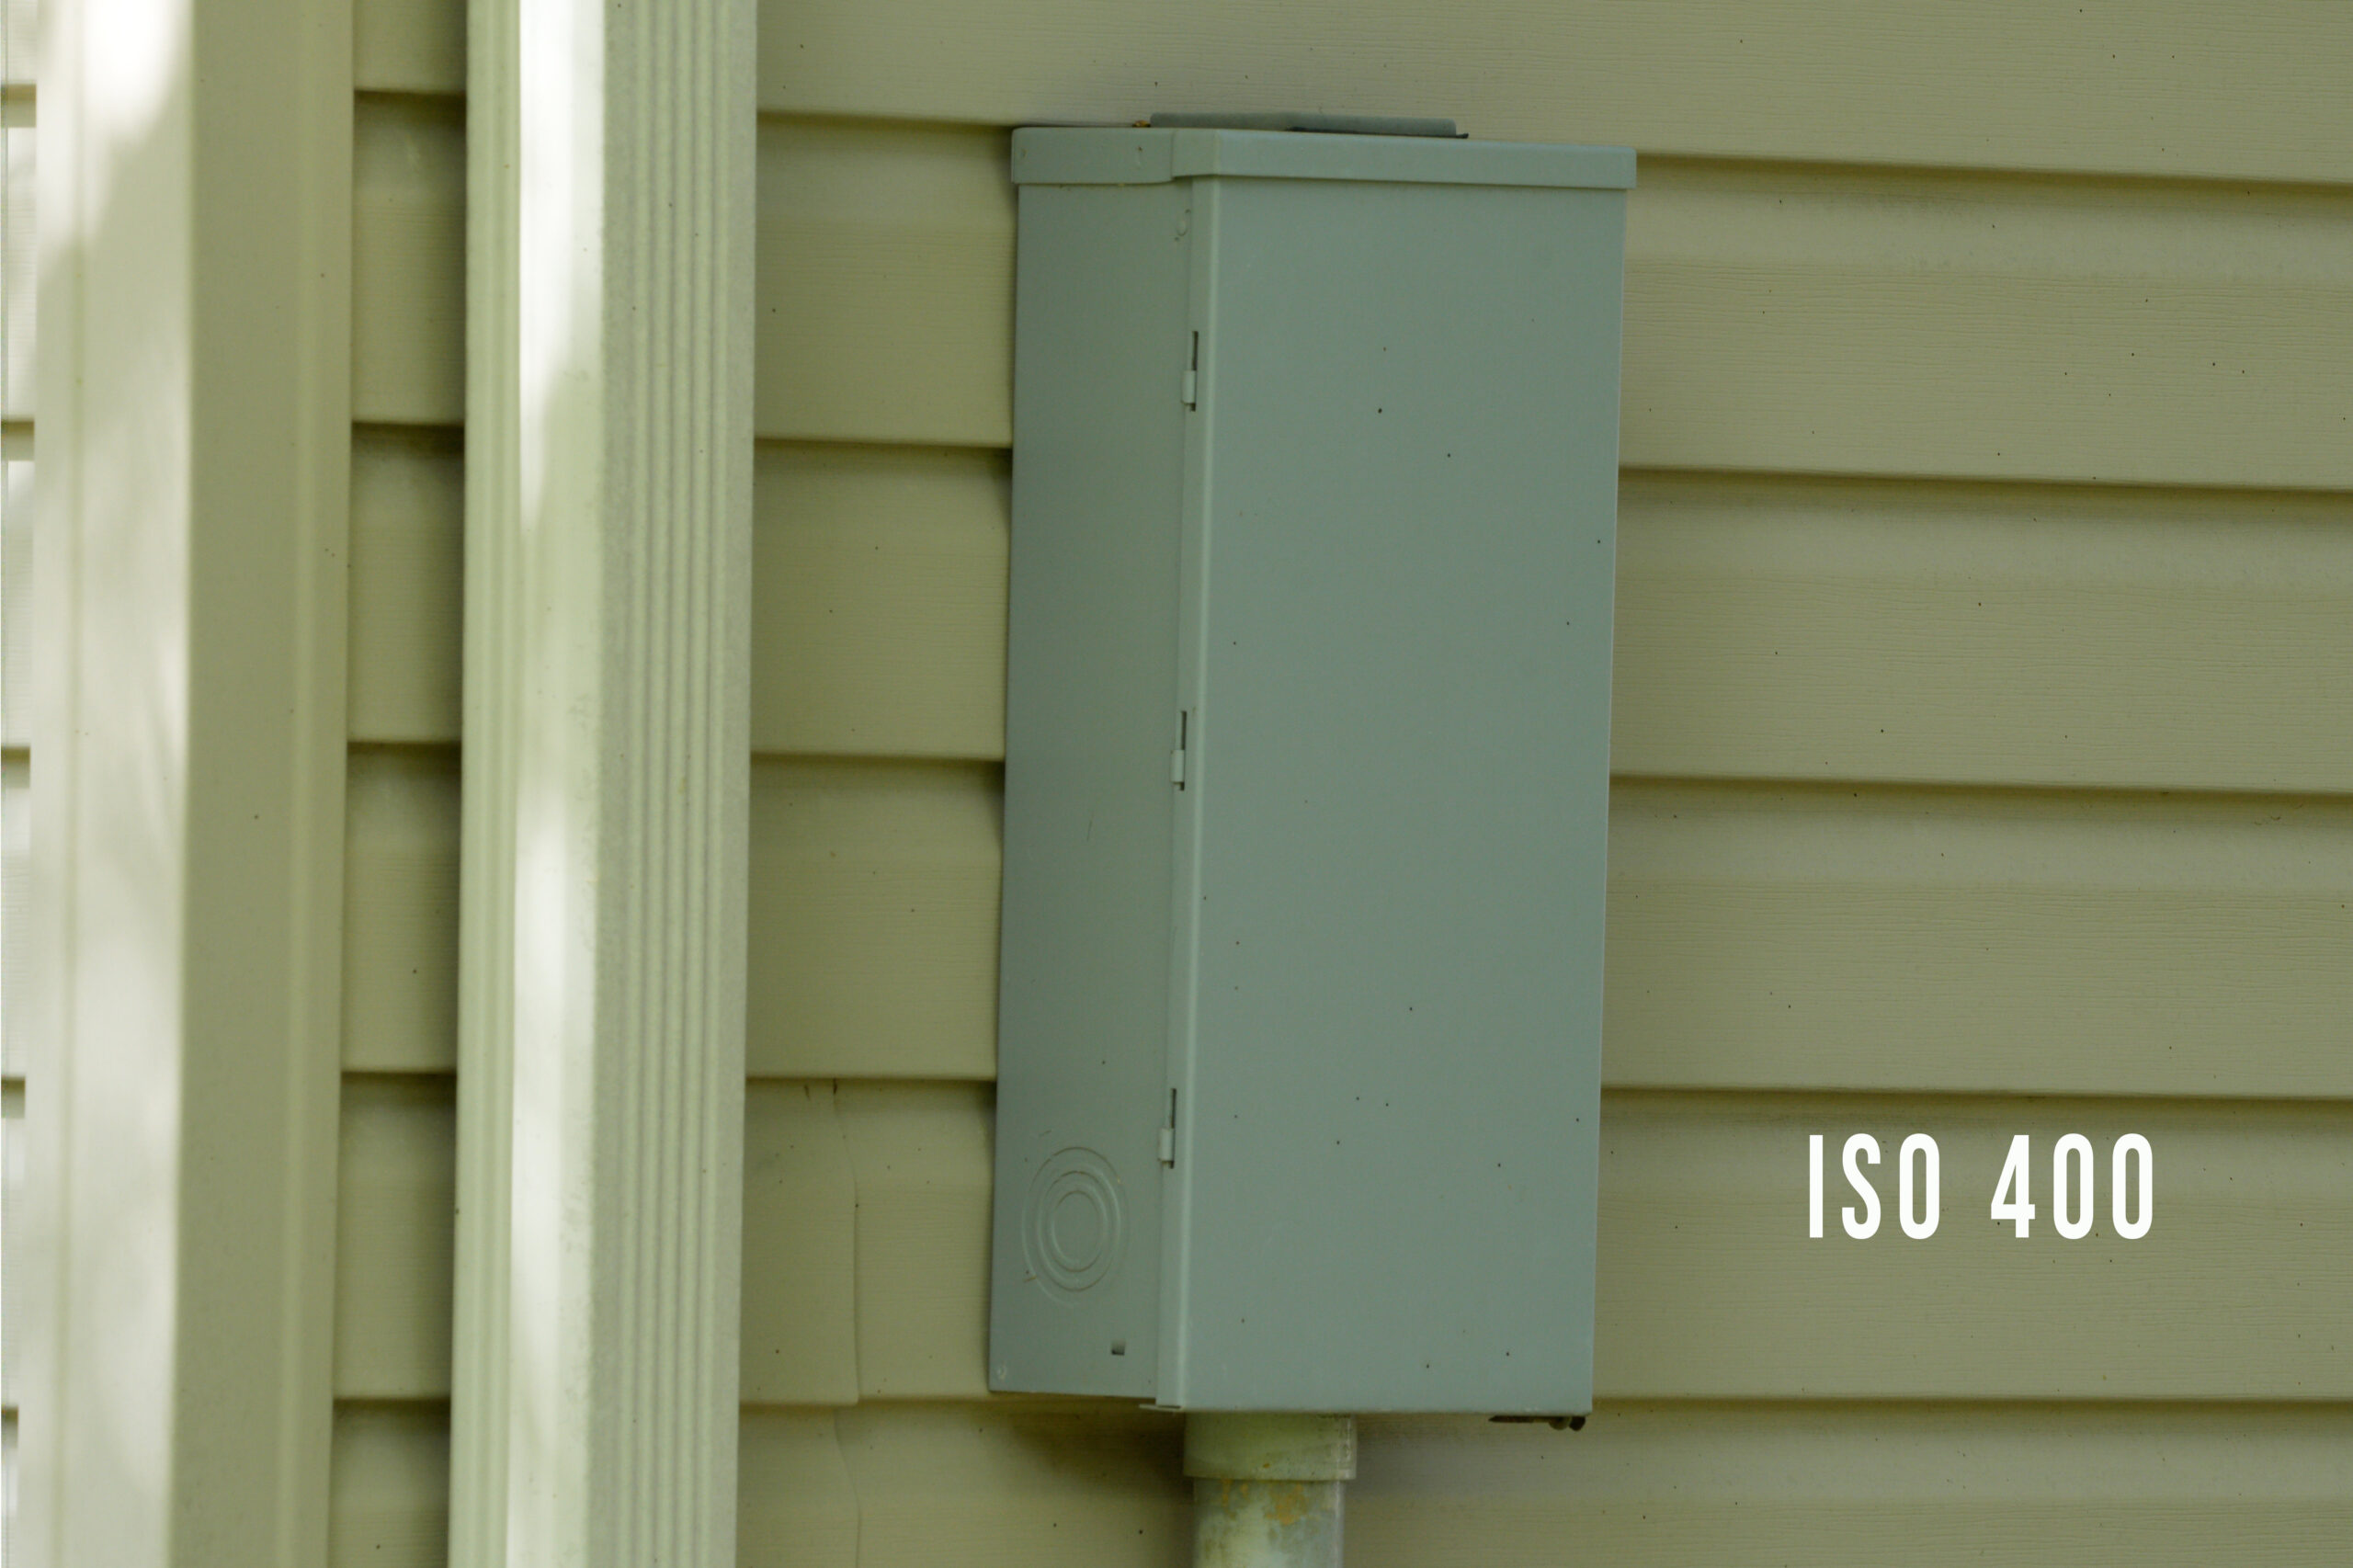
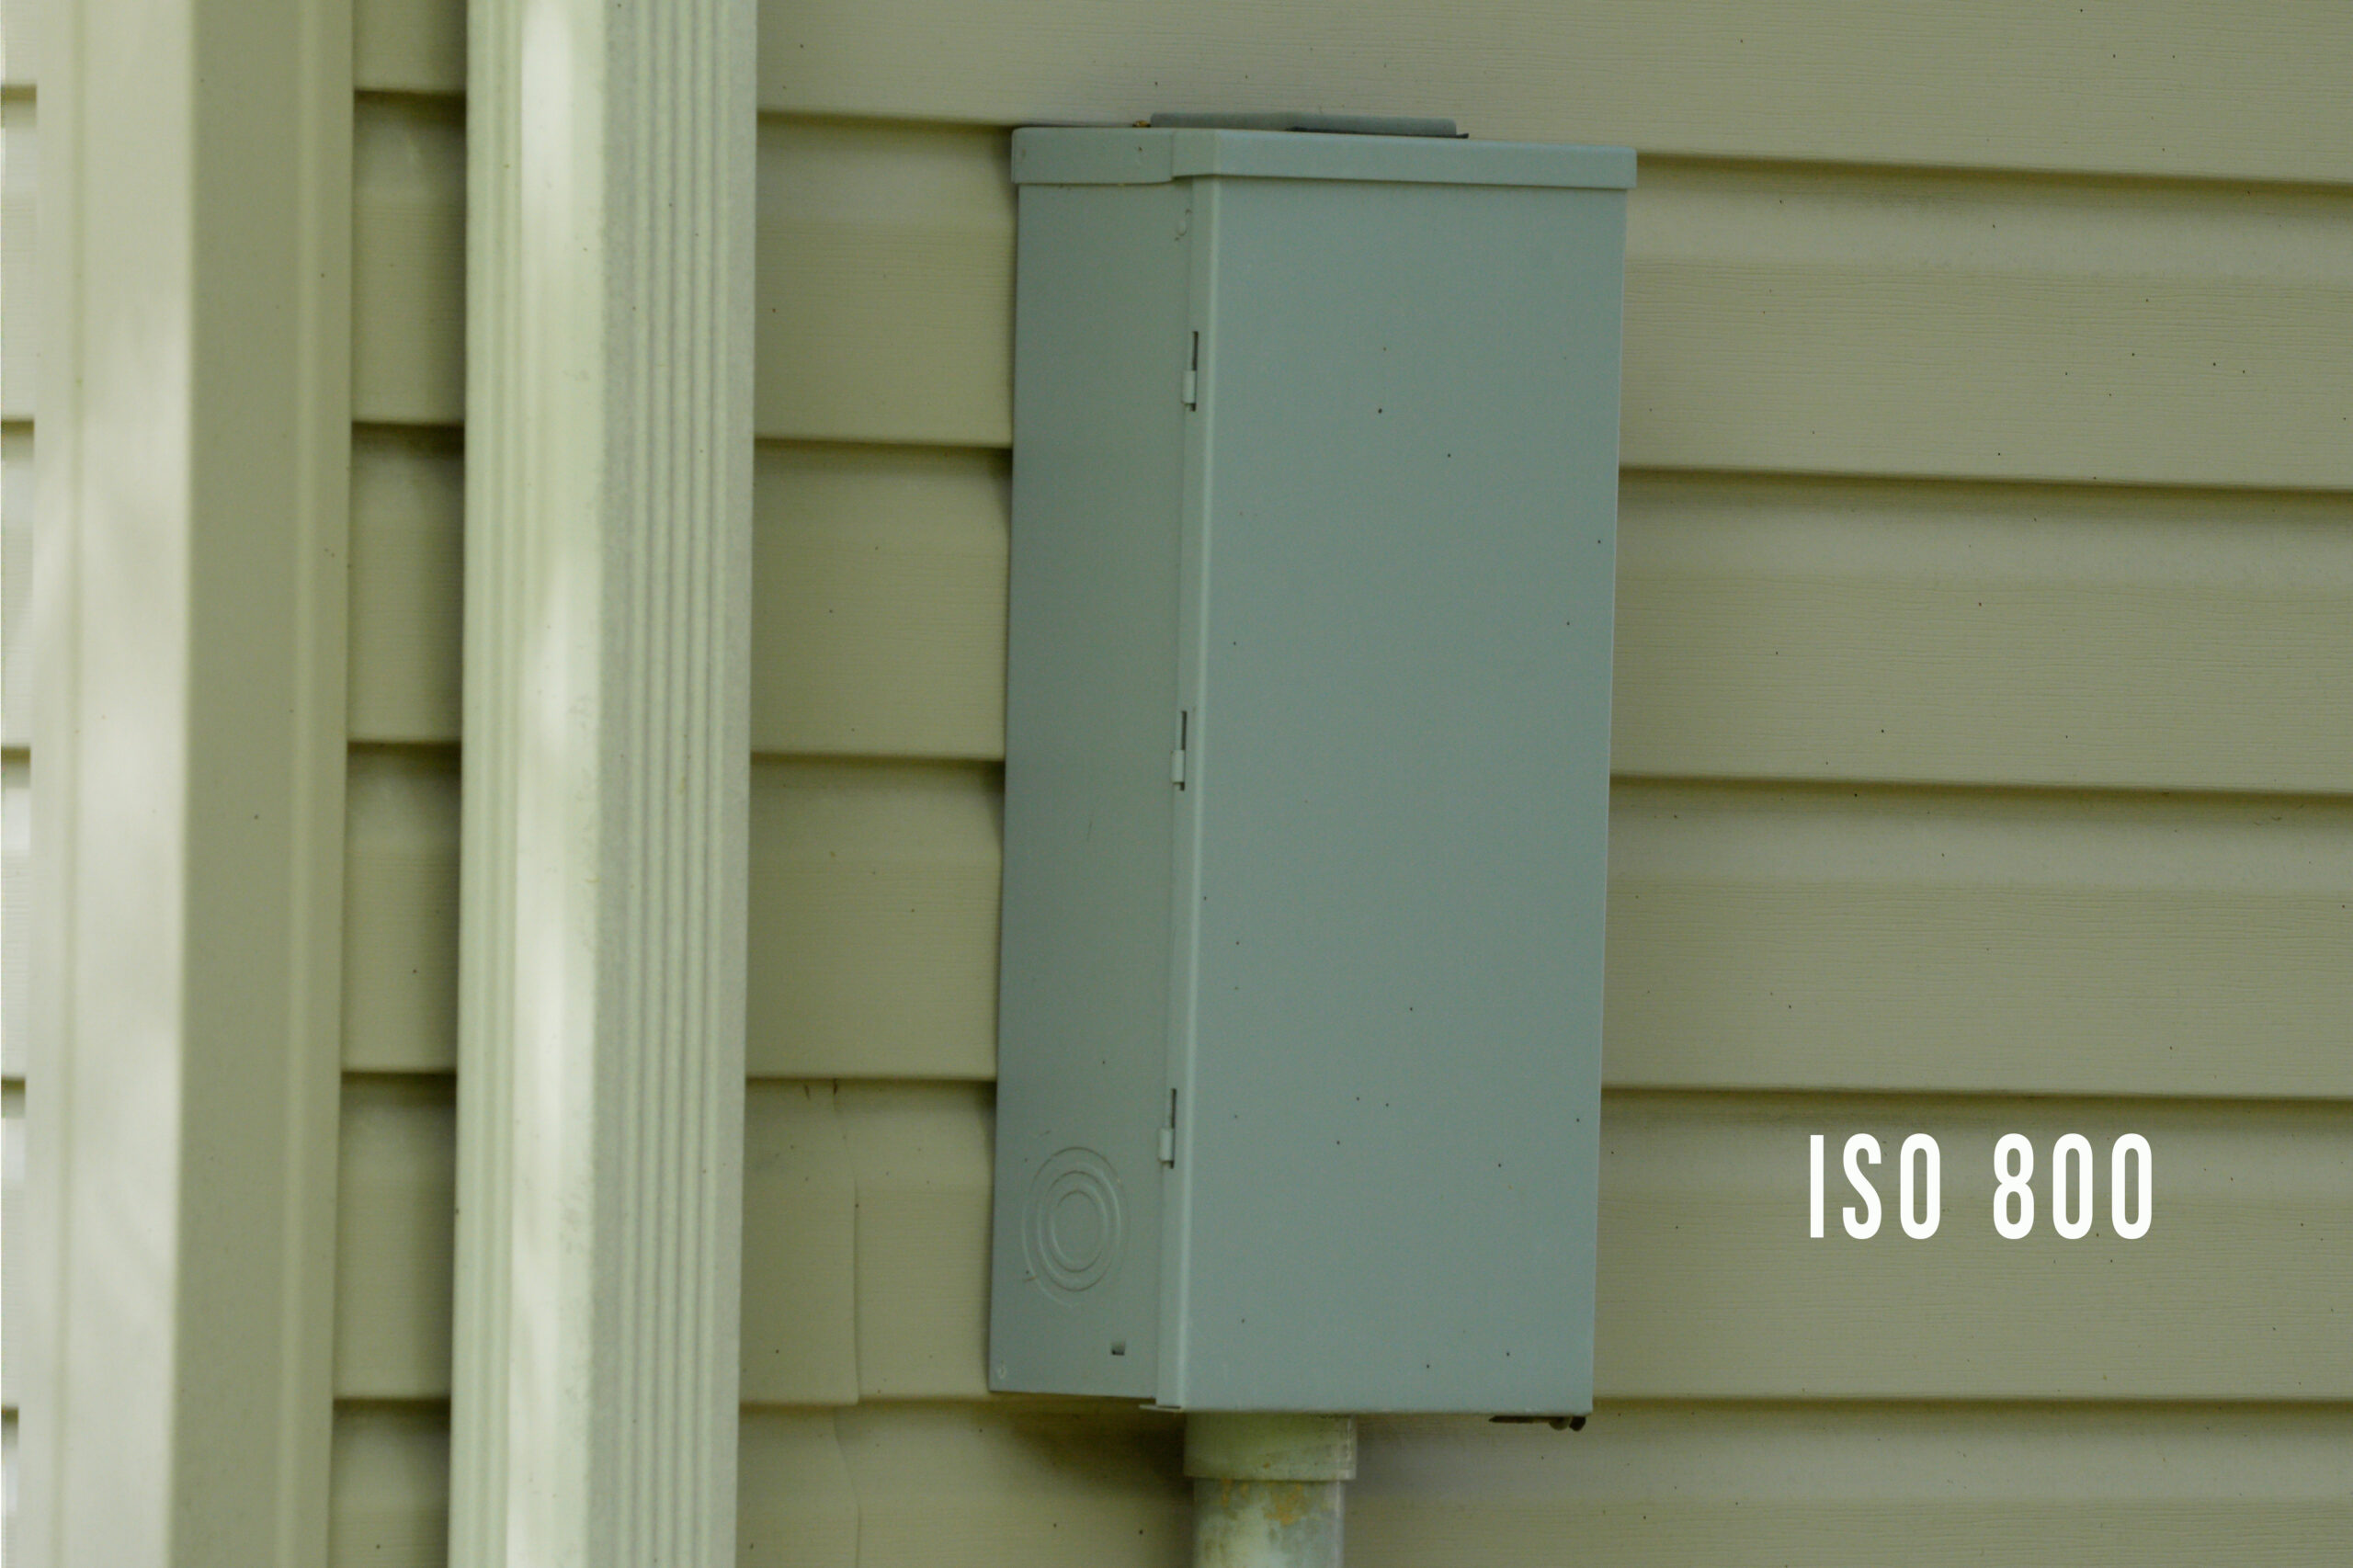
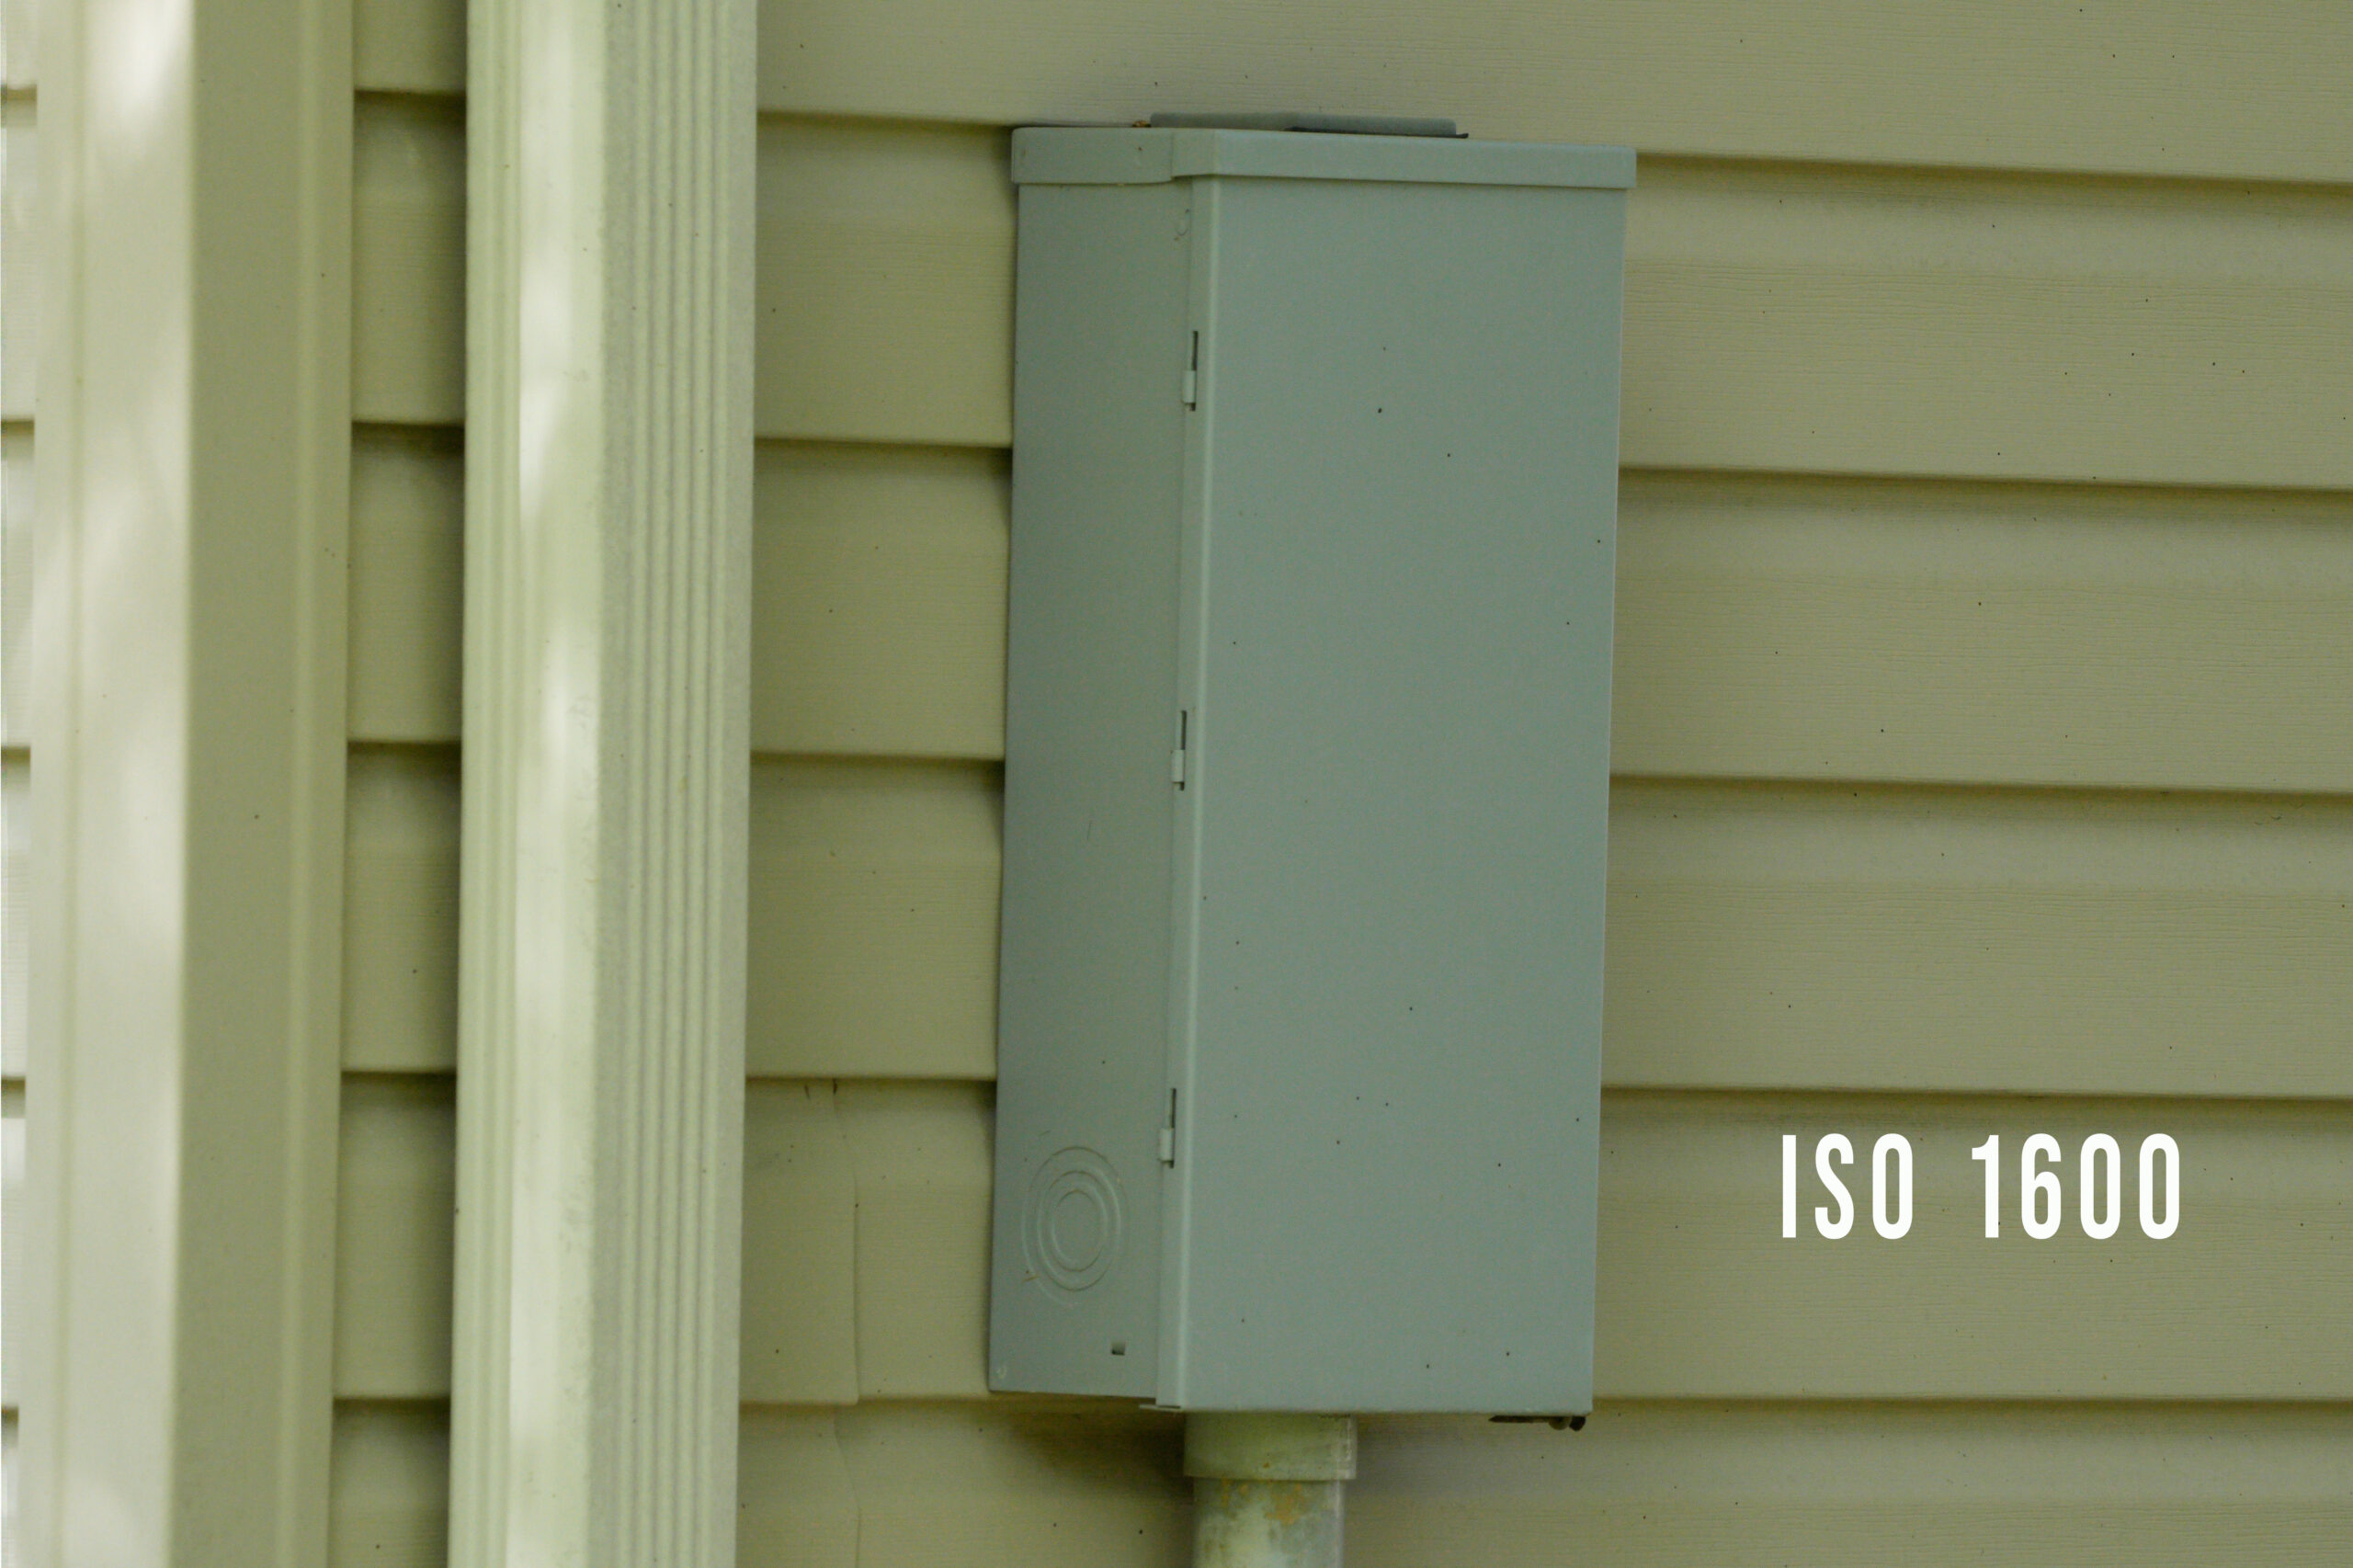
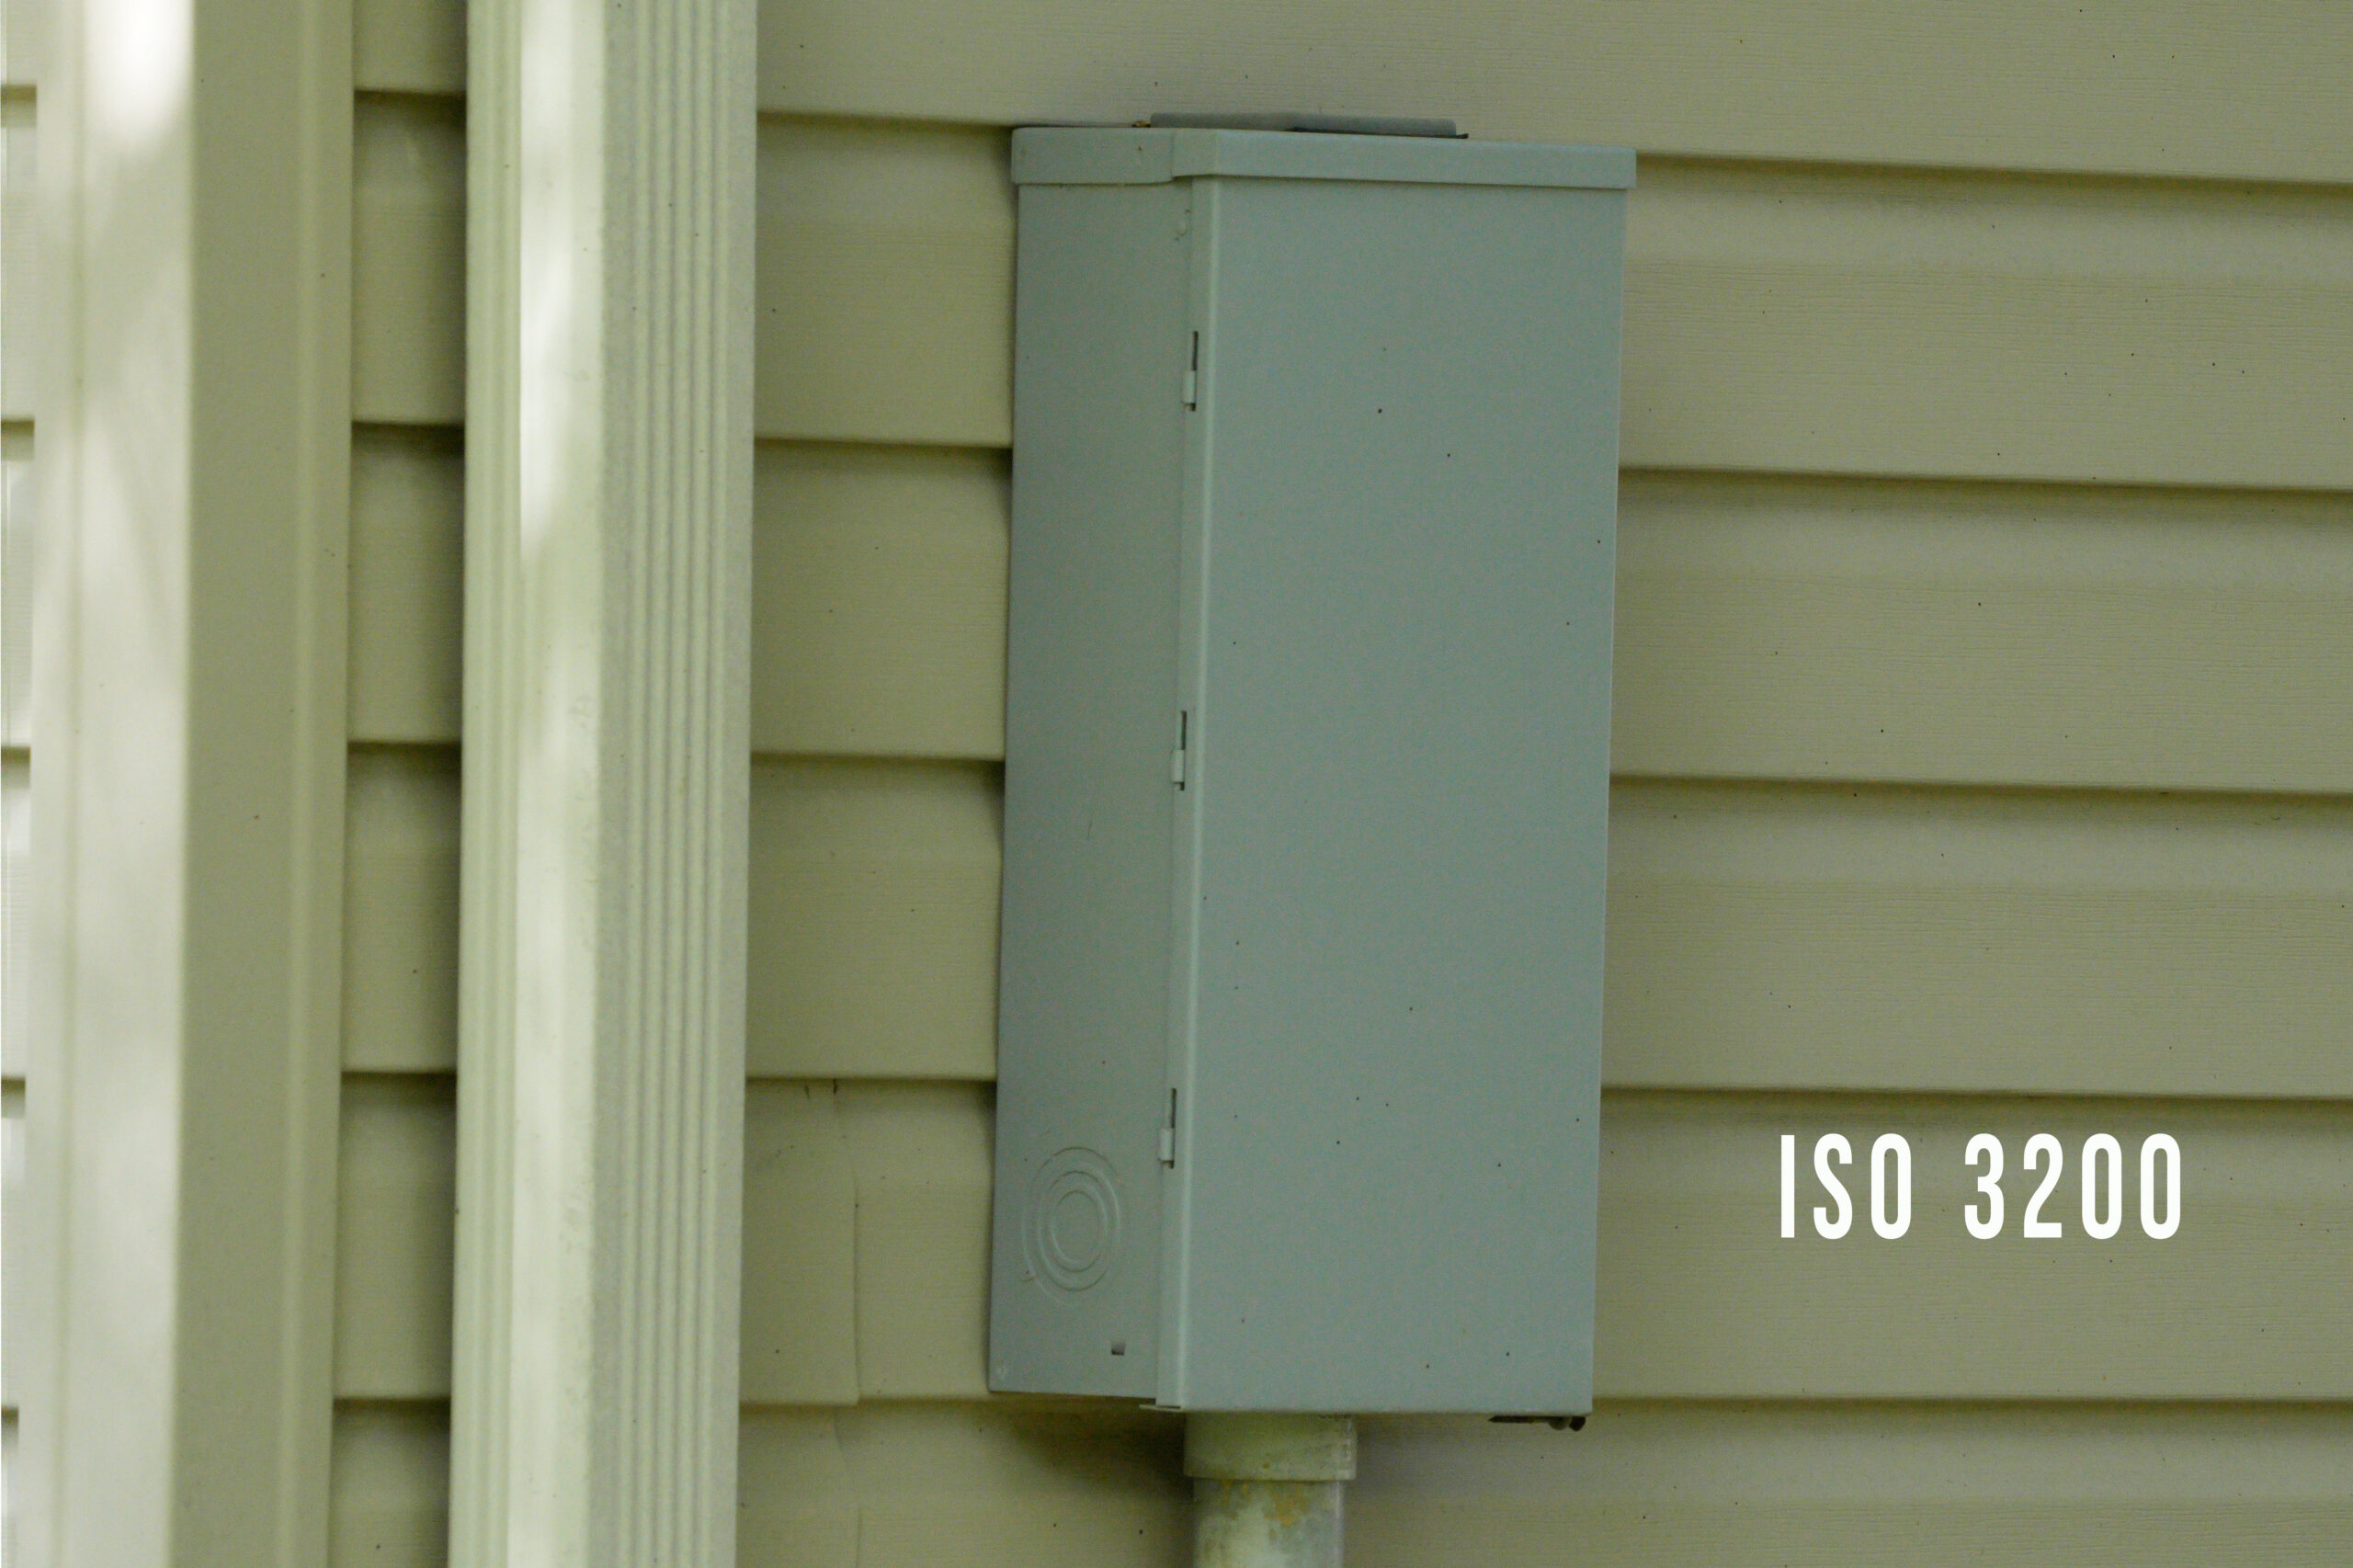
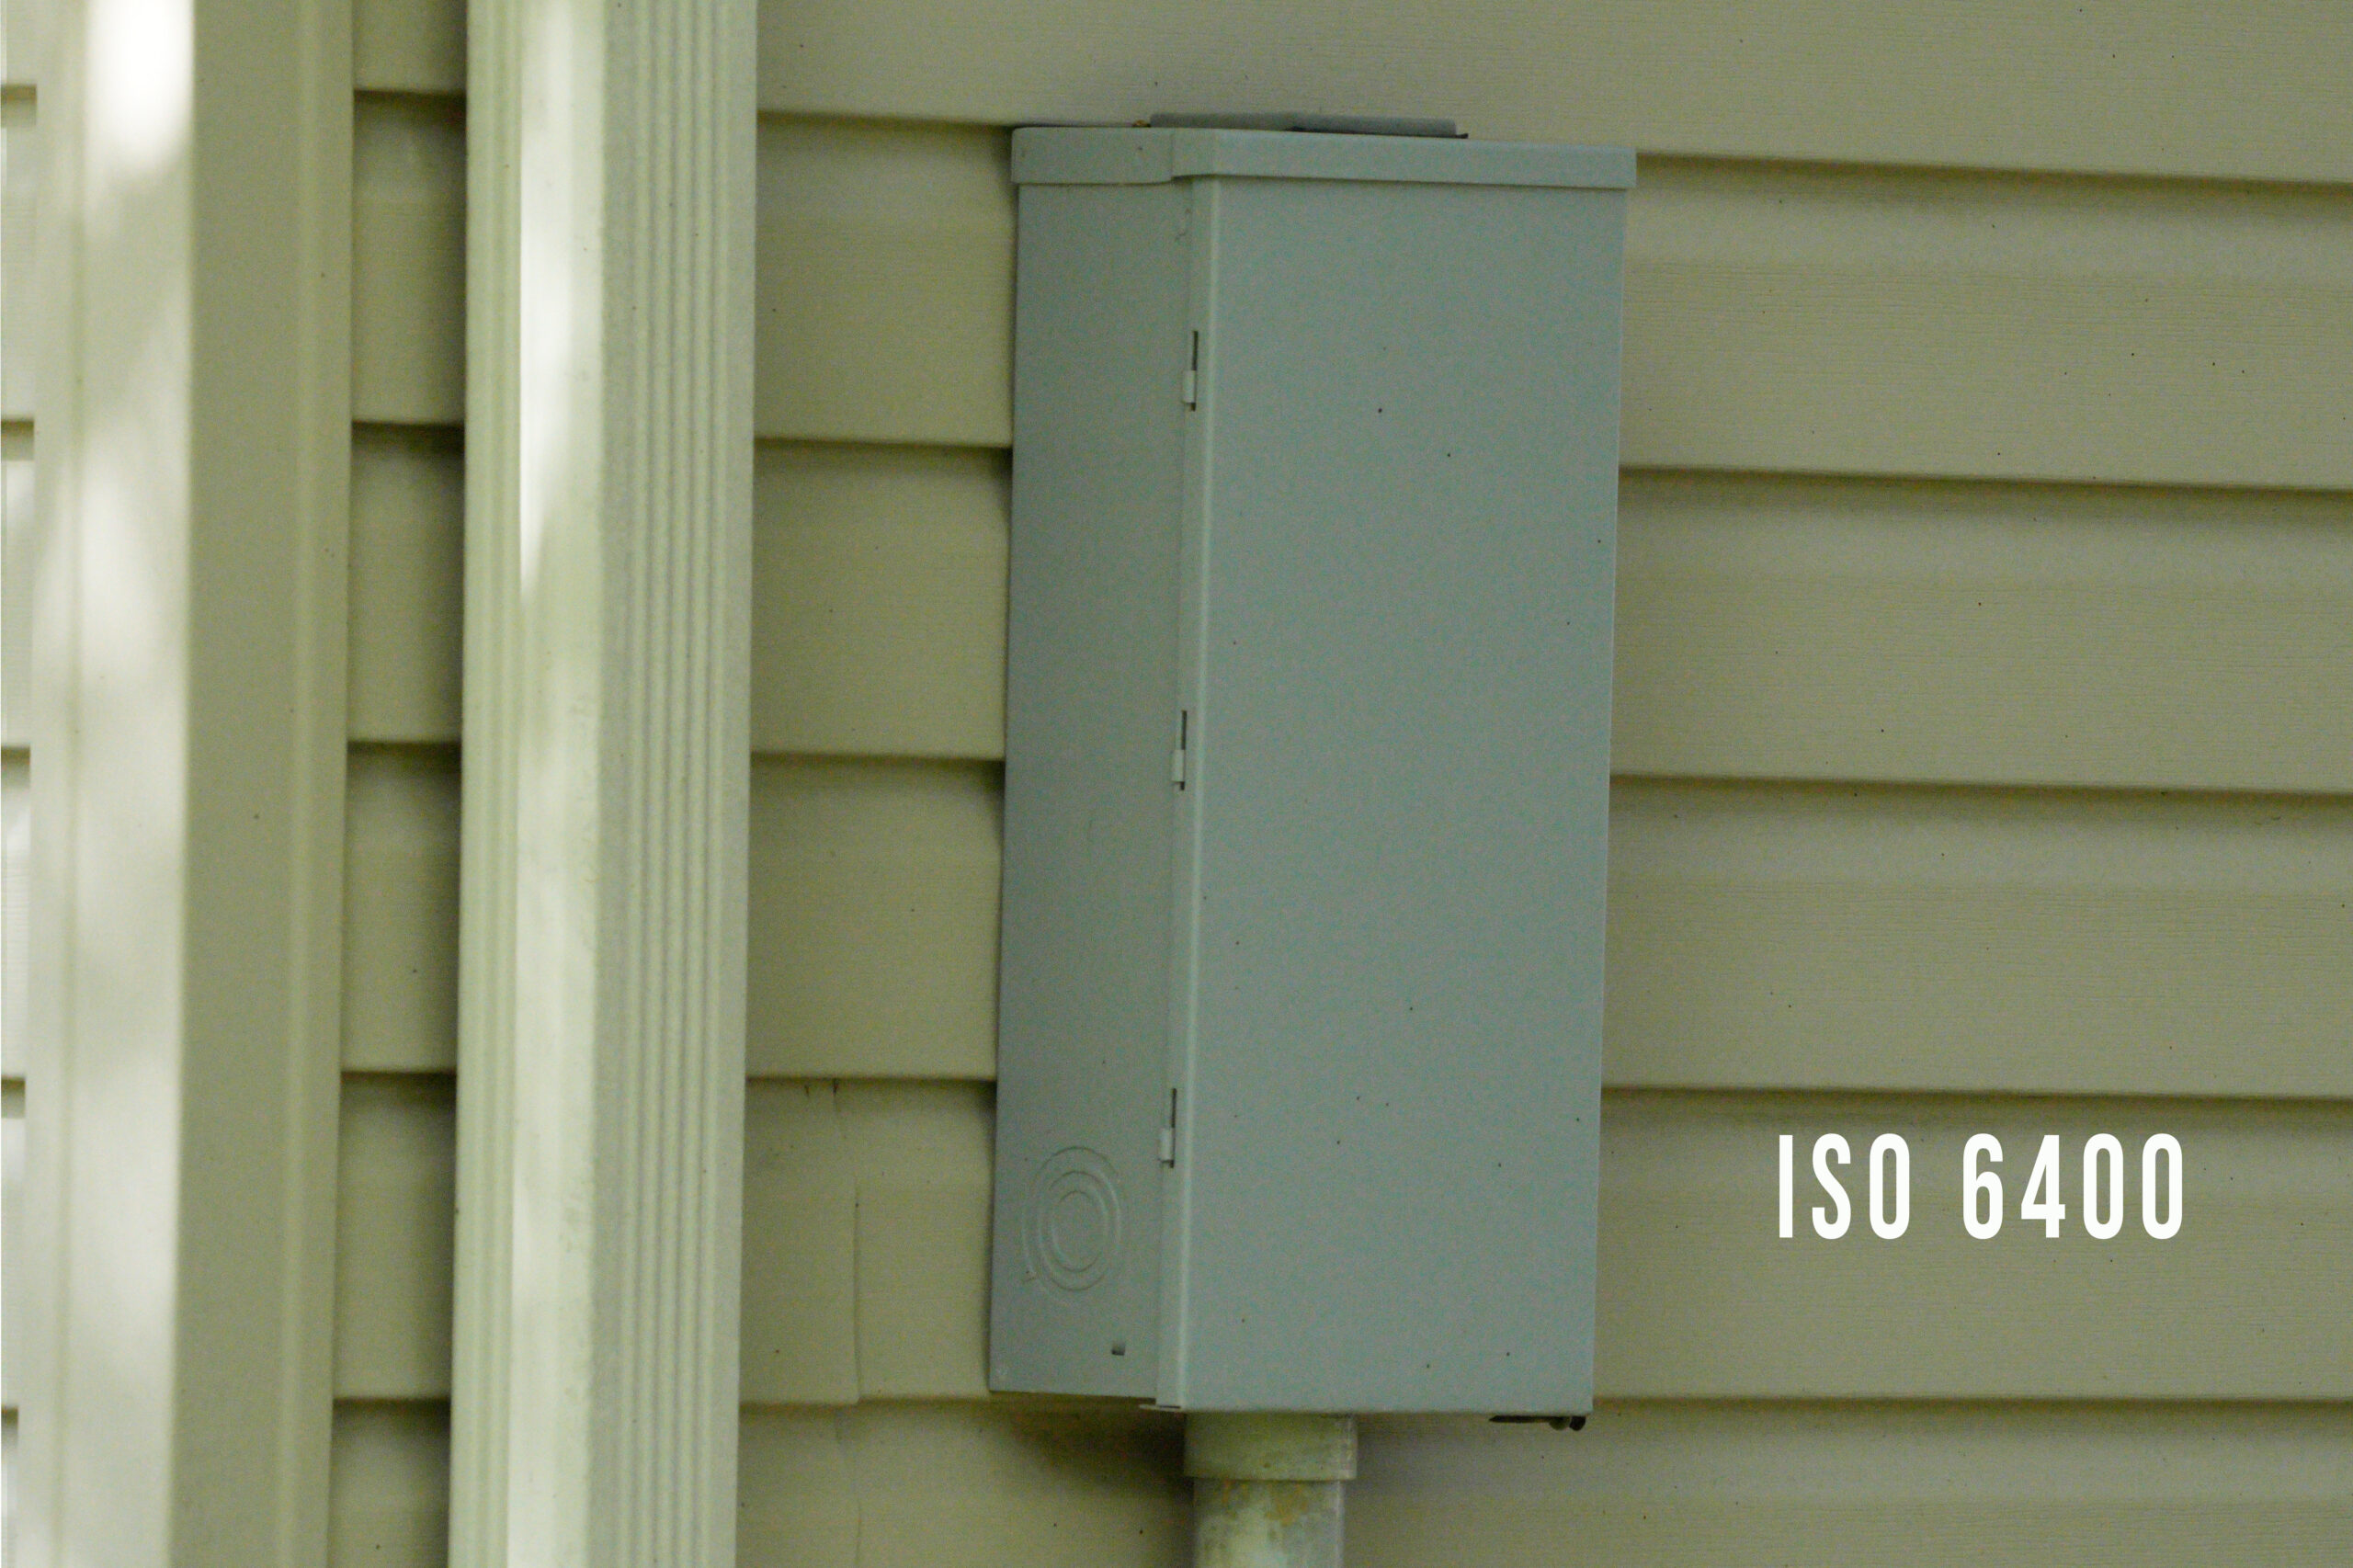
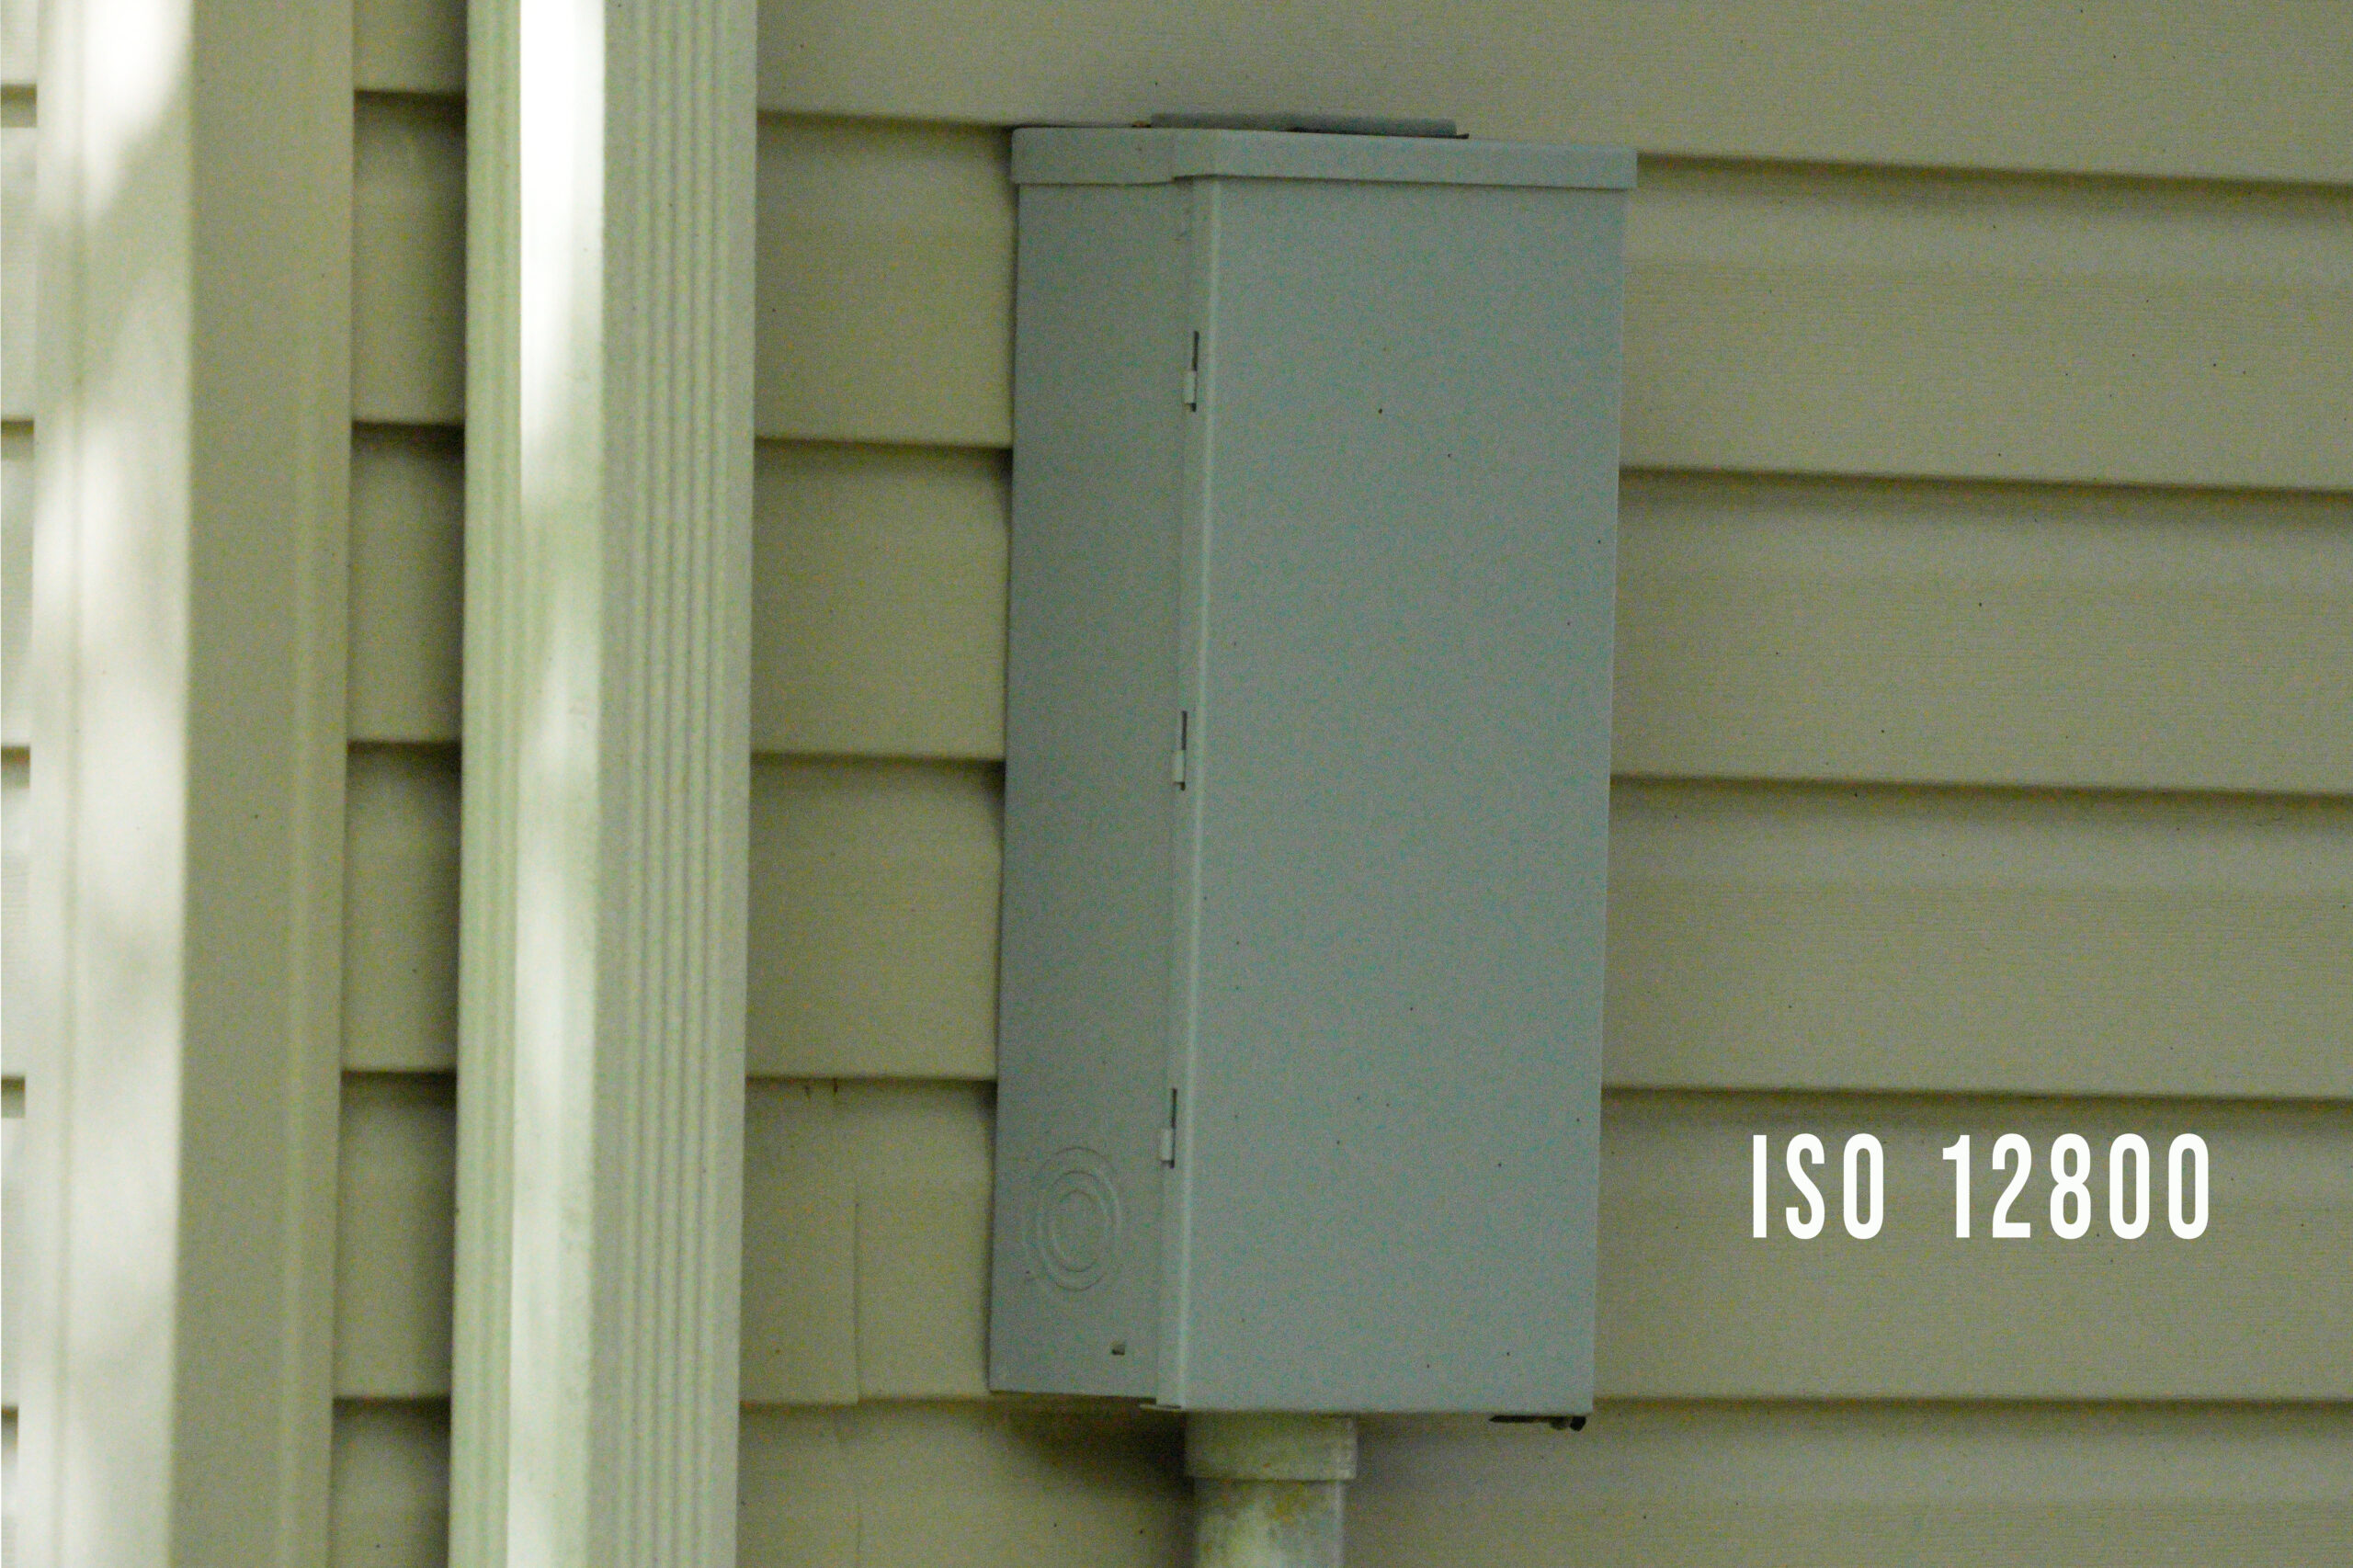

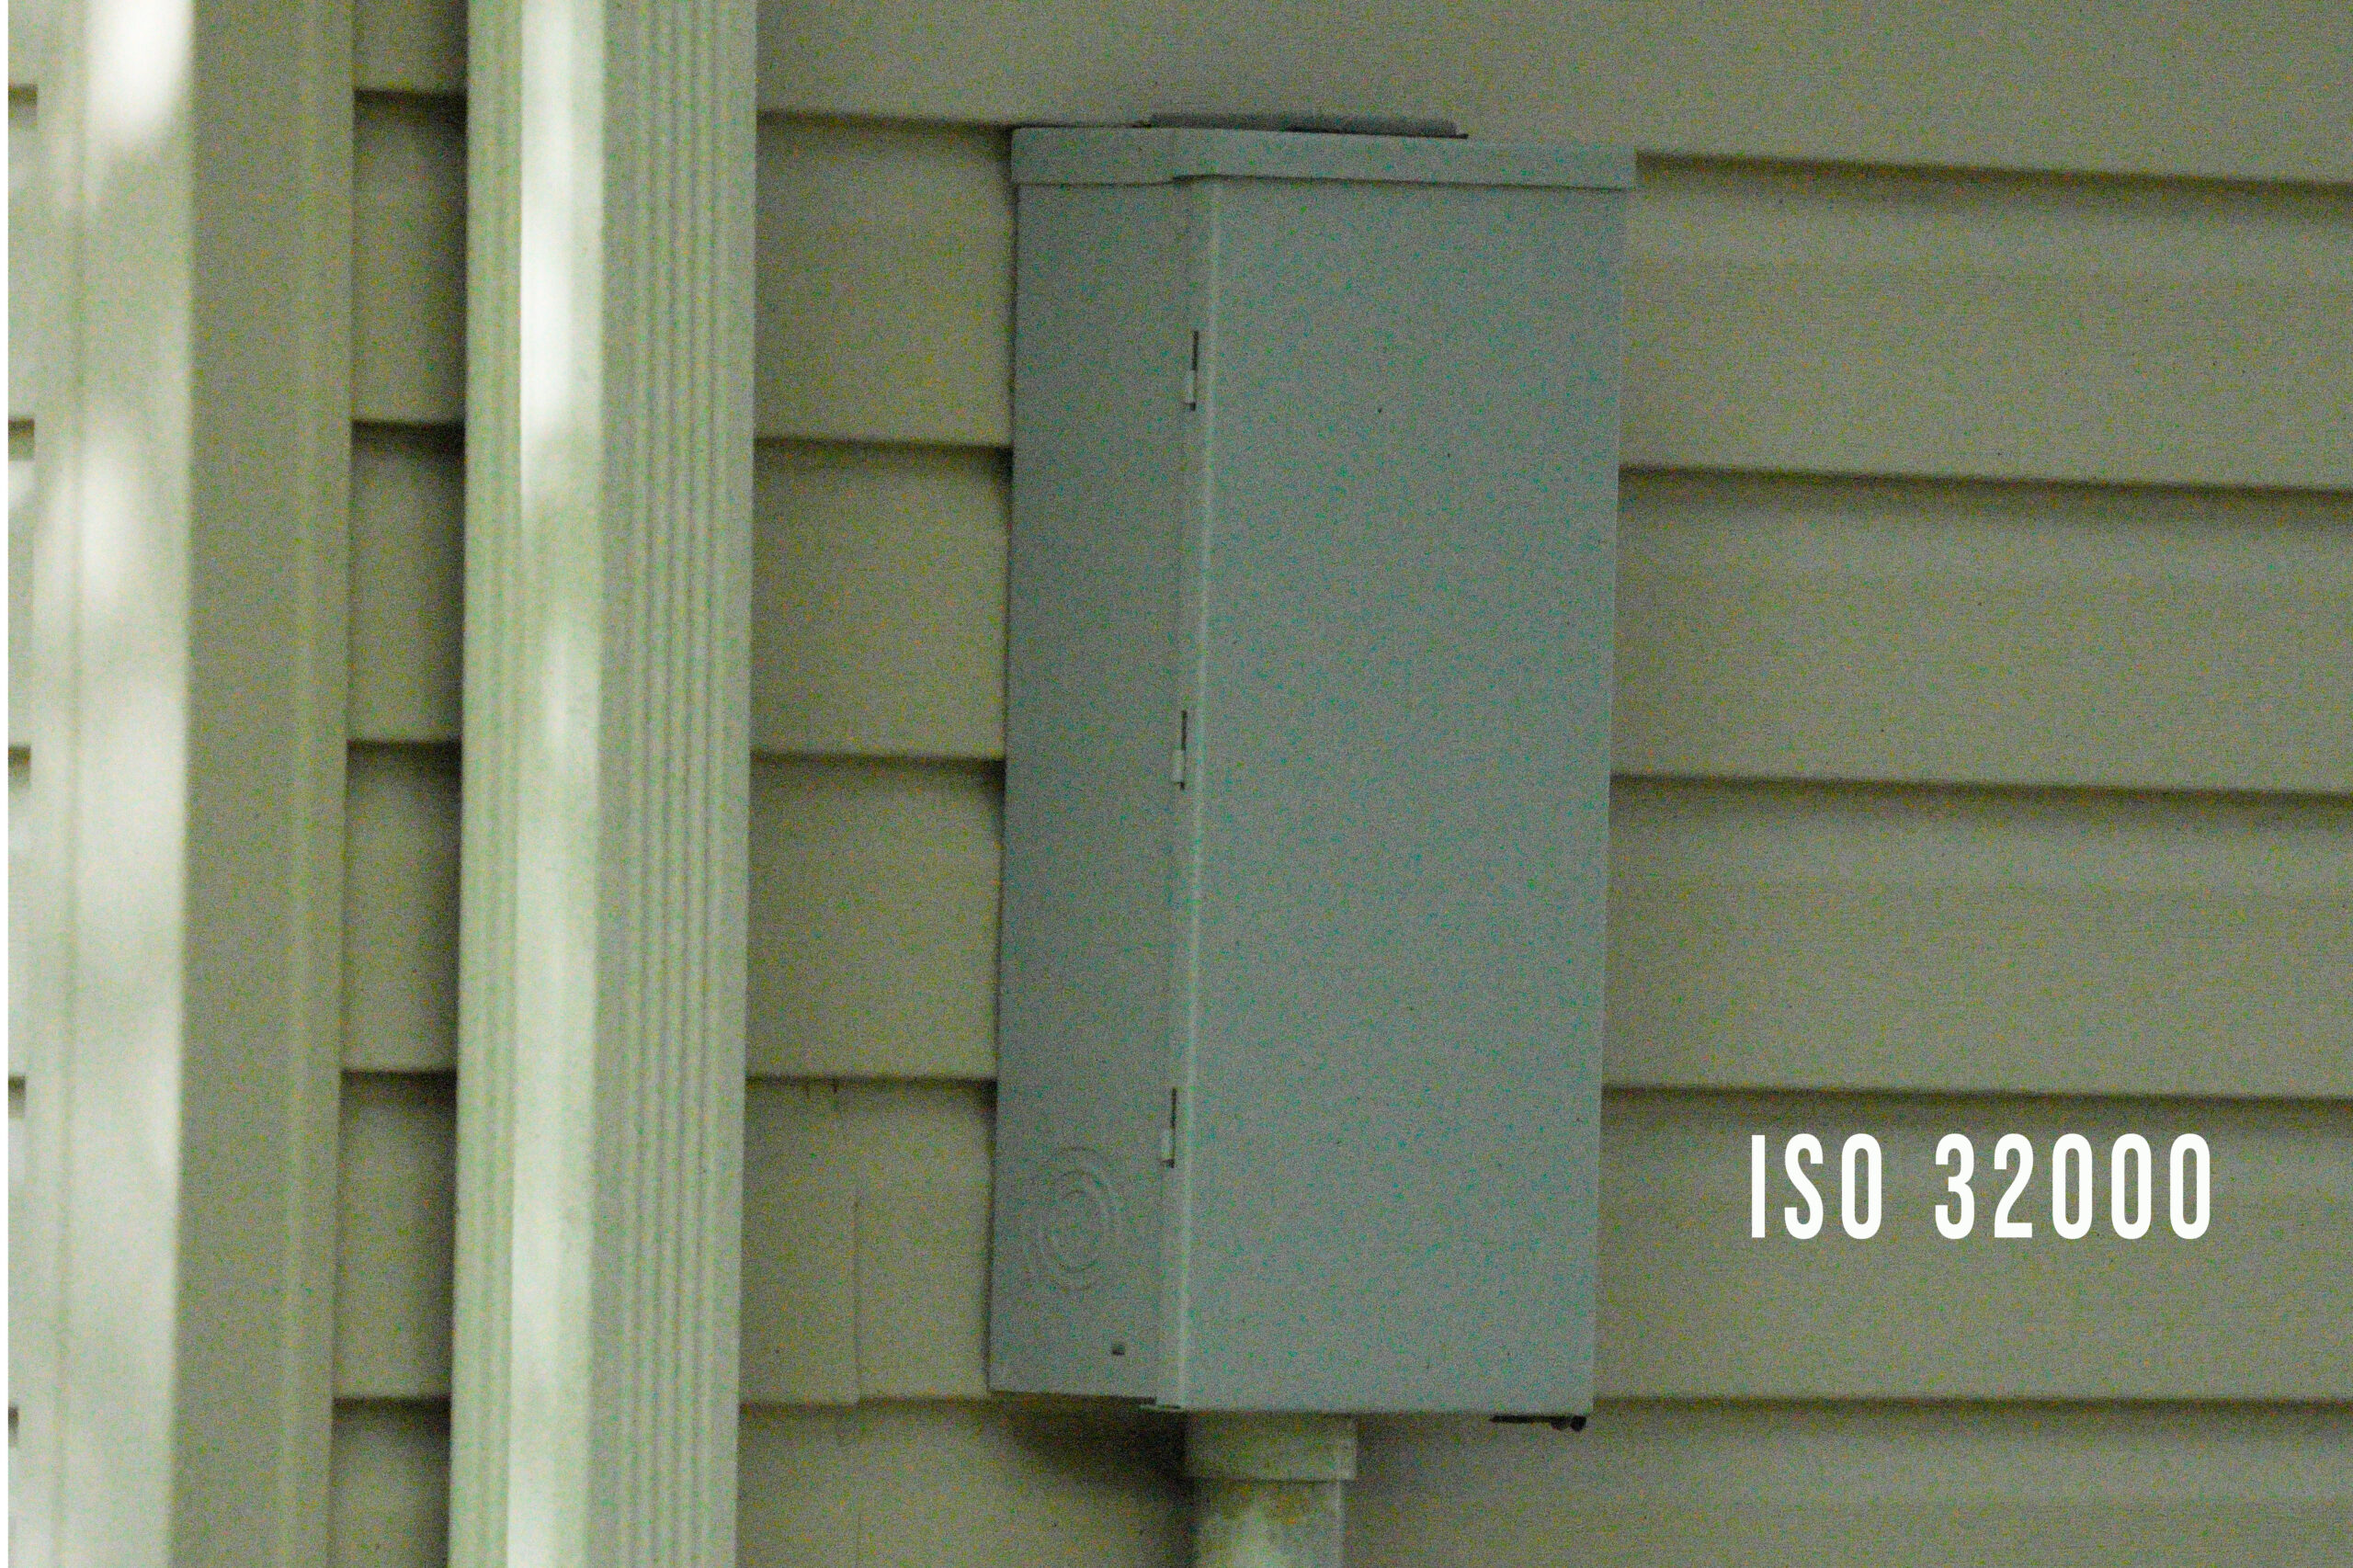
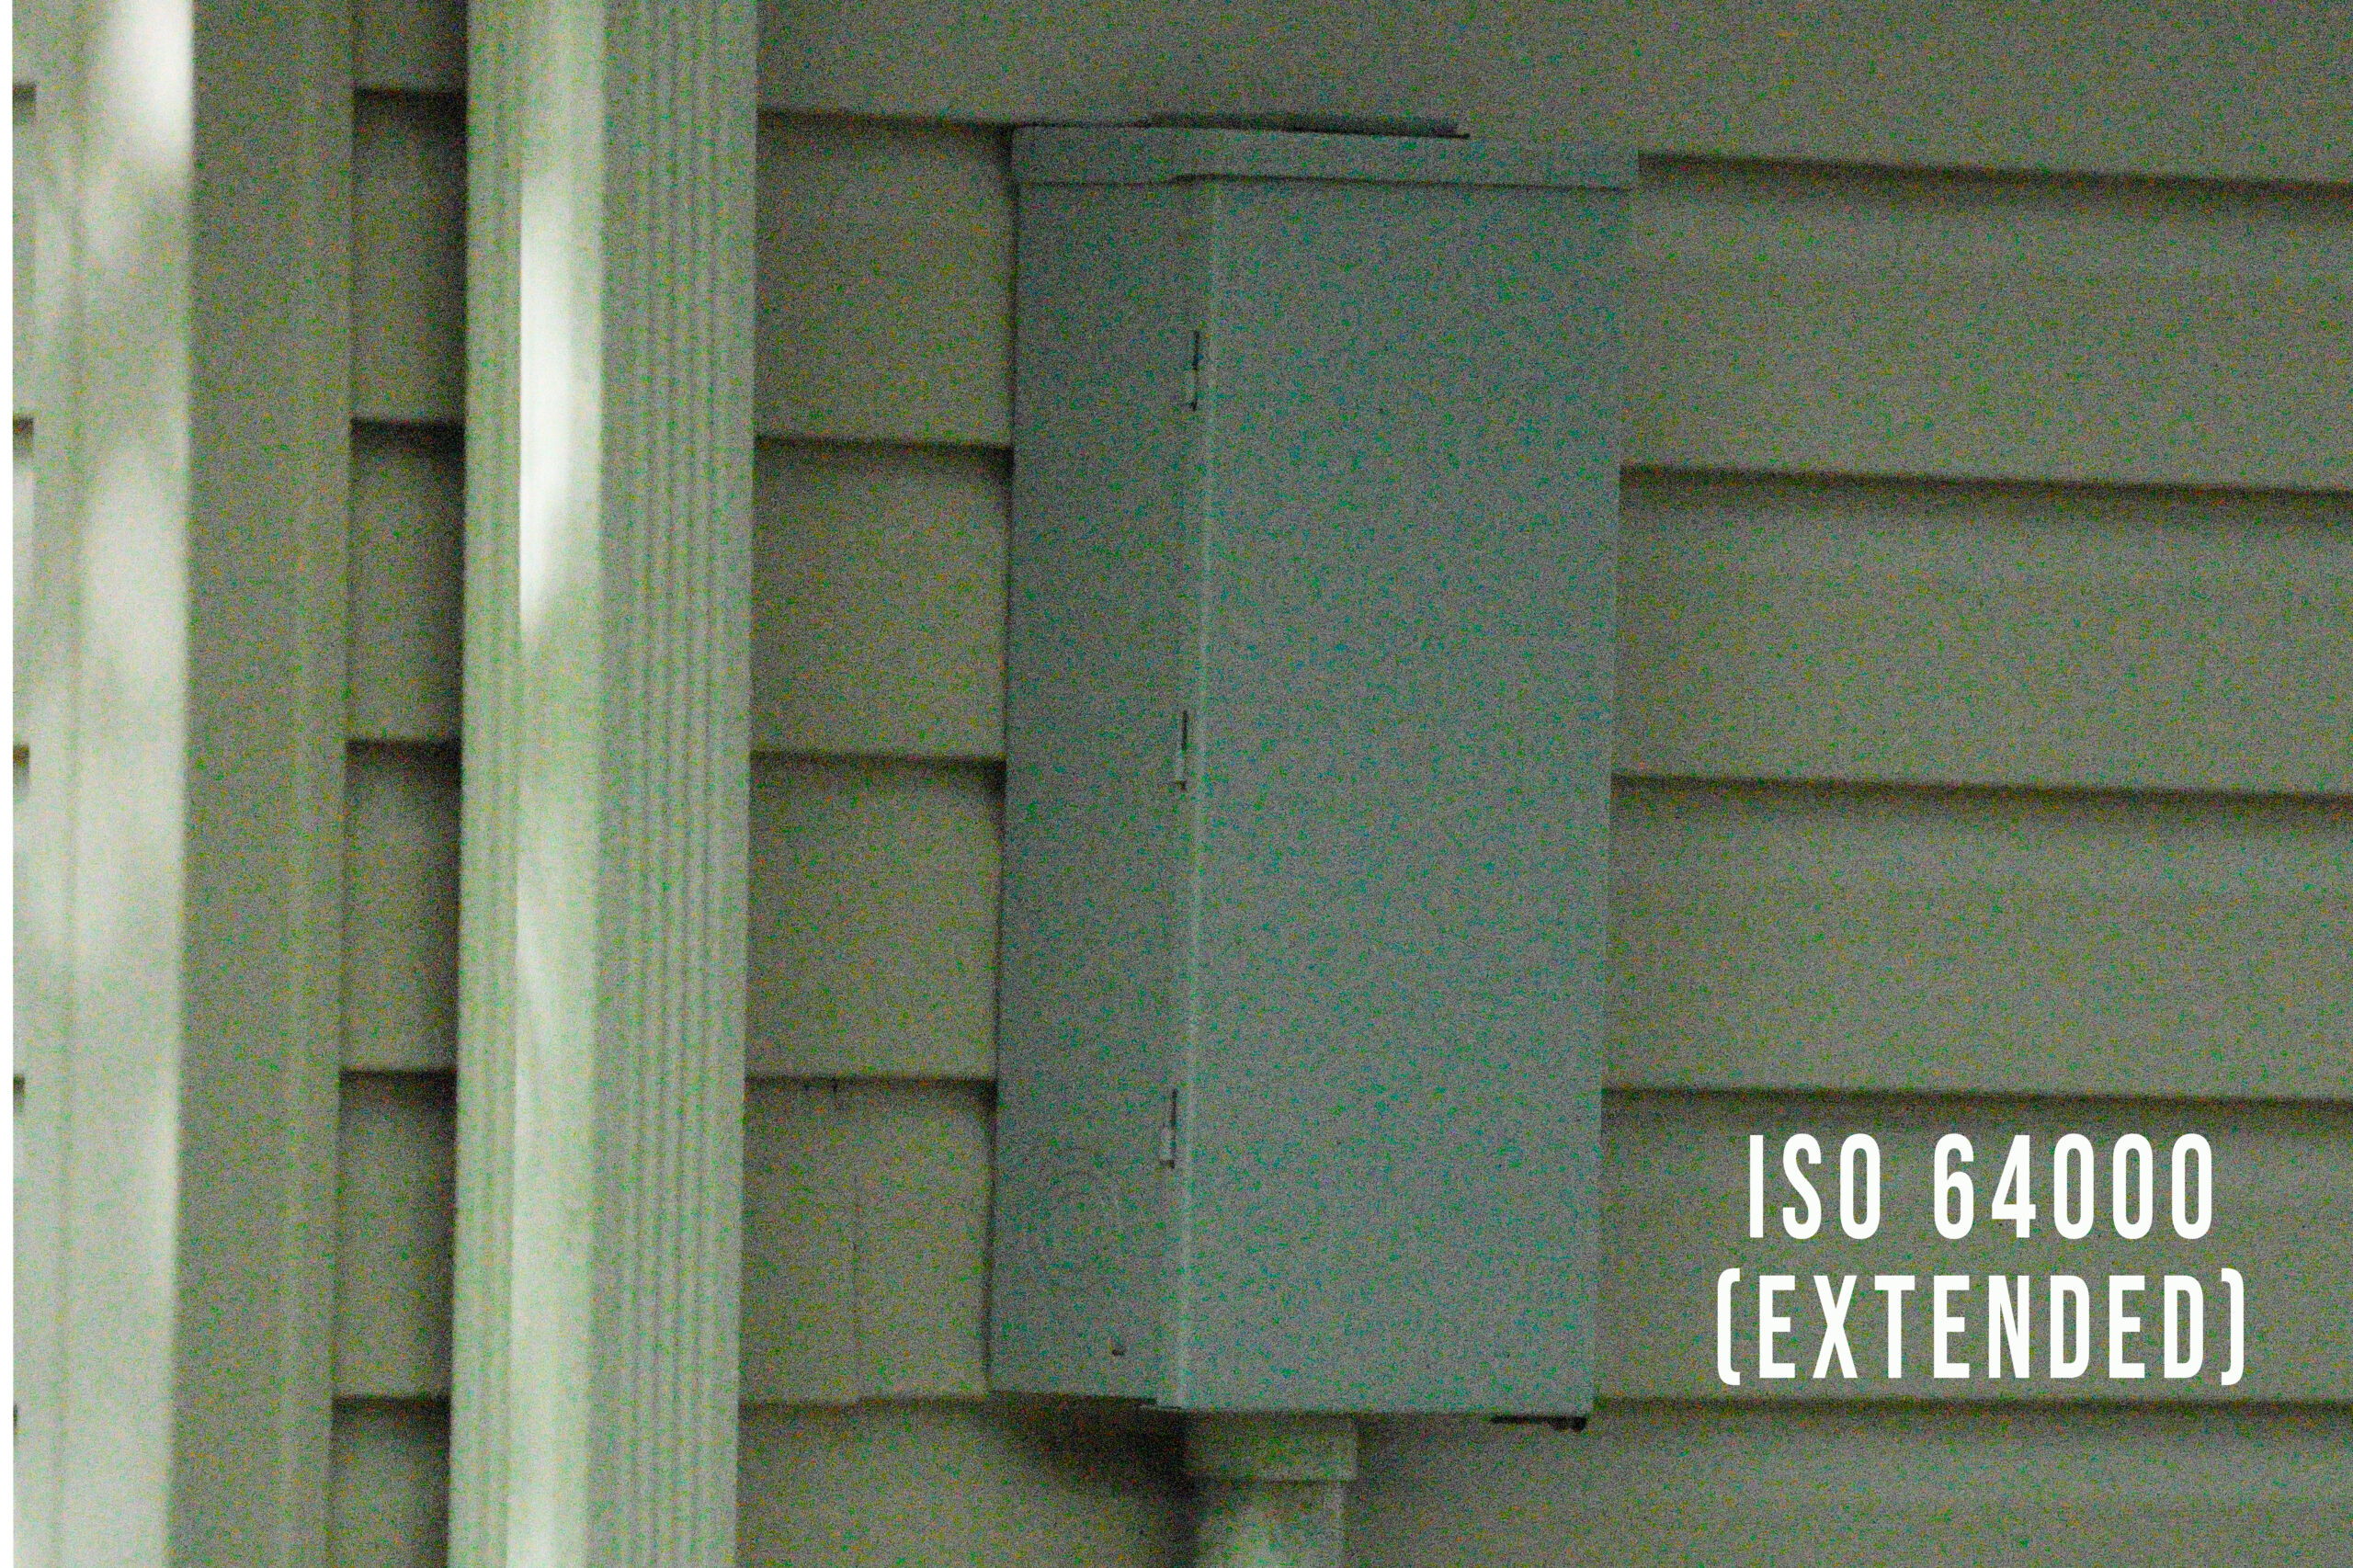
A comparison of a the noise visible in images taken through a camera’s ISO range
How do you Change ISO on the camera?
The shooting mode used determines how you change ISO. It may seem daunting to juggle controlling exposure through all three settings, but in most modes you actively control one or two while the camera handles the rest. ISO usually has a dedicated button that you press and then select the ISO.
Aperture Priority Mode
In aperture priority mode, you set the f/stop based on the desired depth of field. The camera automatically controls shutter speed for exposure. You control ISO manually. If the shutter speed the camera sets is below the minimum shutter speed, increase ISO until it’s fast enough.
Shutter Priority Mode
In shutter priority mode, you set the shutter speed based on how much movement you want in the picture. The camera controls exposure by opening or closing the aperture. You control ISO manually. If the aperture the camera sets is too small, increase ISO.
Manual Mode
In manual mode, you set all three settings. First you set your desired f/stop and shutter speed. Then you increase ISO until the light meter indicates the scene is properly exposed.
Auto ISO Mode
Auto ISO mode can be used in combination with the other modes. It’s very handy whenever shooting under natural light and a minimum shutter speed is needed to prevent motion blur. I use manual mode + Auto ISO for wildlife and macro photography. As the name implies, you control the other parameters while the camera sets ISO.
What are Native ISO and Extended ISO?
A camera’s native ISO is the normal sequence of ISO numbers to which gain is applied. At the low and high ends of the ISO sequence, you’ll notice extended ISO numbers. They’re usually underlined, or denoted by “L” for low and “H” for high.
Extended ISO is intended to give you extra exposure in a pinch when conditions are so bright or so dark that the native ISO range doesn’t cover it. The only use case for extended ISO is if you shoot in JPEG and don’t have the ability to post-process images. Otherwise, extended ISO shouldn’t be used.
When you shoot in extended low, the camera actually takes an overexposed photo at the lowest native ISO, then digitally manipulates the image to make it look correctly exposed. Essentially, it Photoshops the image in-camera. When you shoot in extended high, it takes an under-exposed image at the highest native ISO, then digitally manipulates it. You can usually do a much better job of editing the RAW image yourself.
What does ISO stand for anyway?
A throw-back to the film days, photography should probably do away with “ISO” and just call it gain because that describes what it actually is. ISO stands for “International Organization of Standards”. Cheers for noticing that it should be “IOS”. This is done to standardize the acronym across all nationalities. ISO was originally used to define a universal rating for film sensitivity, called film speed. The name was carried over to digital for ISO numbers to be roughly equivalent to film speeds.
