
Rise early, Sunrise (and Sunset) usually make for the best shots
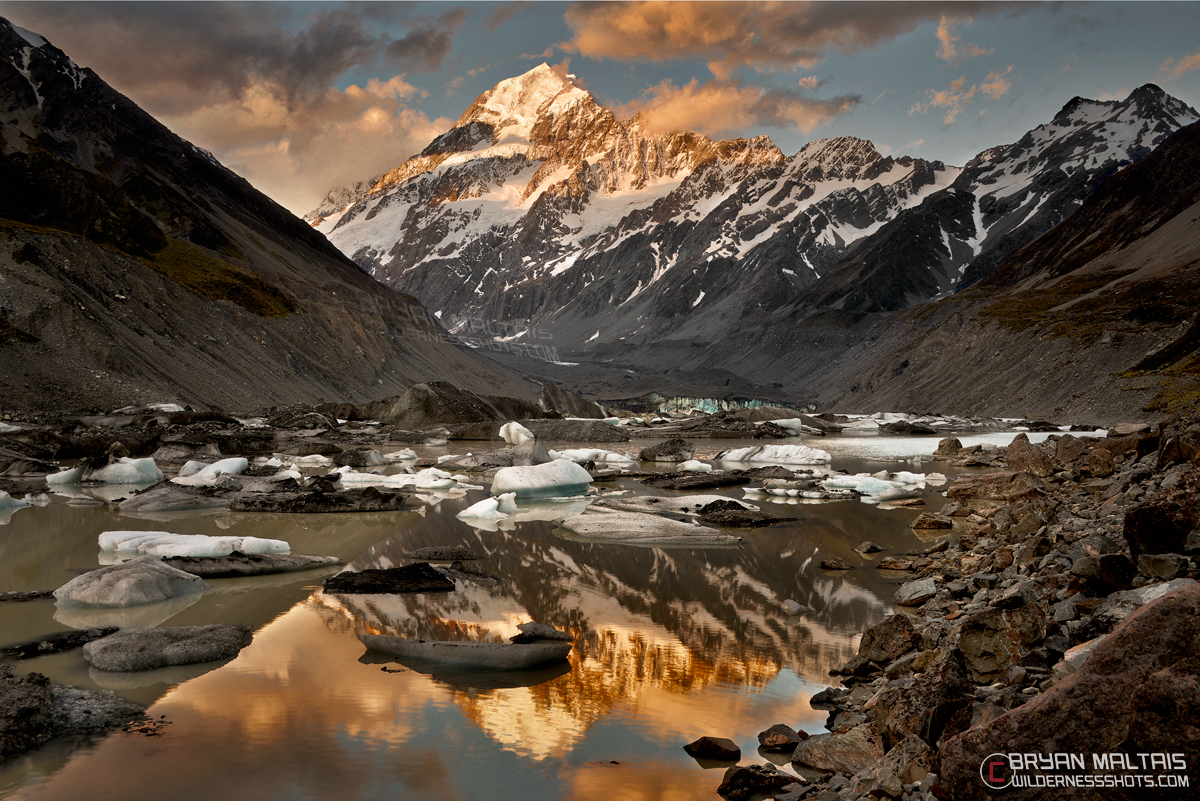
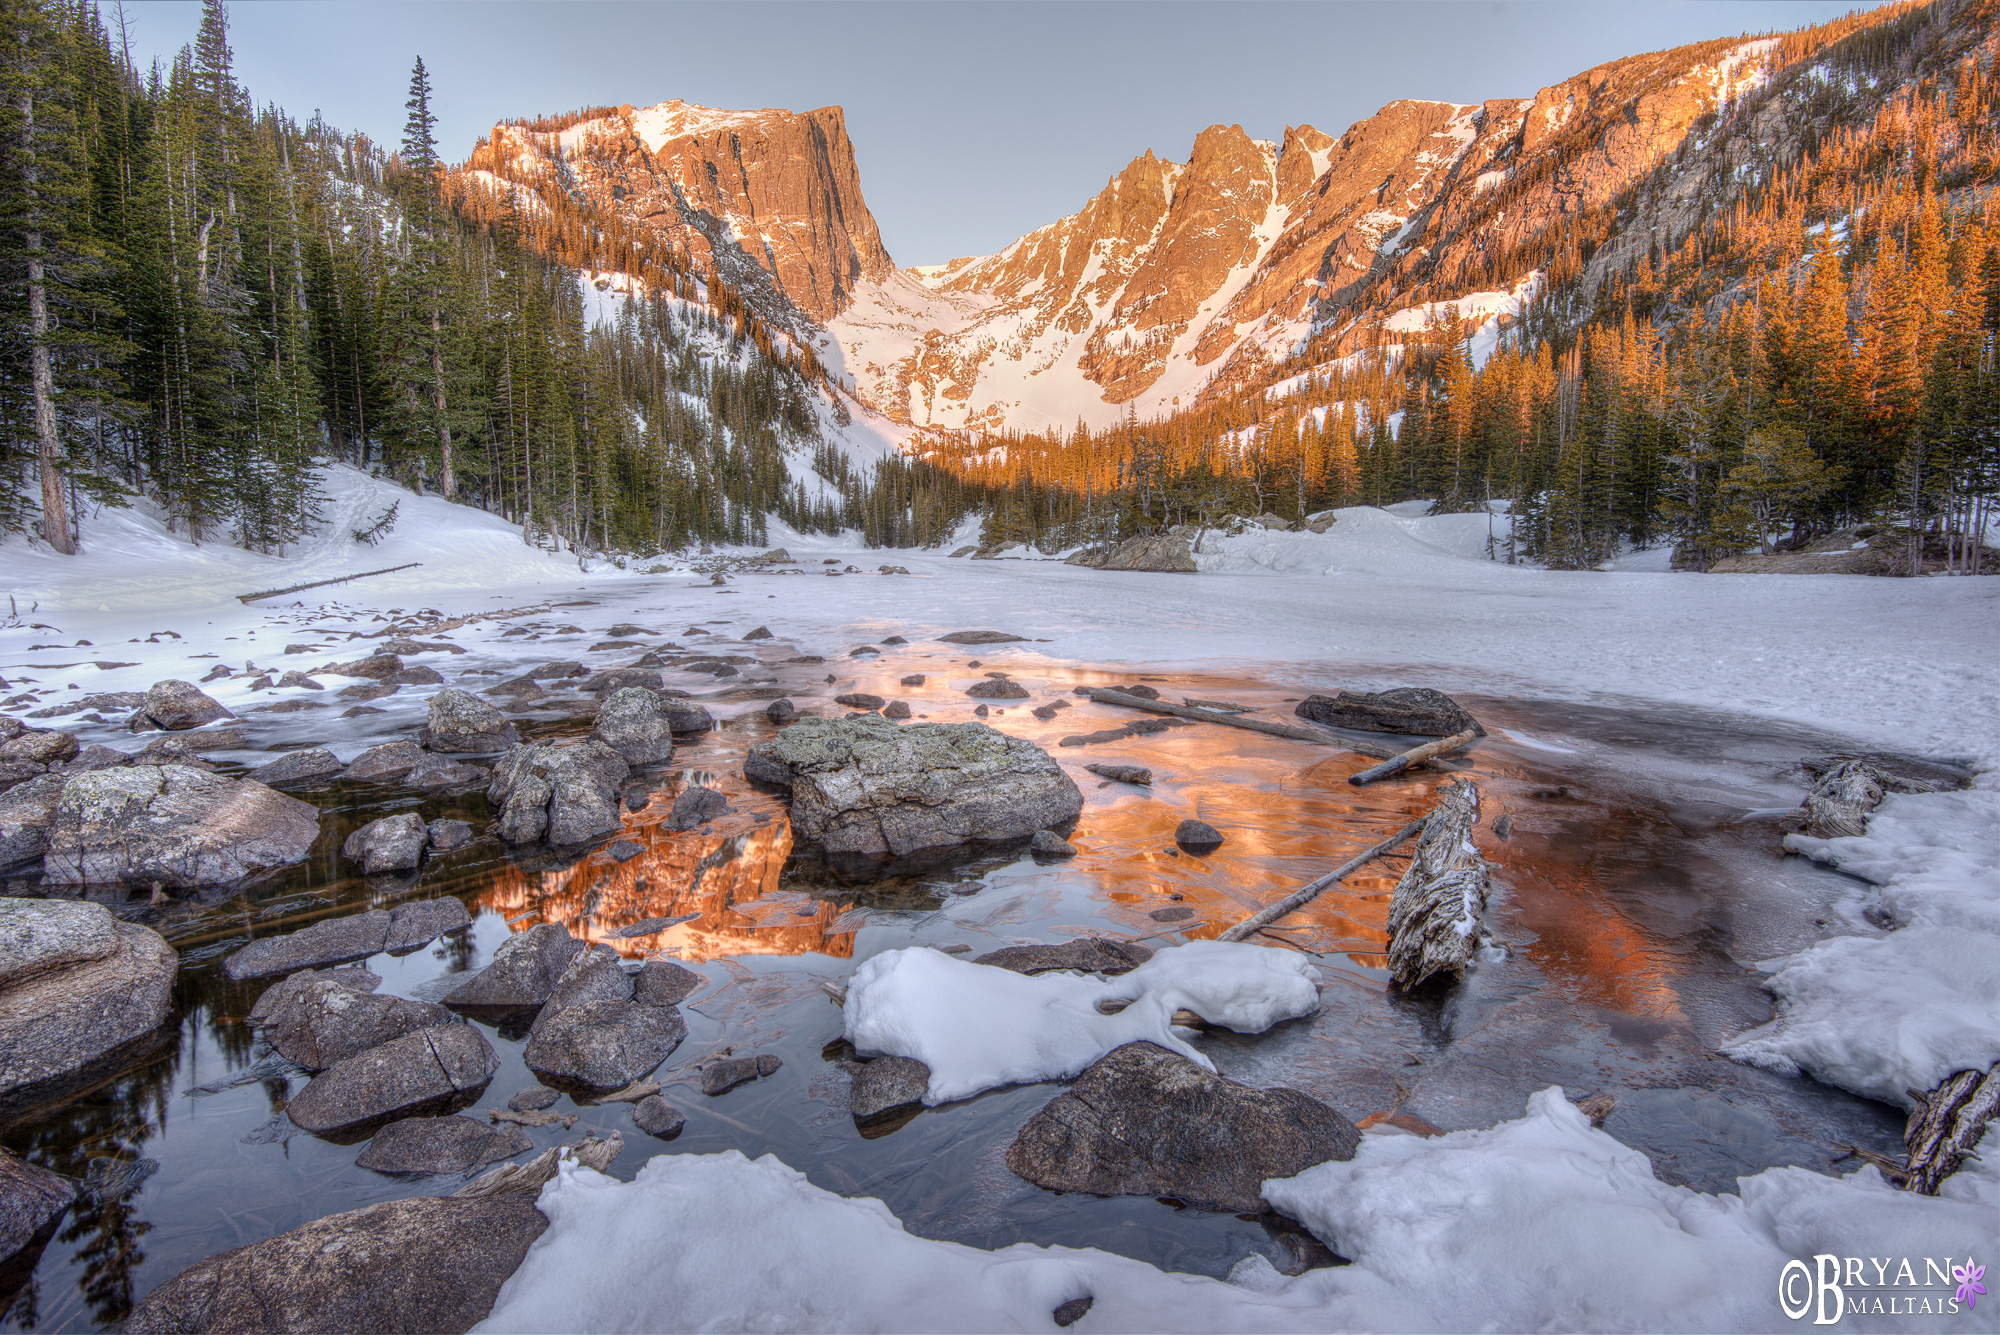
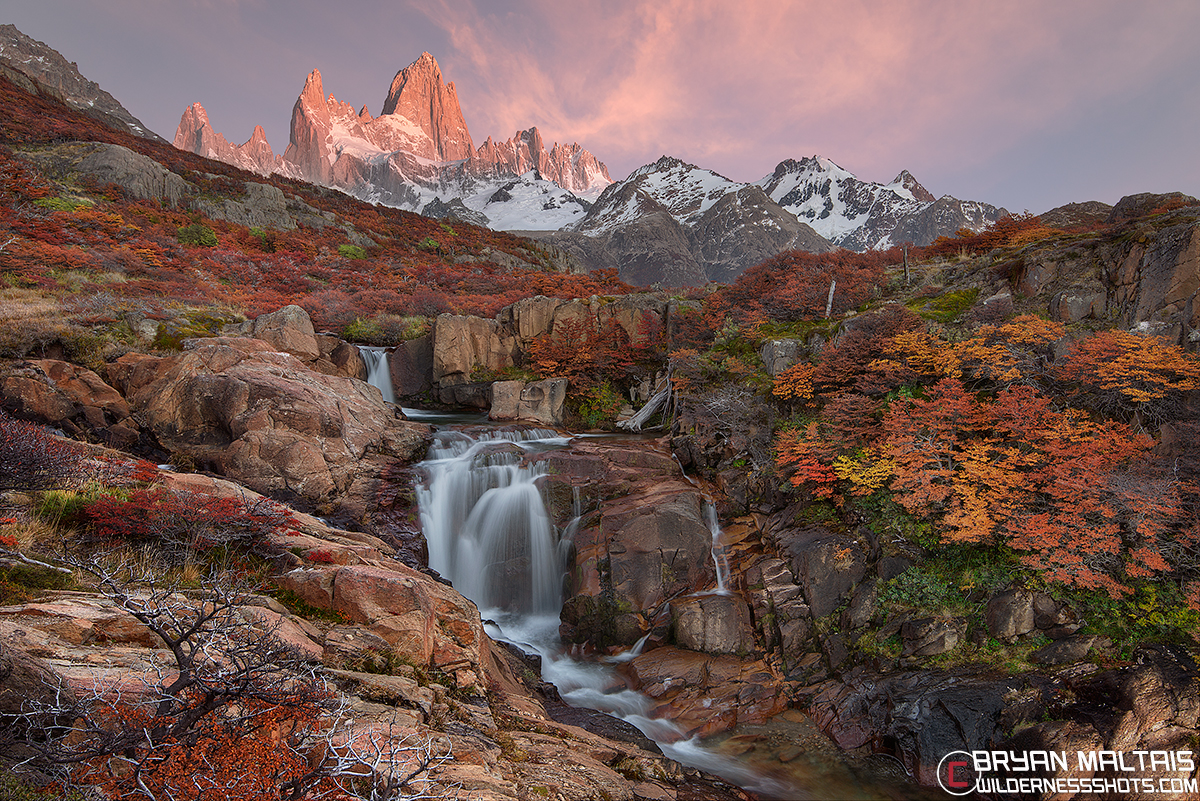
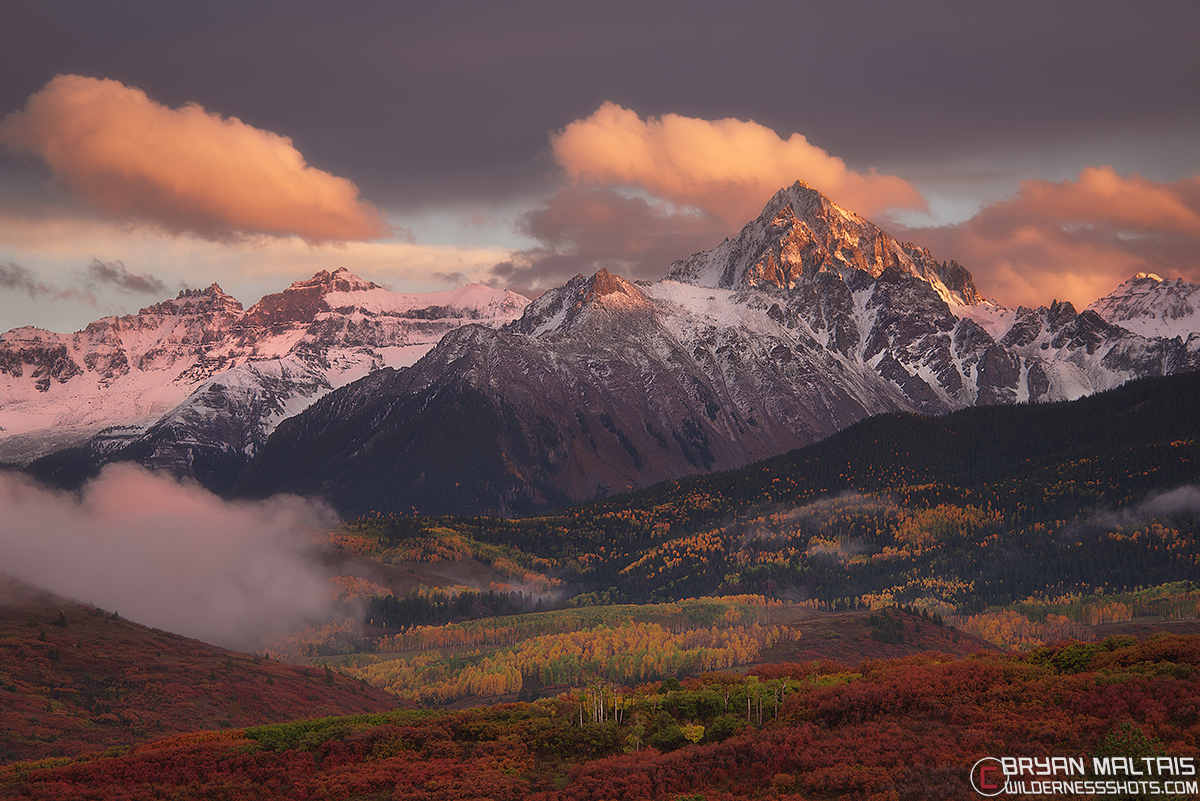
Dusk and dawn light is dramatic and saturated. The rising sun also creates low-angle shadows that accentuate details like crags in mountains. Sunset light is just the same. Mid-day light on the other hand, is white, which bleaches out colors, and the overhead sun creates harsh shadows that point directly down. Here in Colorado, most scenes face east so I’m used to shooting at sunrise.
It can take a lot of work to capture sunrise photos. Where I live for example, sunrise comes around 5:30 am during mid Summer, and most places that I shoot require a 5 mile hike. That means beginning my hike at 3:00 am, and leaving my house by 1:30 am to drive to the trailhead. Shots much further into the the backcountry warrant a backpacking trip. Most people aren’t willing to commit to such a rigorous schedule, and this is probably the biggest factor separating beginners form serious photographers. When I judge photo competitions, photos taken during good light vs boring mid-day snapshots are what most often separate winning entries from the crowd.
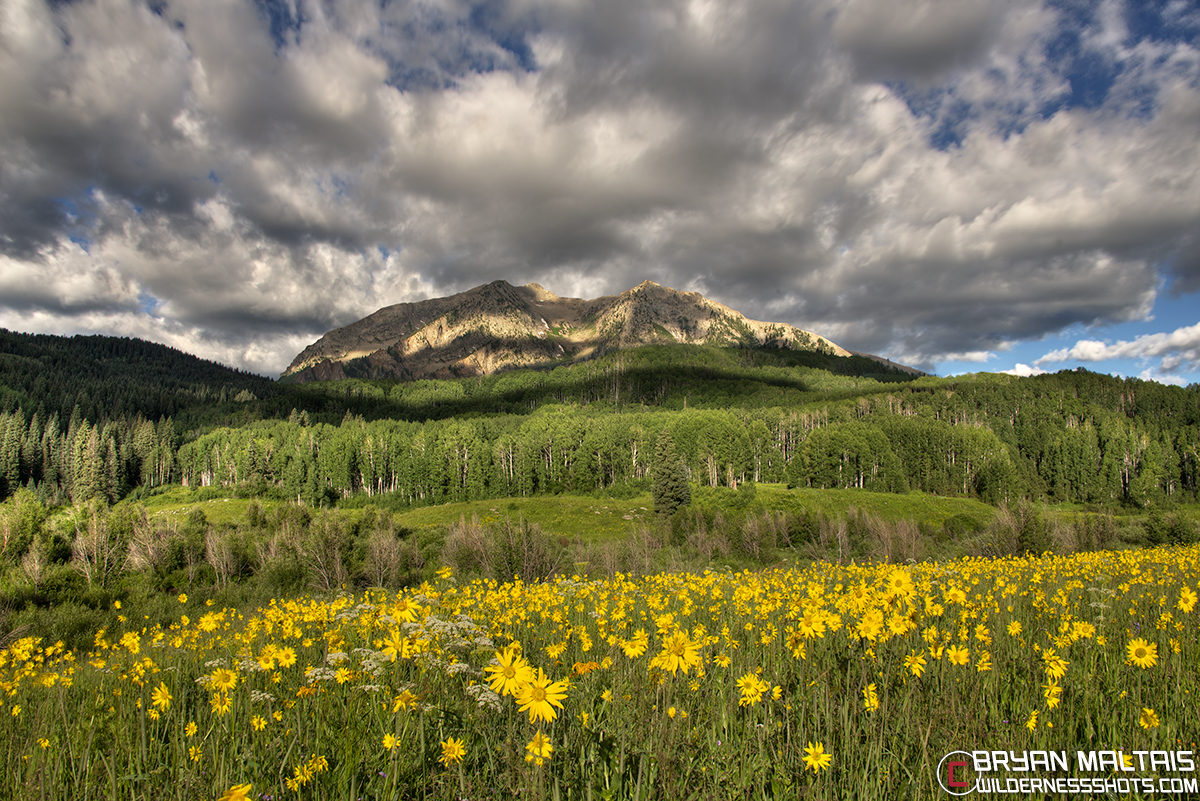
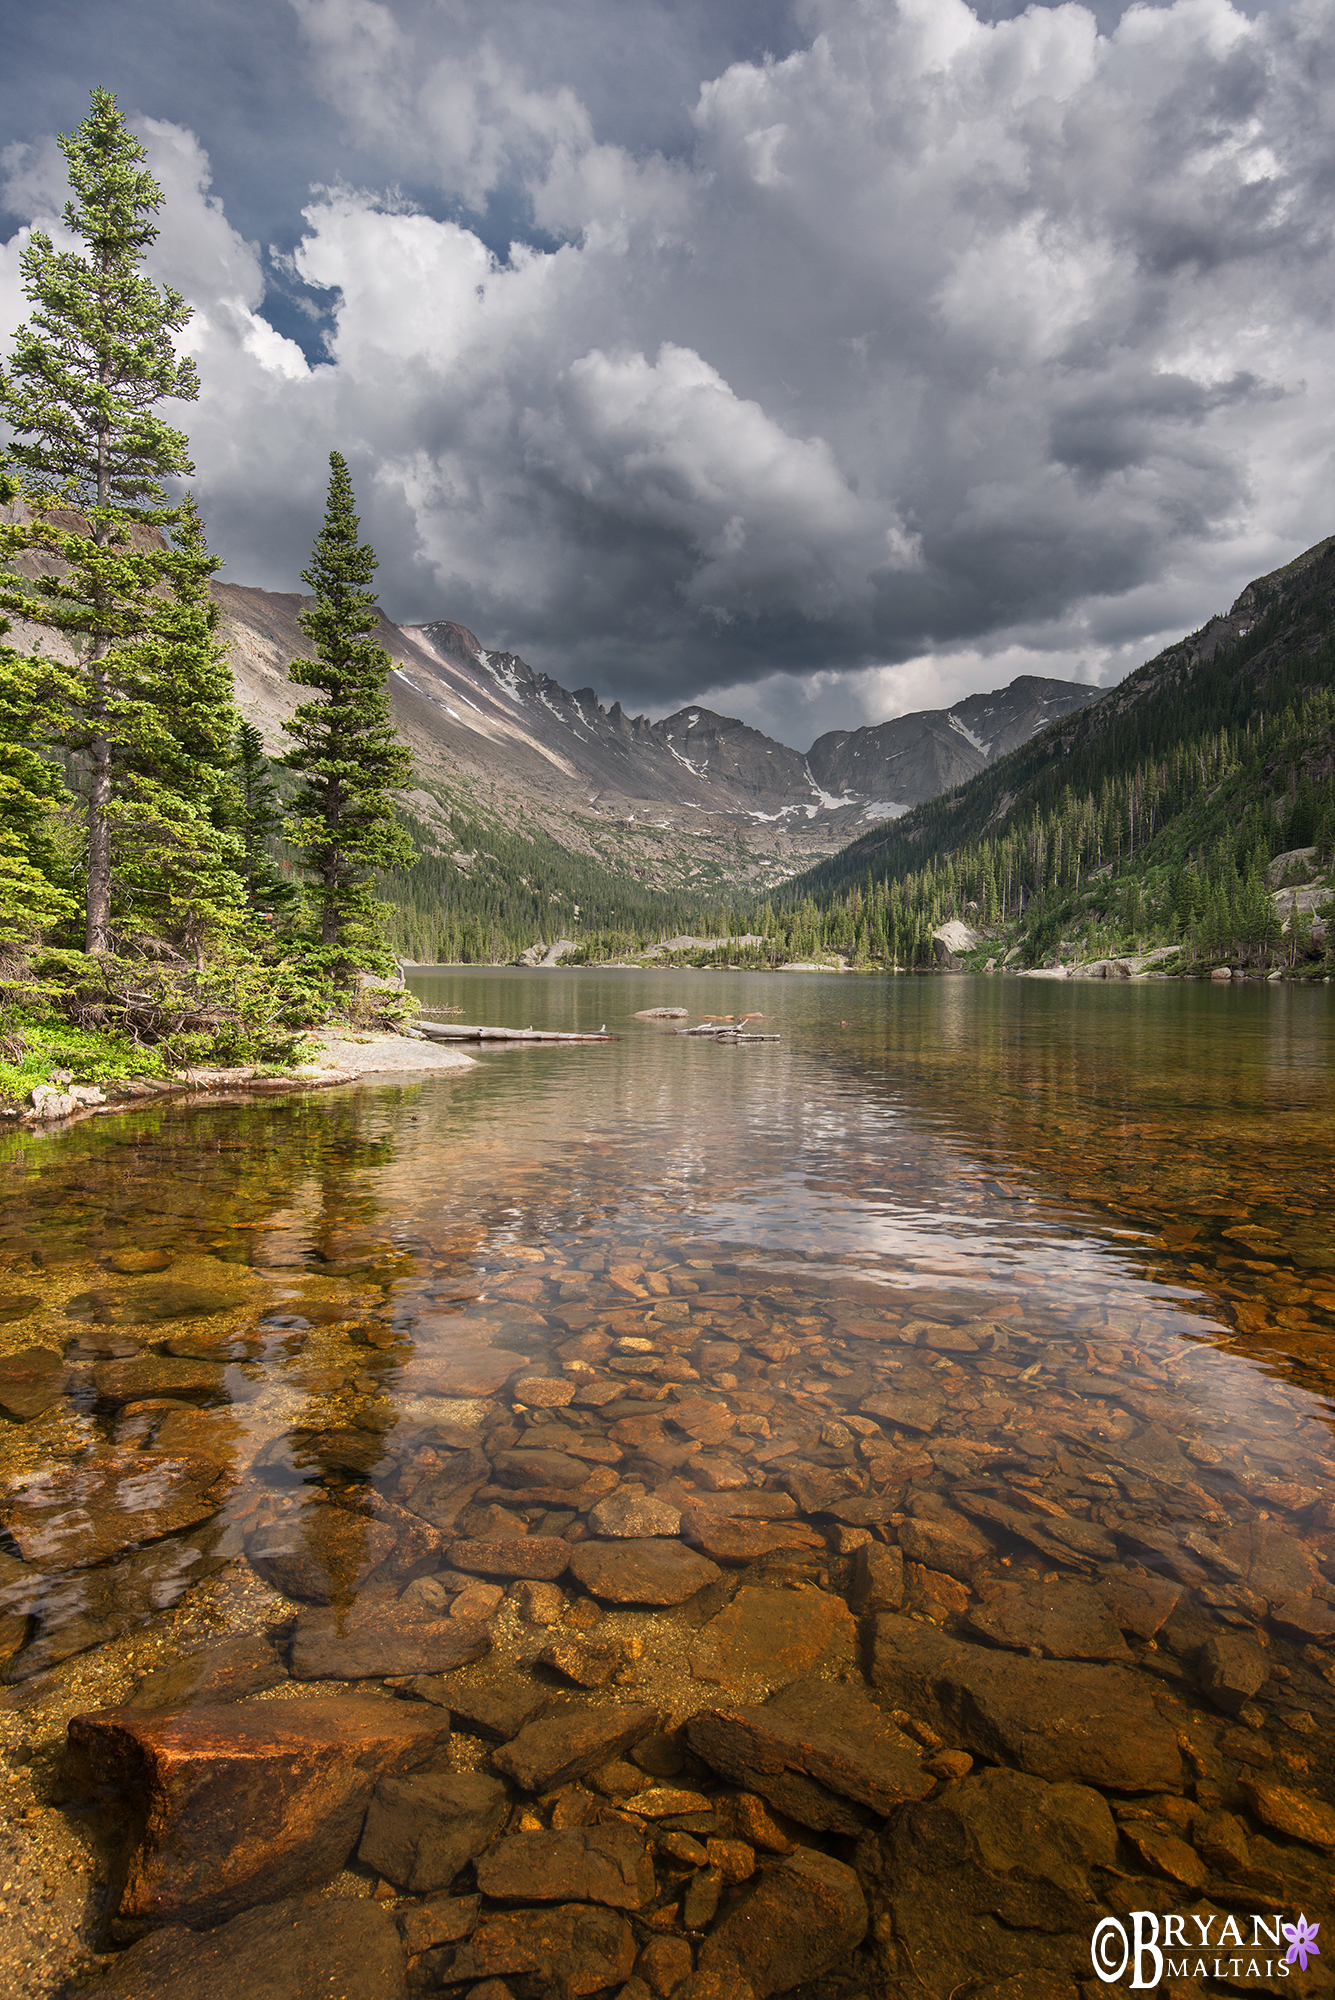
Photos taken at sunrise/sunset:
Always use a Tripod
Hand holding your camera for landscapes is another factor separating beginners from advanced photographers. It takes a lot more work to carry and set up a tripod, but you will get sharper photos. The best times to shoot (sunrise, sunset, cloudy) are often too dark to achieve fast enough shutter speeds to hand-hold your camera. Viewing these photos at 100% will reveal motion blur, and locking your camera to a tripod can eliminate this.
A tripod allows for post processing techniques like exposure blending, which requires multiple exposures of the scene that line up perfectly to be blended. Mounting your camera to a tripod also unburdens you from holding it so you can you step back and carefully compose your shot. Less expensive tripods are more wobbly, and more expensive tripods tend to be more solid.
Cut the Clutter
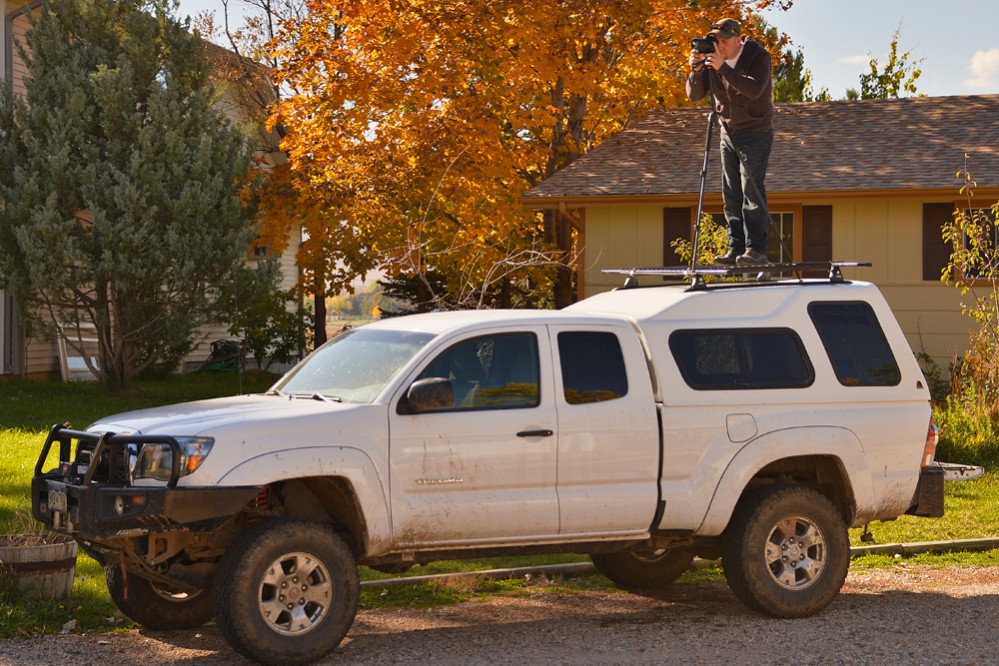
DIY photo platform to rise above roadside brush and get a clear shot
Make sure you keep distracting clutter like branches from sticking into your frame. You should do whatever it takes to exclude extraneous elements, like finding a higher vantage point above undergrowth or pulling back grass during your shot. I built a platform to stand on top of my truck that elevates me above roadside shrubs. In the backcountry, my lens often pokes through a bush to get a clear shot. At lakes I’ll often set my tripod right in the water to get clear of weeds on the shore.
Photography is the art of subtraction, meaning you should only include elements in a scene that add to the composition.
Get on Up, get Down!
 Most photographers shoot at eye level. That’s probably fine for most shots, but view the scene from every angle before deciding on your final composition. That might mean positioning the camera inches off the ground to include foreground elements, or finding a higher vantage point looking down on a scene.
Master your Camera Settings
If you don’t know how to manually adjust your Shutter speed, ISO, Aperture, Bracketing and Exposure compensation, you’re missing out on your camera’s potential by using it as a point and shoot. Each combination of these settings creates a different visual effect and it takes mastery of your settings to achieve them. Photography is the most technical art, meaning it’s 50% creative composition, and 50% technical settings. You can’t create a photo that’s both beautiful, and technically competent without applying both.
I usually shoot in Aperture Priority Mode, and if you’re weening off full auto, Aperture priority Mode is a great way to get your feet wet in manually controlling your settings.
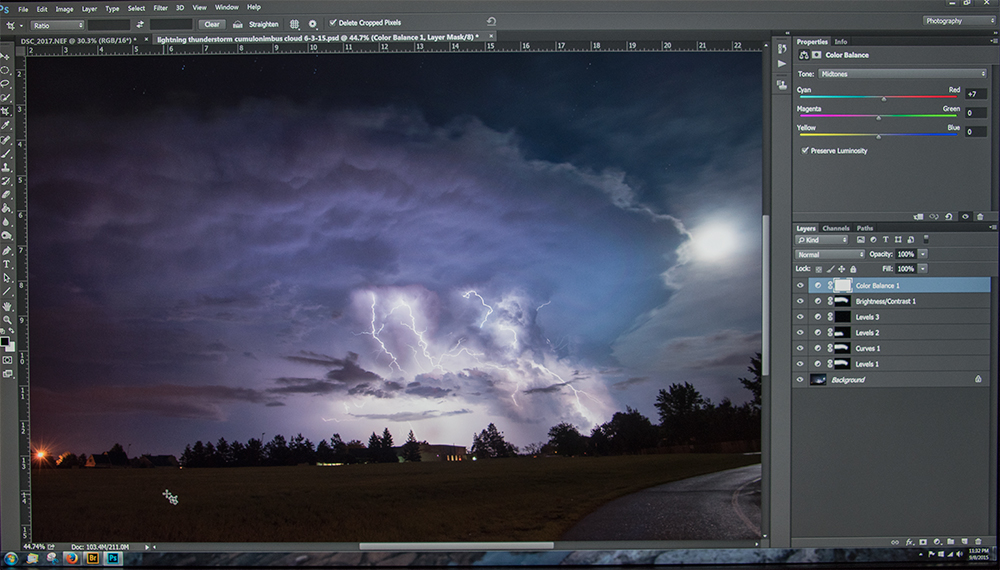
Post processing in Adobe Photoshop Creative Cloud
Learn Digital Post Processing
Modern photography is as much about digital post processing as it is taking the photo in the field. Not knowing how to use Photoshop will prevent your images from competing with those from serious photographers. Where over-edited photos are artificial and shouldn’t be rewarded with the fan fair they sometimes receive, you need to at least be able to sharpen, remove dust spots and apply basic contrast and tonal adjustments to your images. “My photos come directly out of my camera, unedited!” is usually the mantra of photographers who never learned to use Photoshop.
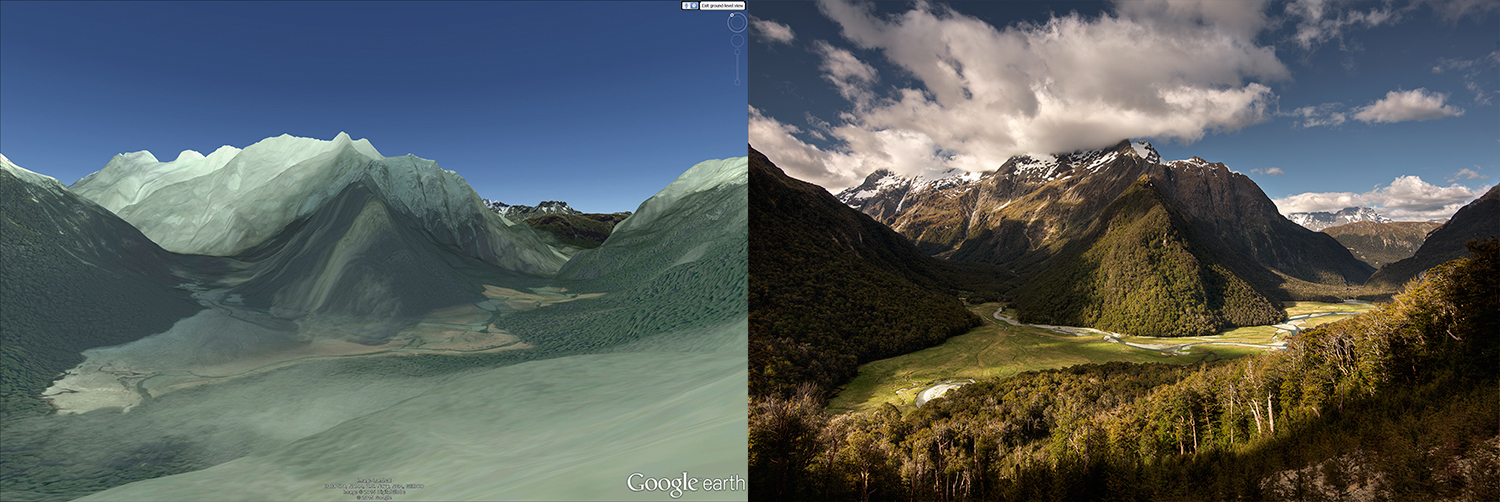
Use Google Alien Technology to Recon
You live in an era where incomprehensibly advanced spy technology is available to everybody for free. Google Maps shows 3D terrain and is great to plan your hikes. Google Earth lets you “stand” at any location on the planet’s surface to compose your shot before you even get there, and also has a tool that shows the sun’s light throughout the day. Various astrophotography apps show the position of the Milky Way, stars and Moon.
Upgrade to High-end Cameras and Lenses (??)
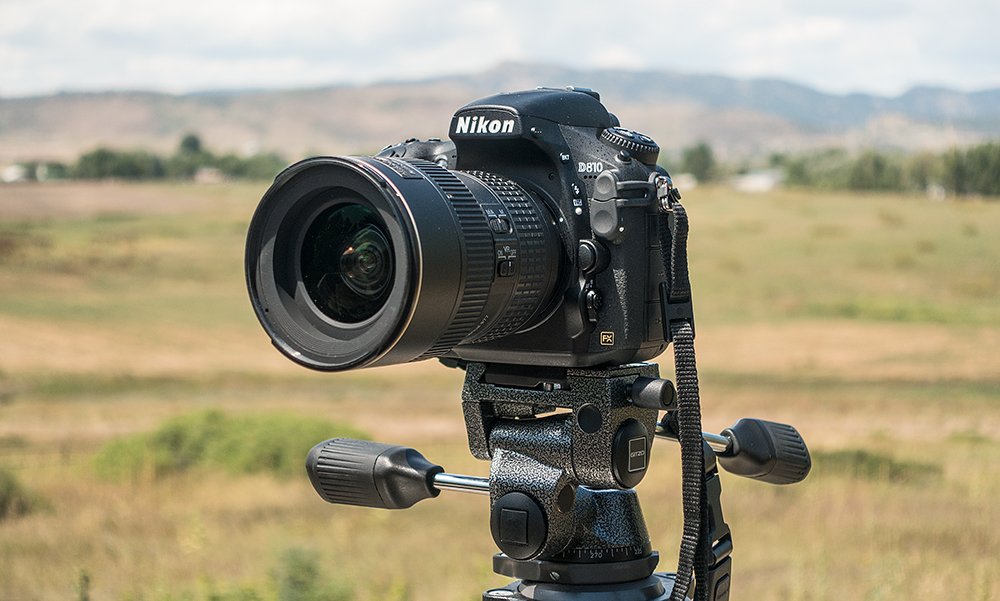
The Nikon D810, a full-frame 36 mp camera
High-end gear can improve the quality of your photos, or it can make no difference. You’d be hard-pressed to distinguish between photos taken with basic and high-end gear when viewed side by side at less than 100% on a monitor.
If you sell large prints(~60″) or shoot assignment work where high resolution files are expected, then you need a camera with a full-frame sensor and high megapixel count. In order to match the ultra high resolution of a high megapixel sensor, you also need the sharp glass of quality lenses. If you don’t sell large prints and mostly just post online photos, then high-end equipment might be overkill.
The point is, flagship equipment doesn’t produce “better” photos, it gives you bigger files with more resolution. Upgrade because you need the resolution, otherwise you’re wasting pixels. However, lenses can be considered more important than the camera. Using good lenses with clear glass can improve the resolution of your photos. And while cameras become outdated as quickly as computers, lenses may last your entire photography career, so it makes sense to buy good glass early on.
 Don’t be a rule following drone
 Don’t be a rule following drone
Every piece of advice can be dispensed with in lieu of what works in a specific situation, here are a few examples.
Sunrise/Sunset Myth
Some photographers immediately discredit any photo that wasn’t taken at sunrise or sunset, even if it’s a fantastic photo. While most landscapes do look best at sunrise/sunset, dynamic light, clouds and weather can trump an average sunrise at any time of the day. In the Rockies for example, great clouds often brew up at late morning making for a dramatic shot. You should always be on a alert for good clouds and weather at any time of the day instead of clocking out between sunrise and sunset. Over a quarter of my best shots were taken during late morning or afternoon with good clouds.
Compositional Rules
I look at a scene from every angle and then concentrate on producing a composition that I feel is balanced. I’ve never followed “The rule of thirds” or any other rule of composition. A lot of my photos end up abiding by compositional rules because my taste happened to coincide with them. Composition is the artistic, non-technical side of photography. This is where you develop your personal photography style and compose shots based on what you think looks beautiful, not by recalling textbook rules and trying to follow them. In fact, I just reviewed the commonly prescribed rules of composition and it gave me a small aneurysm.
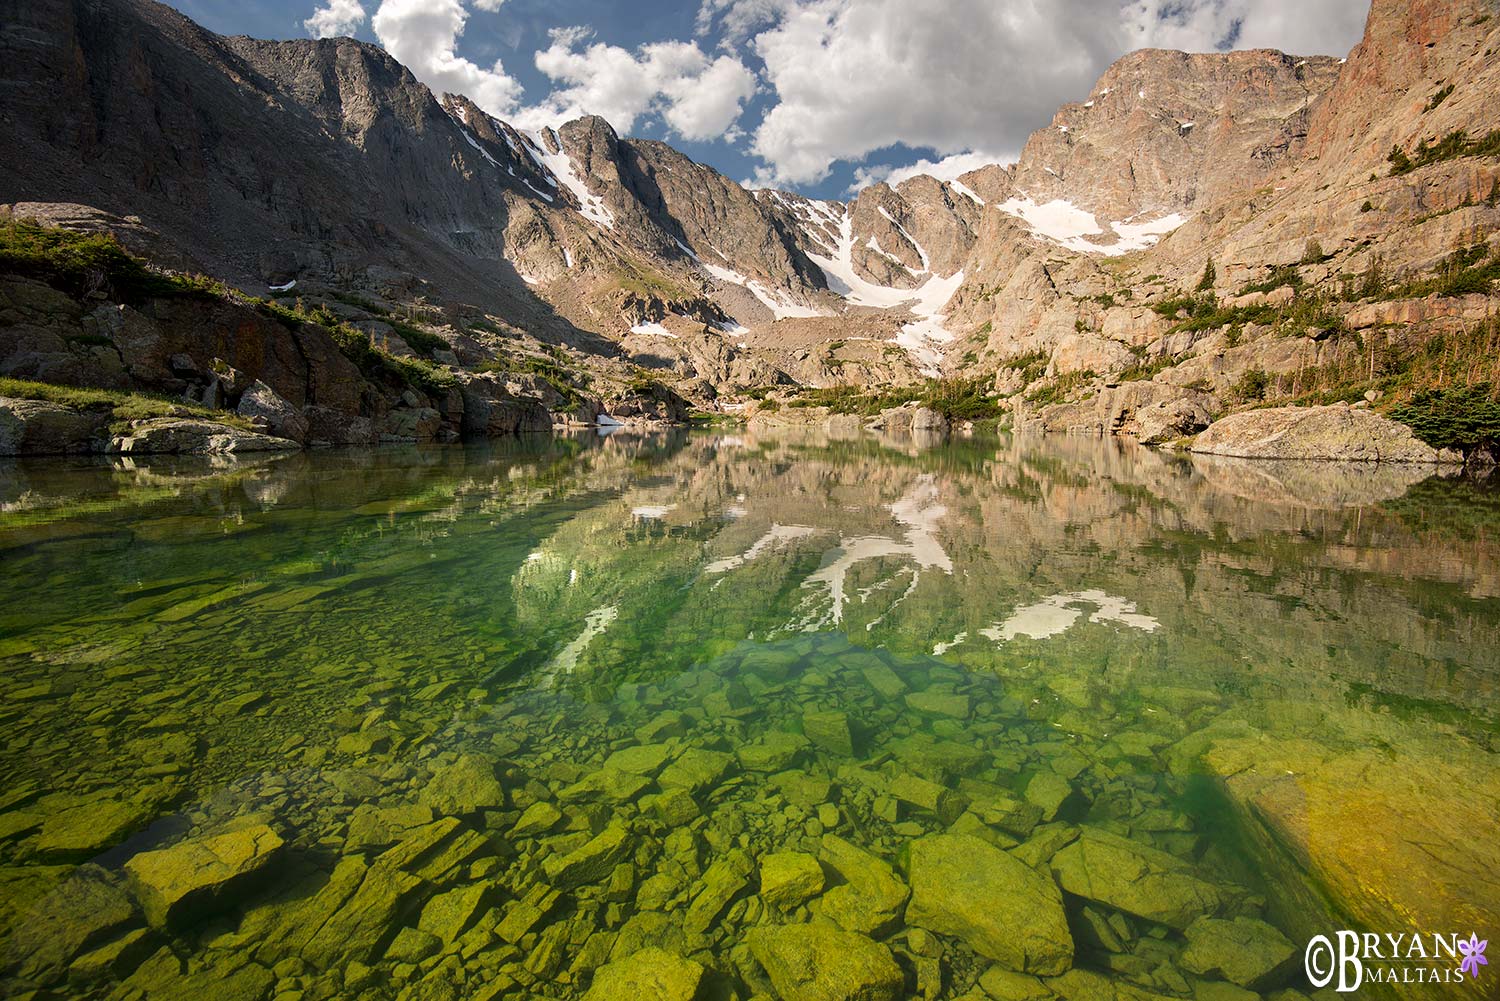
Photos NOT taken at sunrise/sunset:
Thanks Bryan for the info. I’m looking to do some landscape photography as a bit of a break from my wedding day job and really wanted some inspiration and ideas. There is some simply amazing photography and information spread over this site, I’ve already spent over 30 mins looking around and will be sure to pop back soon.
Thanks for the awesome feedback Mark!